Explore our smile gallery to see the amazing results Dr. David Peterson has helped his patients achieve! To learn more about our dental services and schedule your one-on-one consultation with our experienced dentist in Sandy, Utah, please contact The Dental Studio today at 801-278-4787. We look forward to helping you achieve your dream smile!
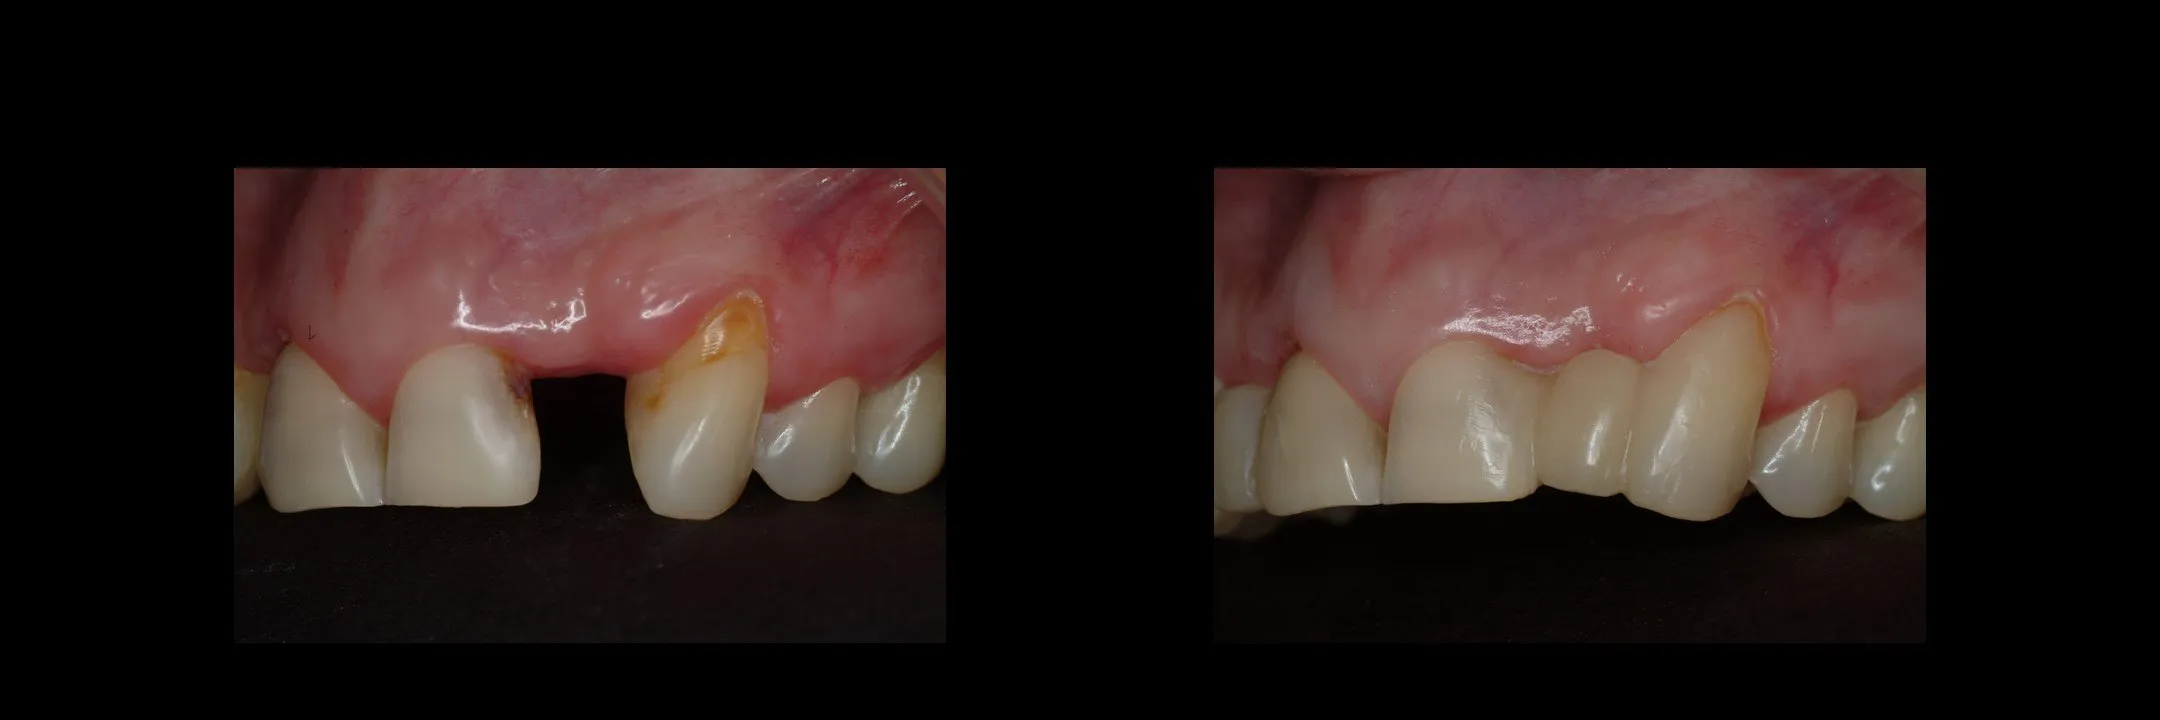
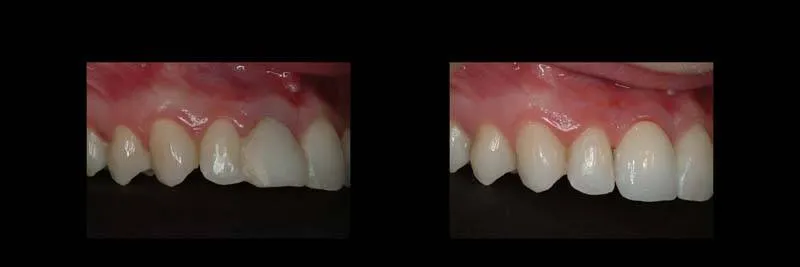
Minimally Prepared Veneers
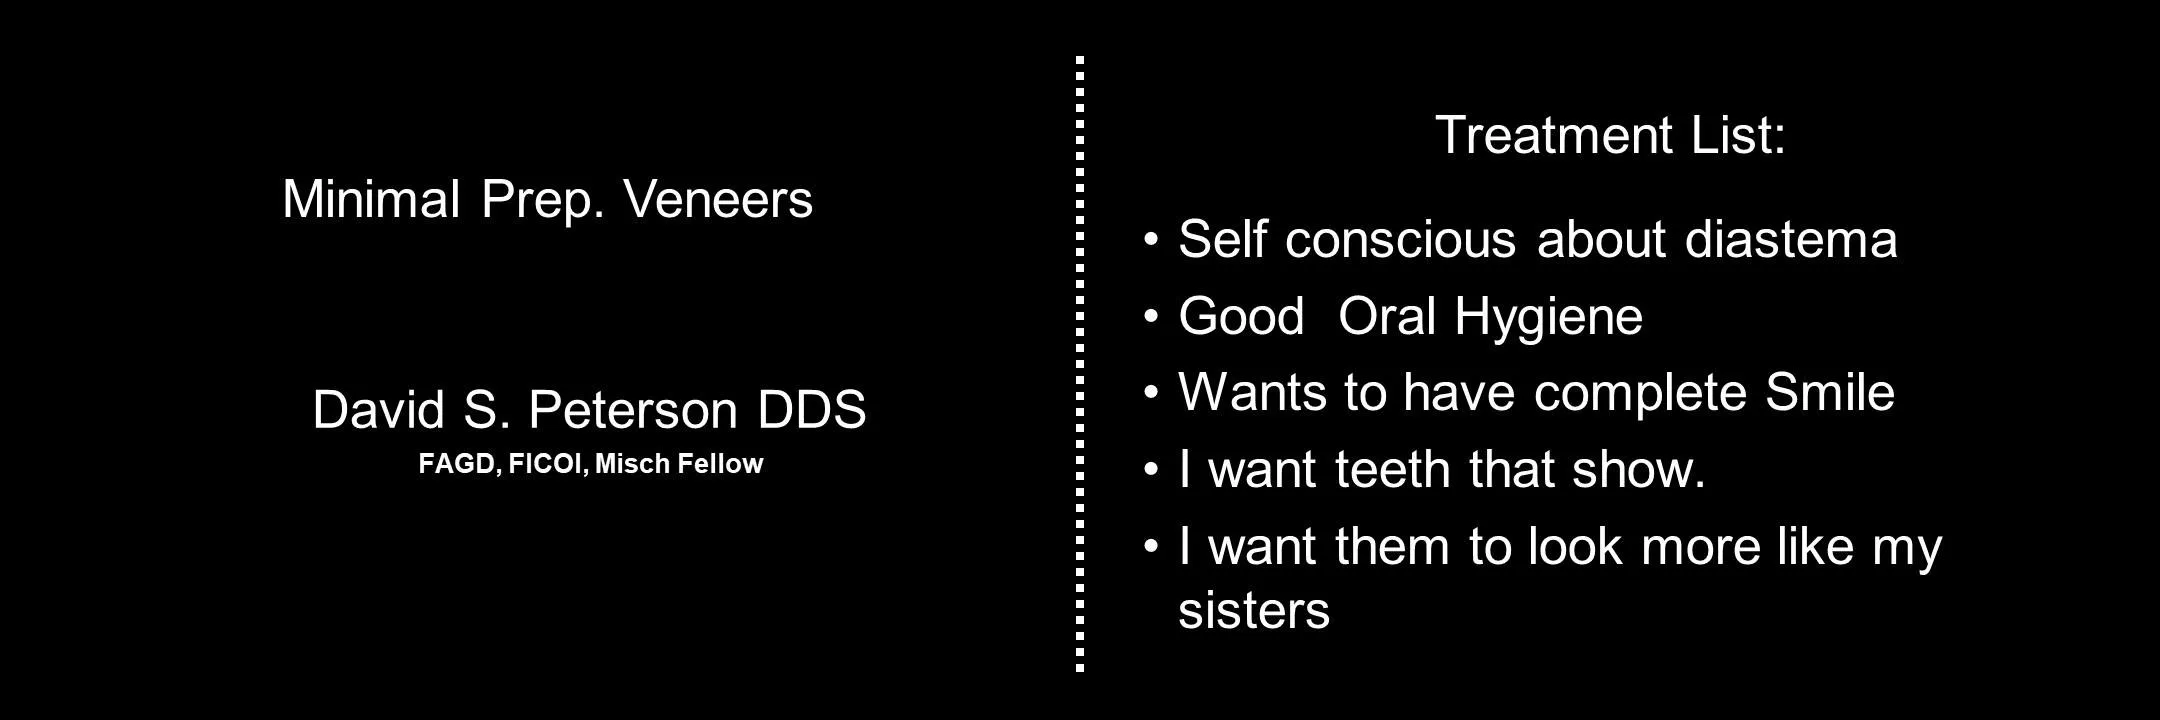
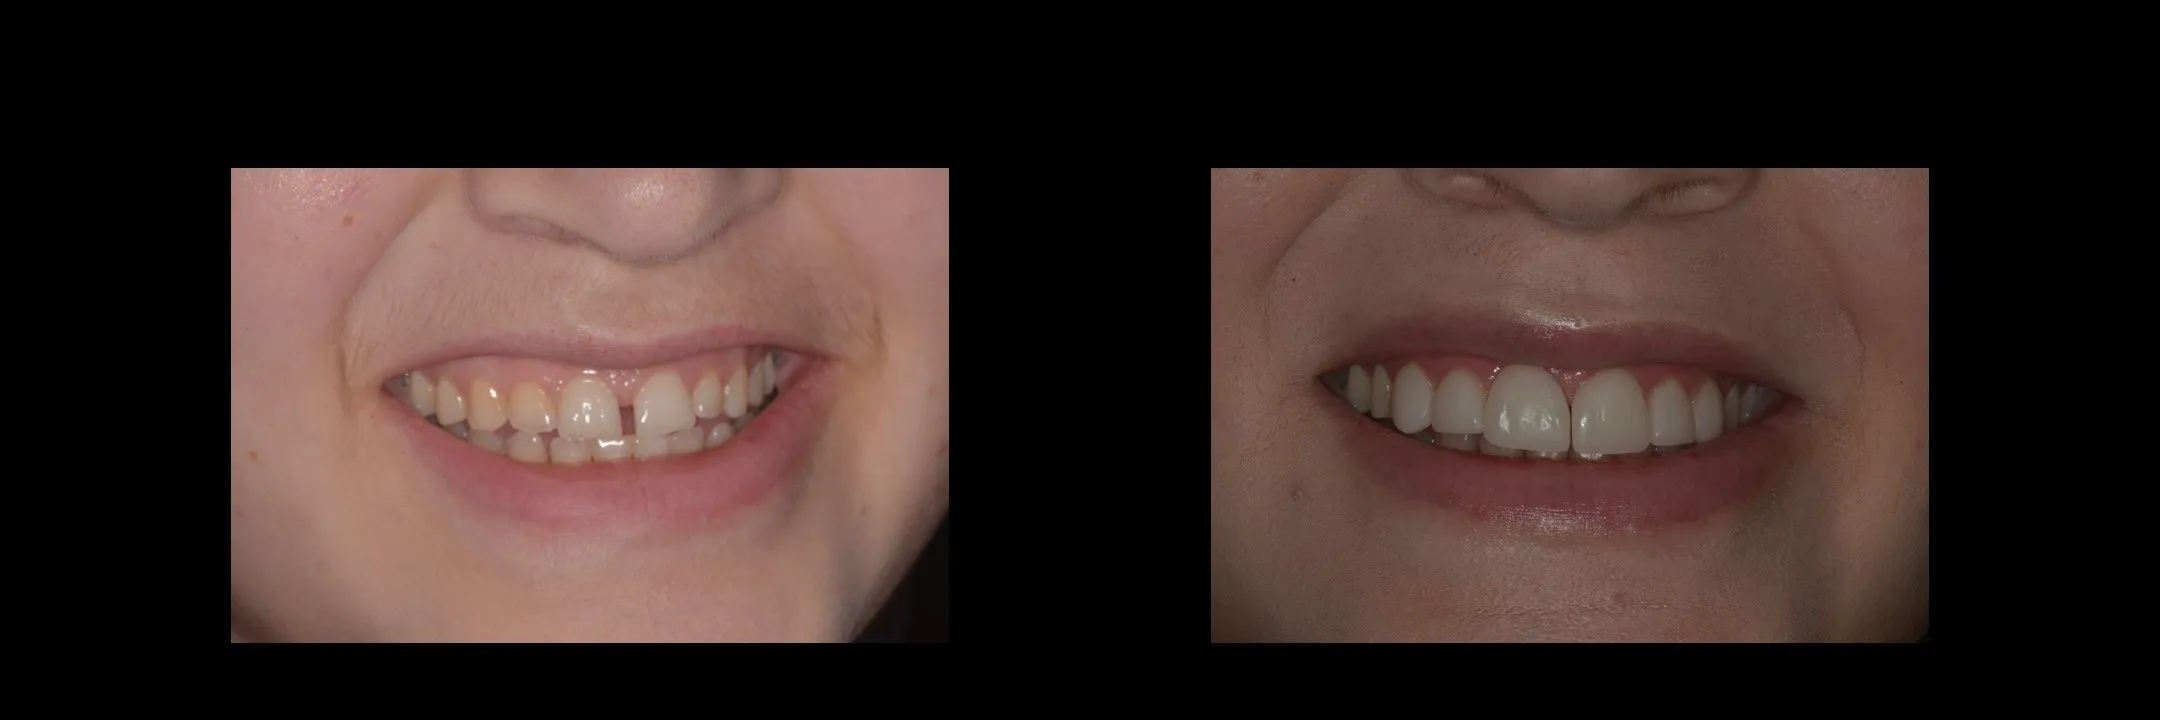


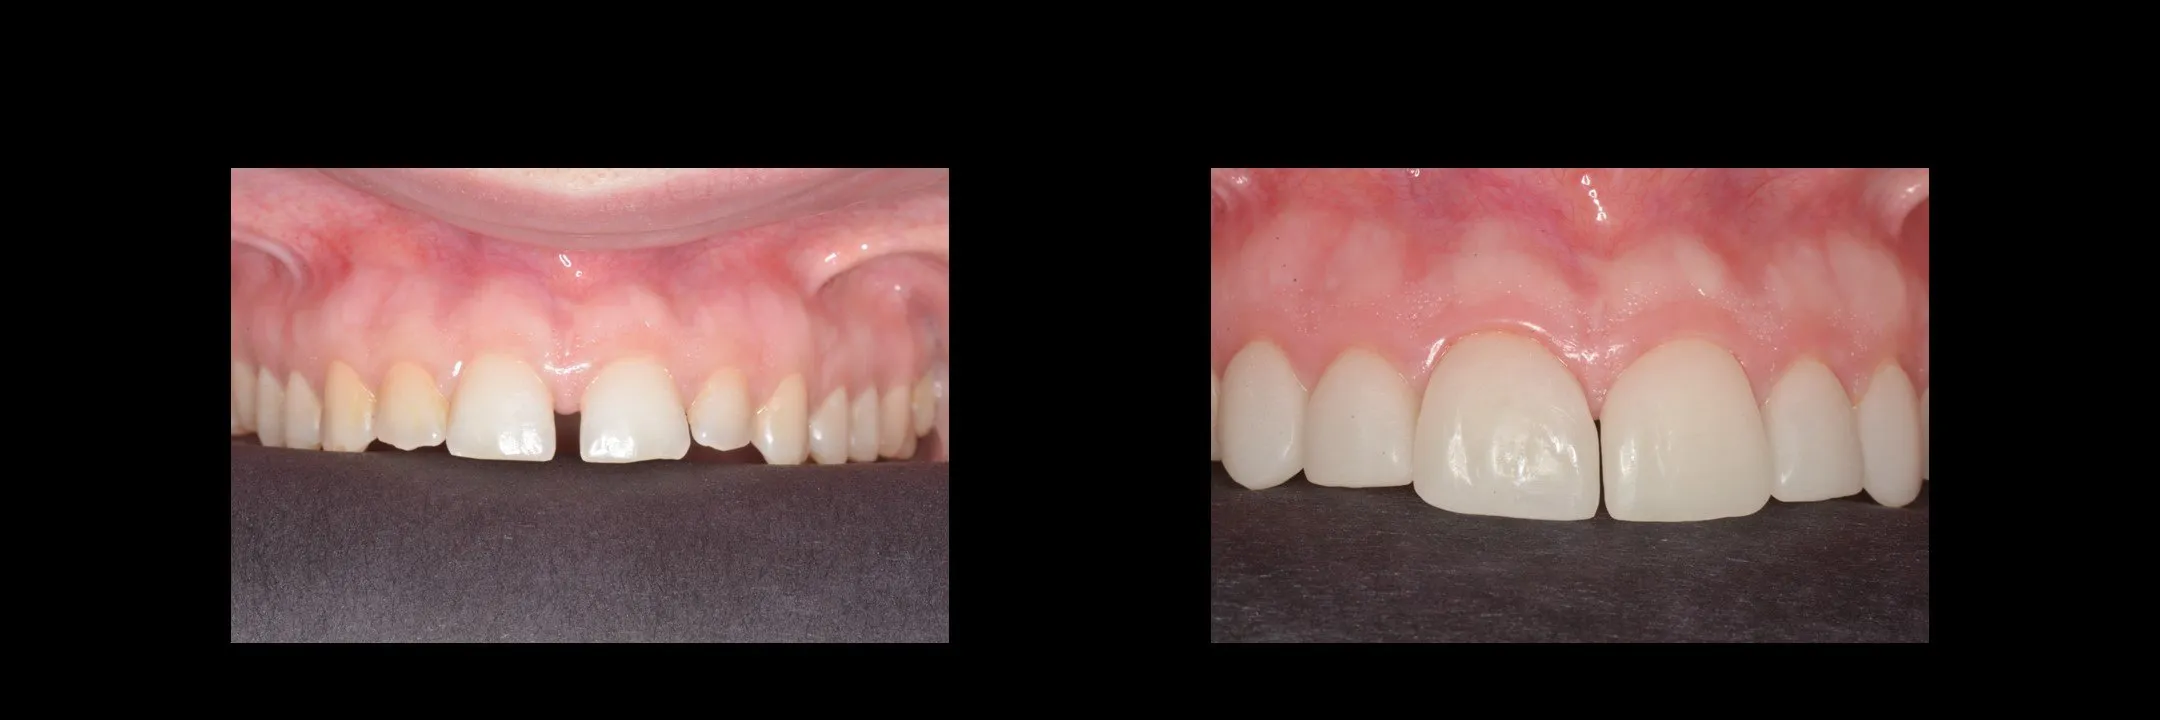
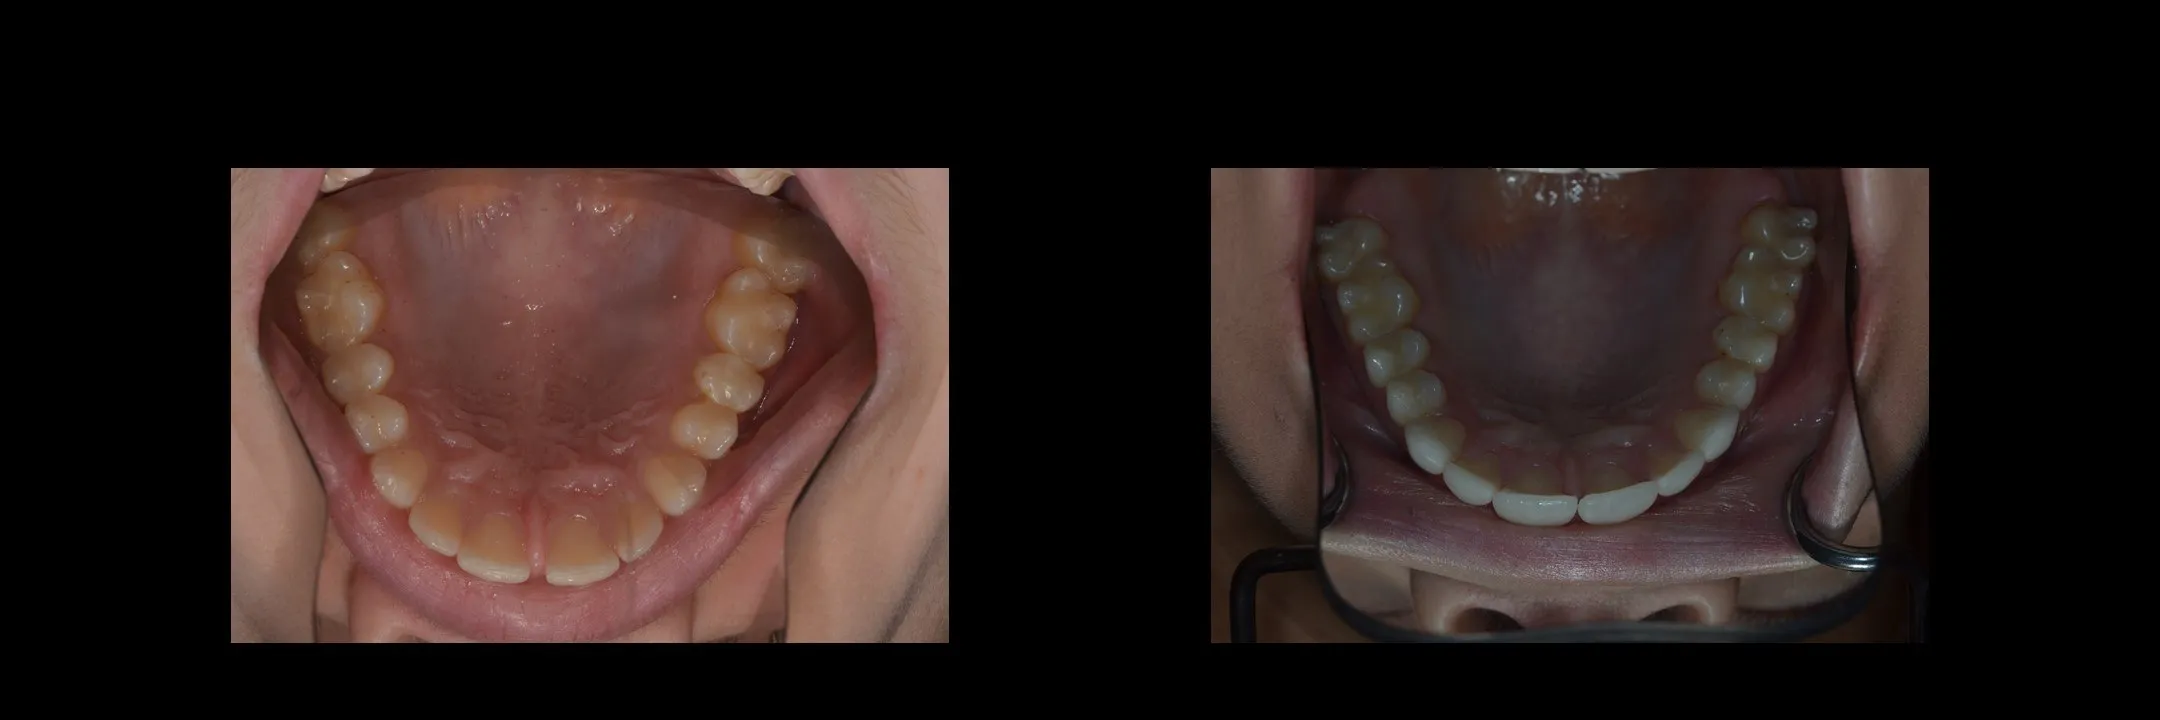
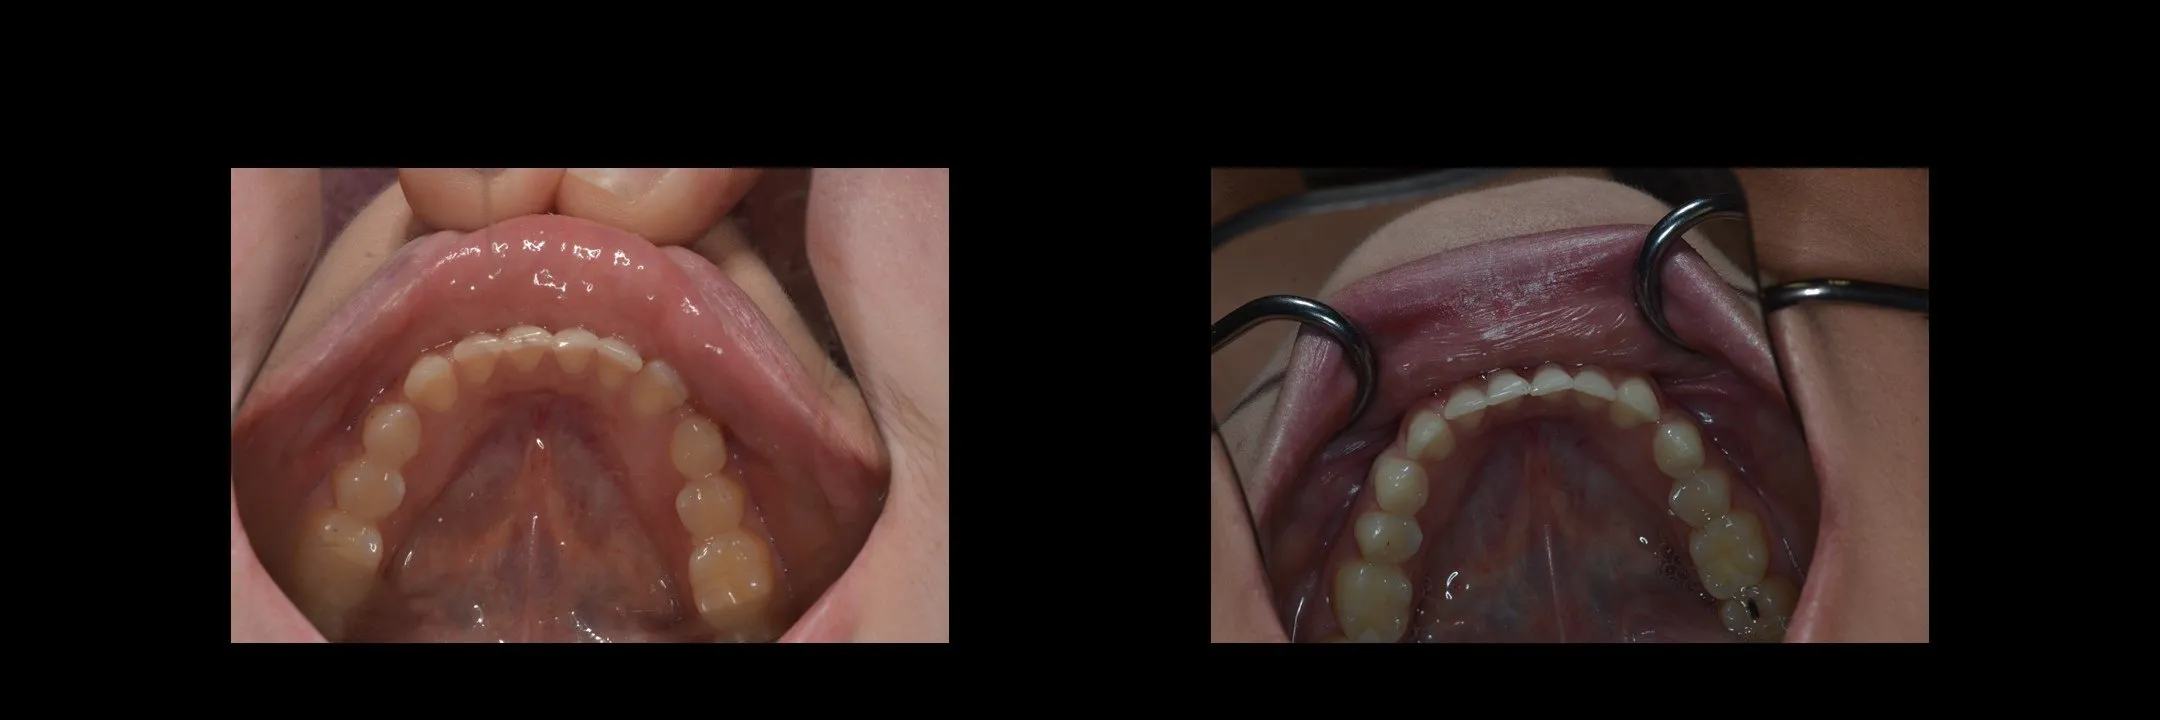
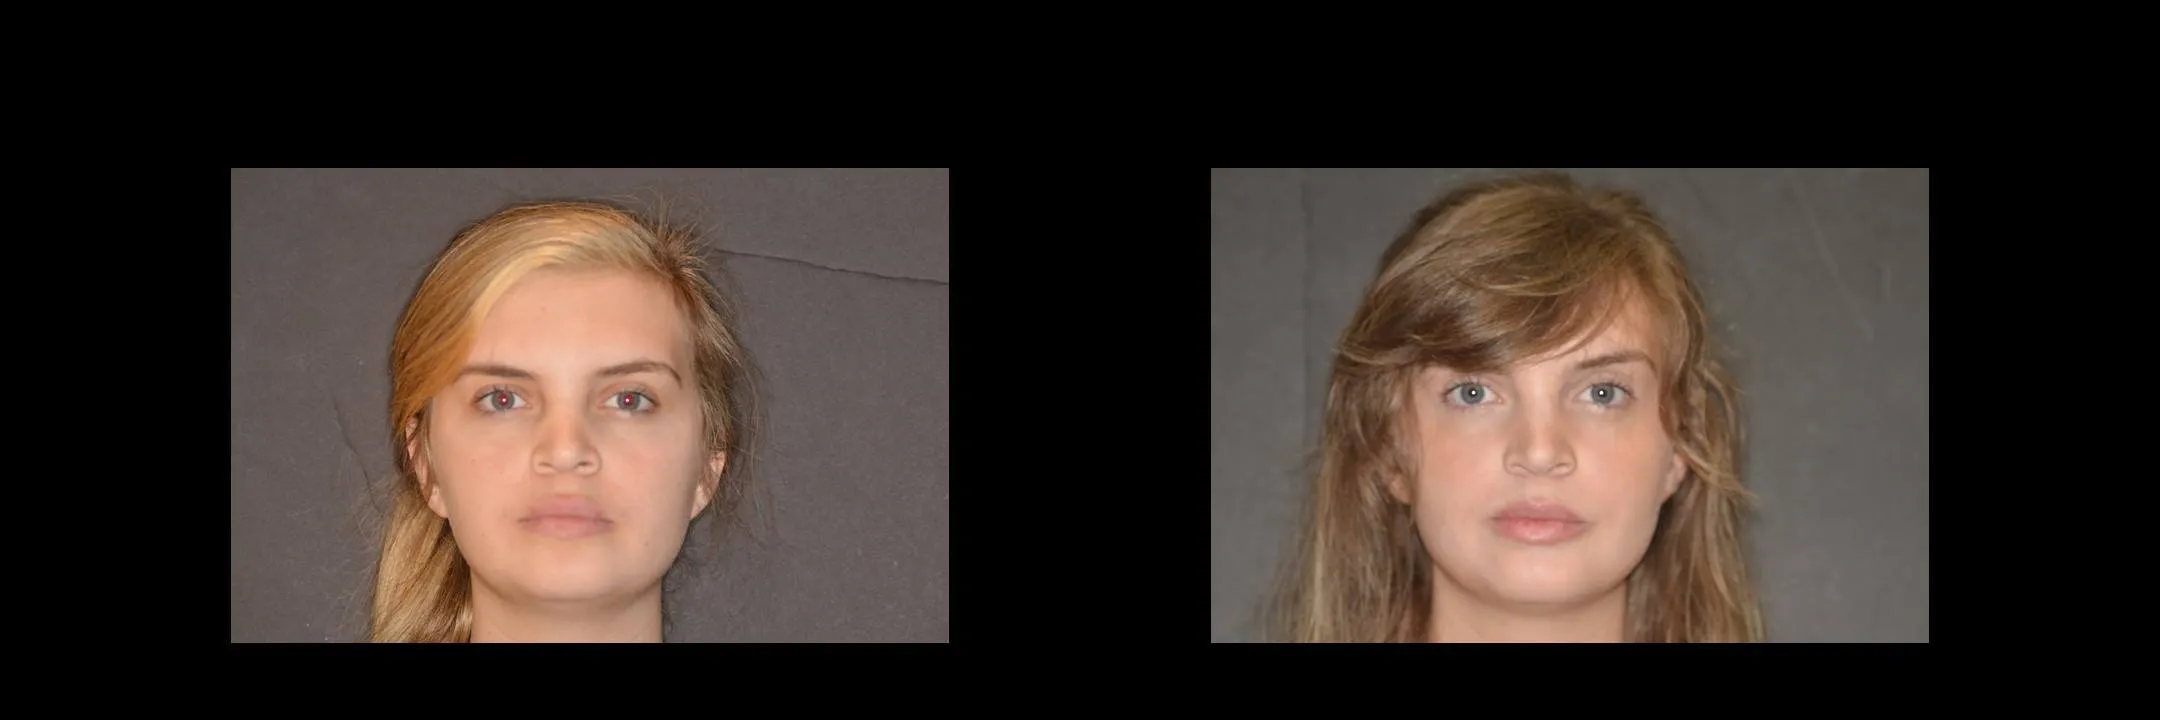

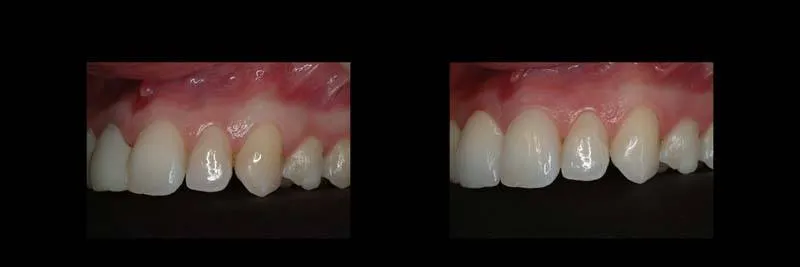
No Preparation Veneers


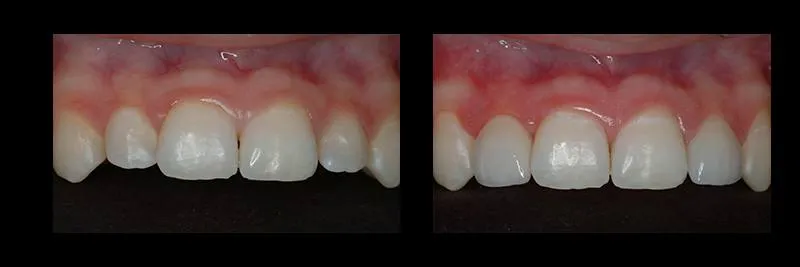


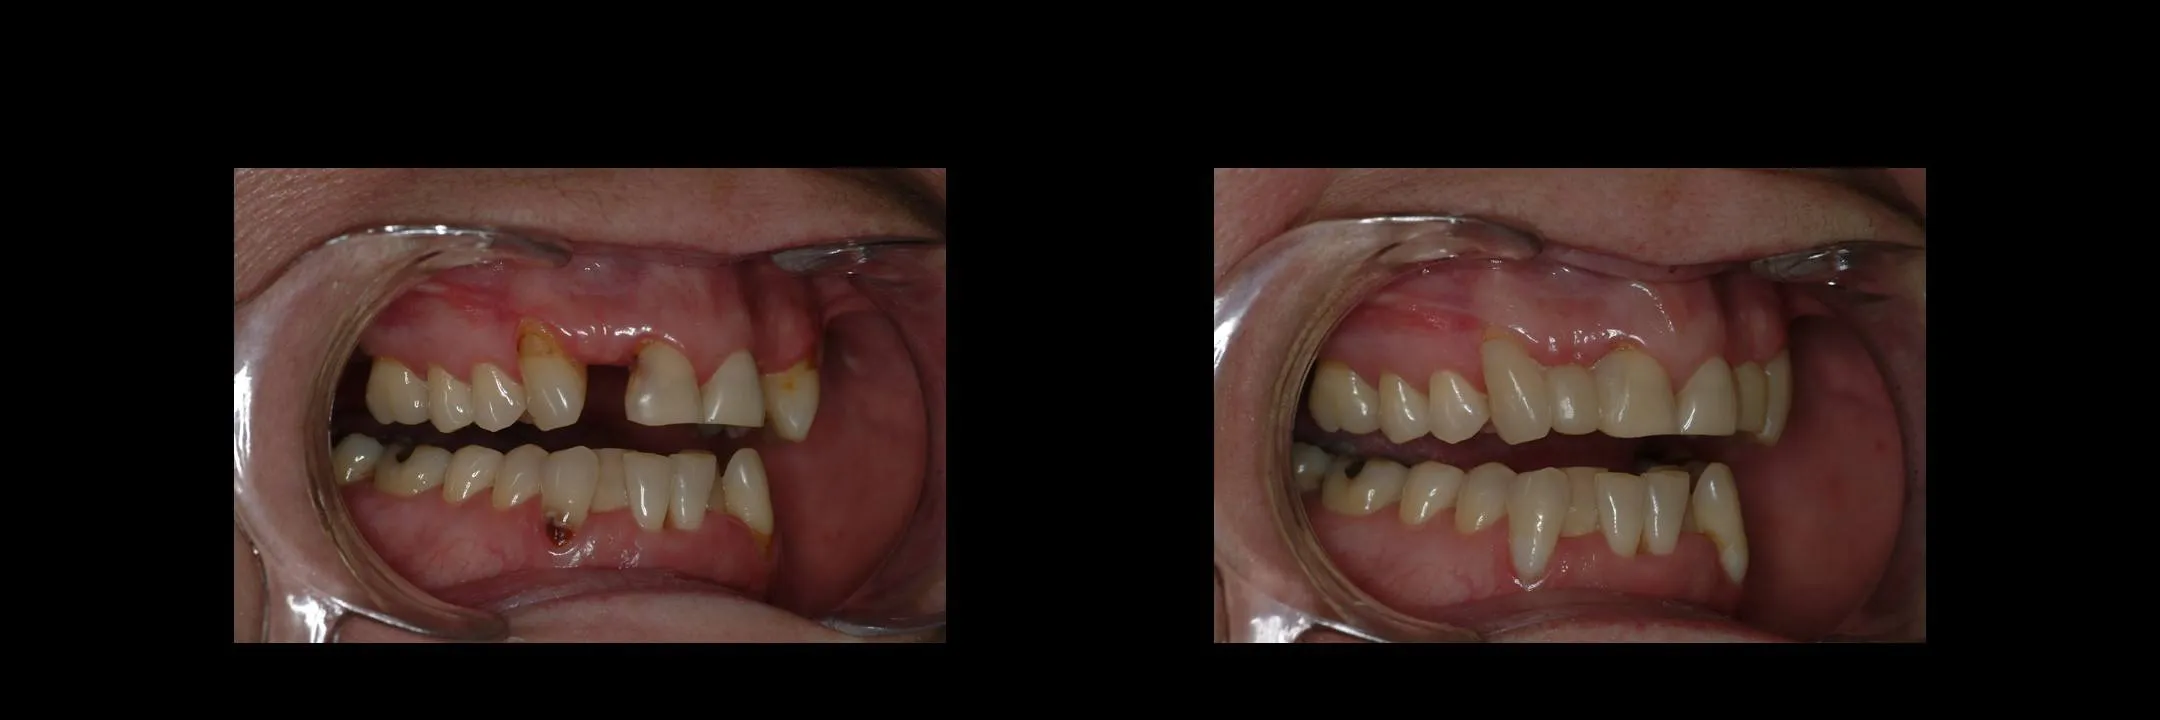
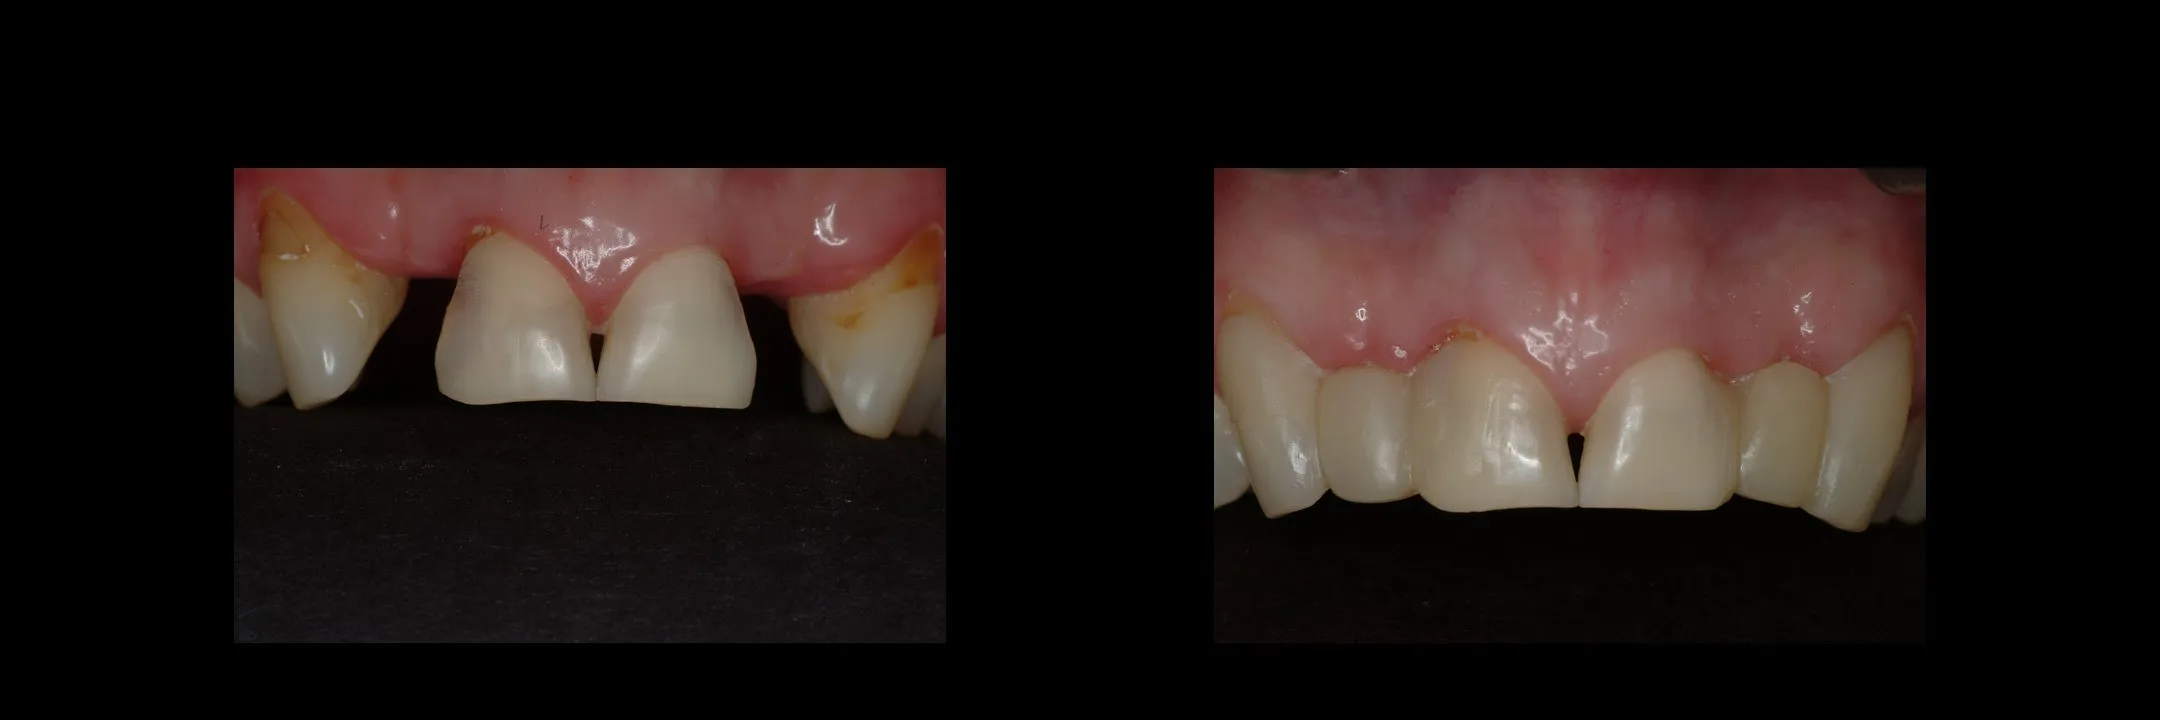
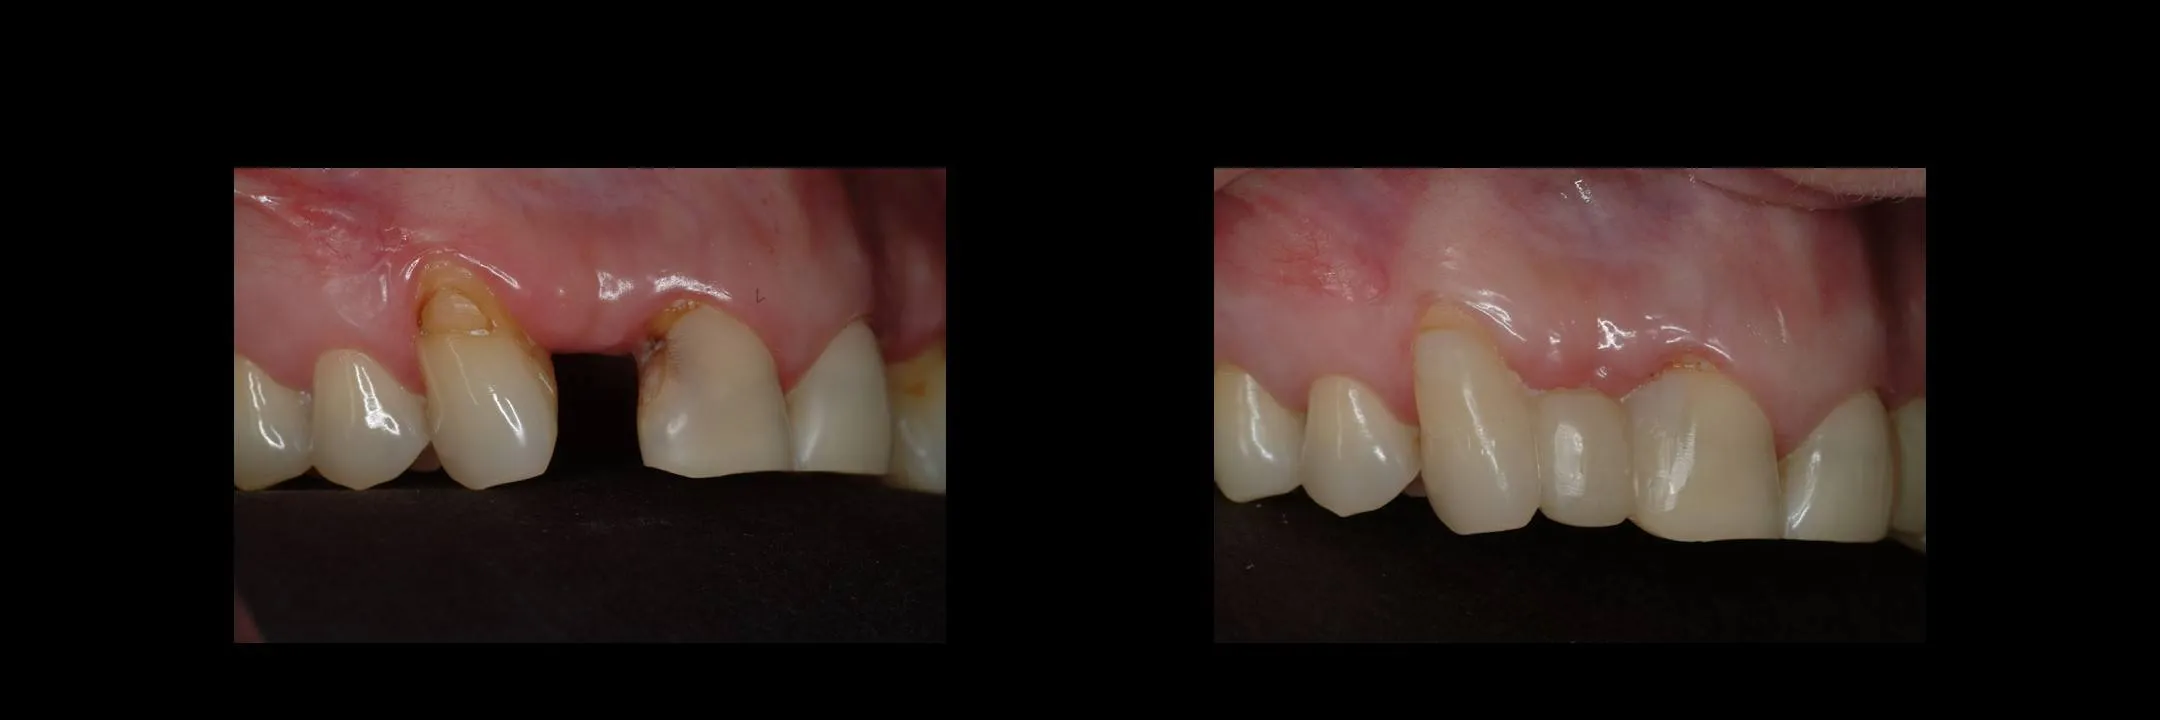
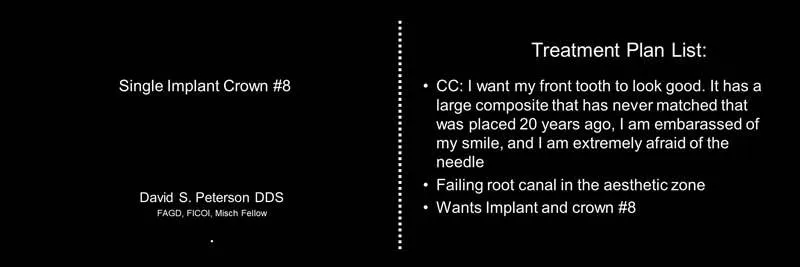
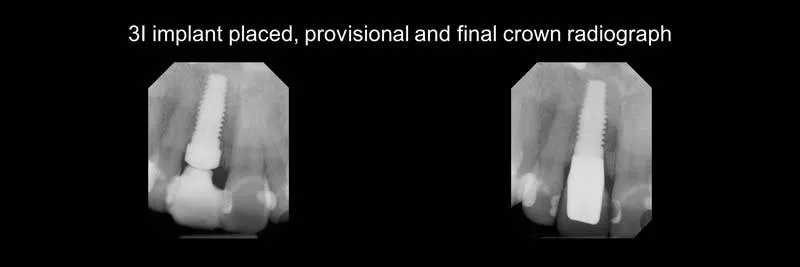
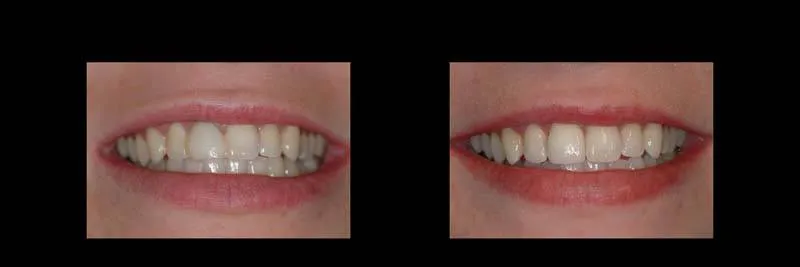
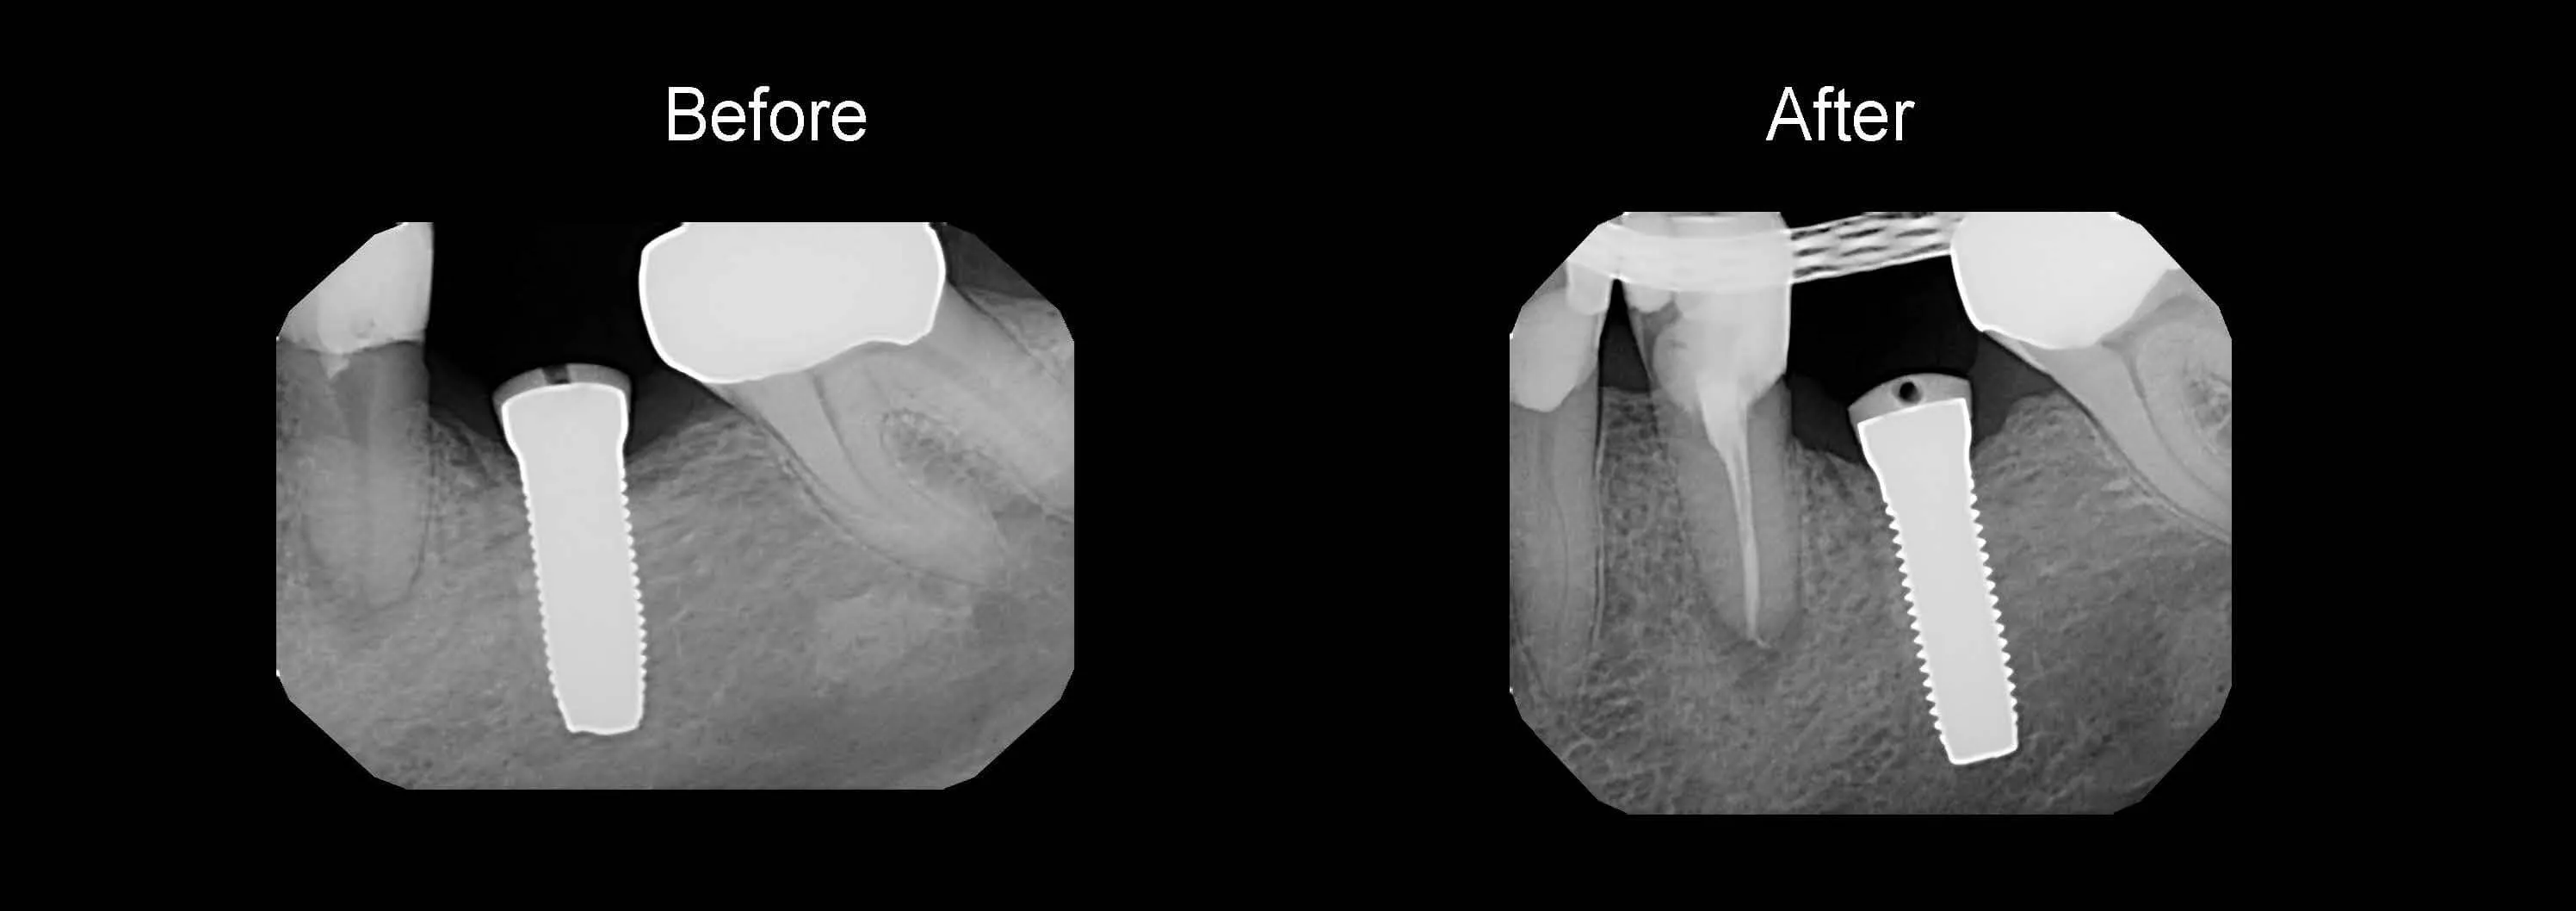
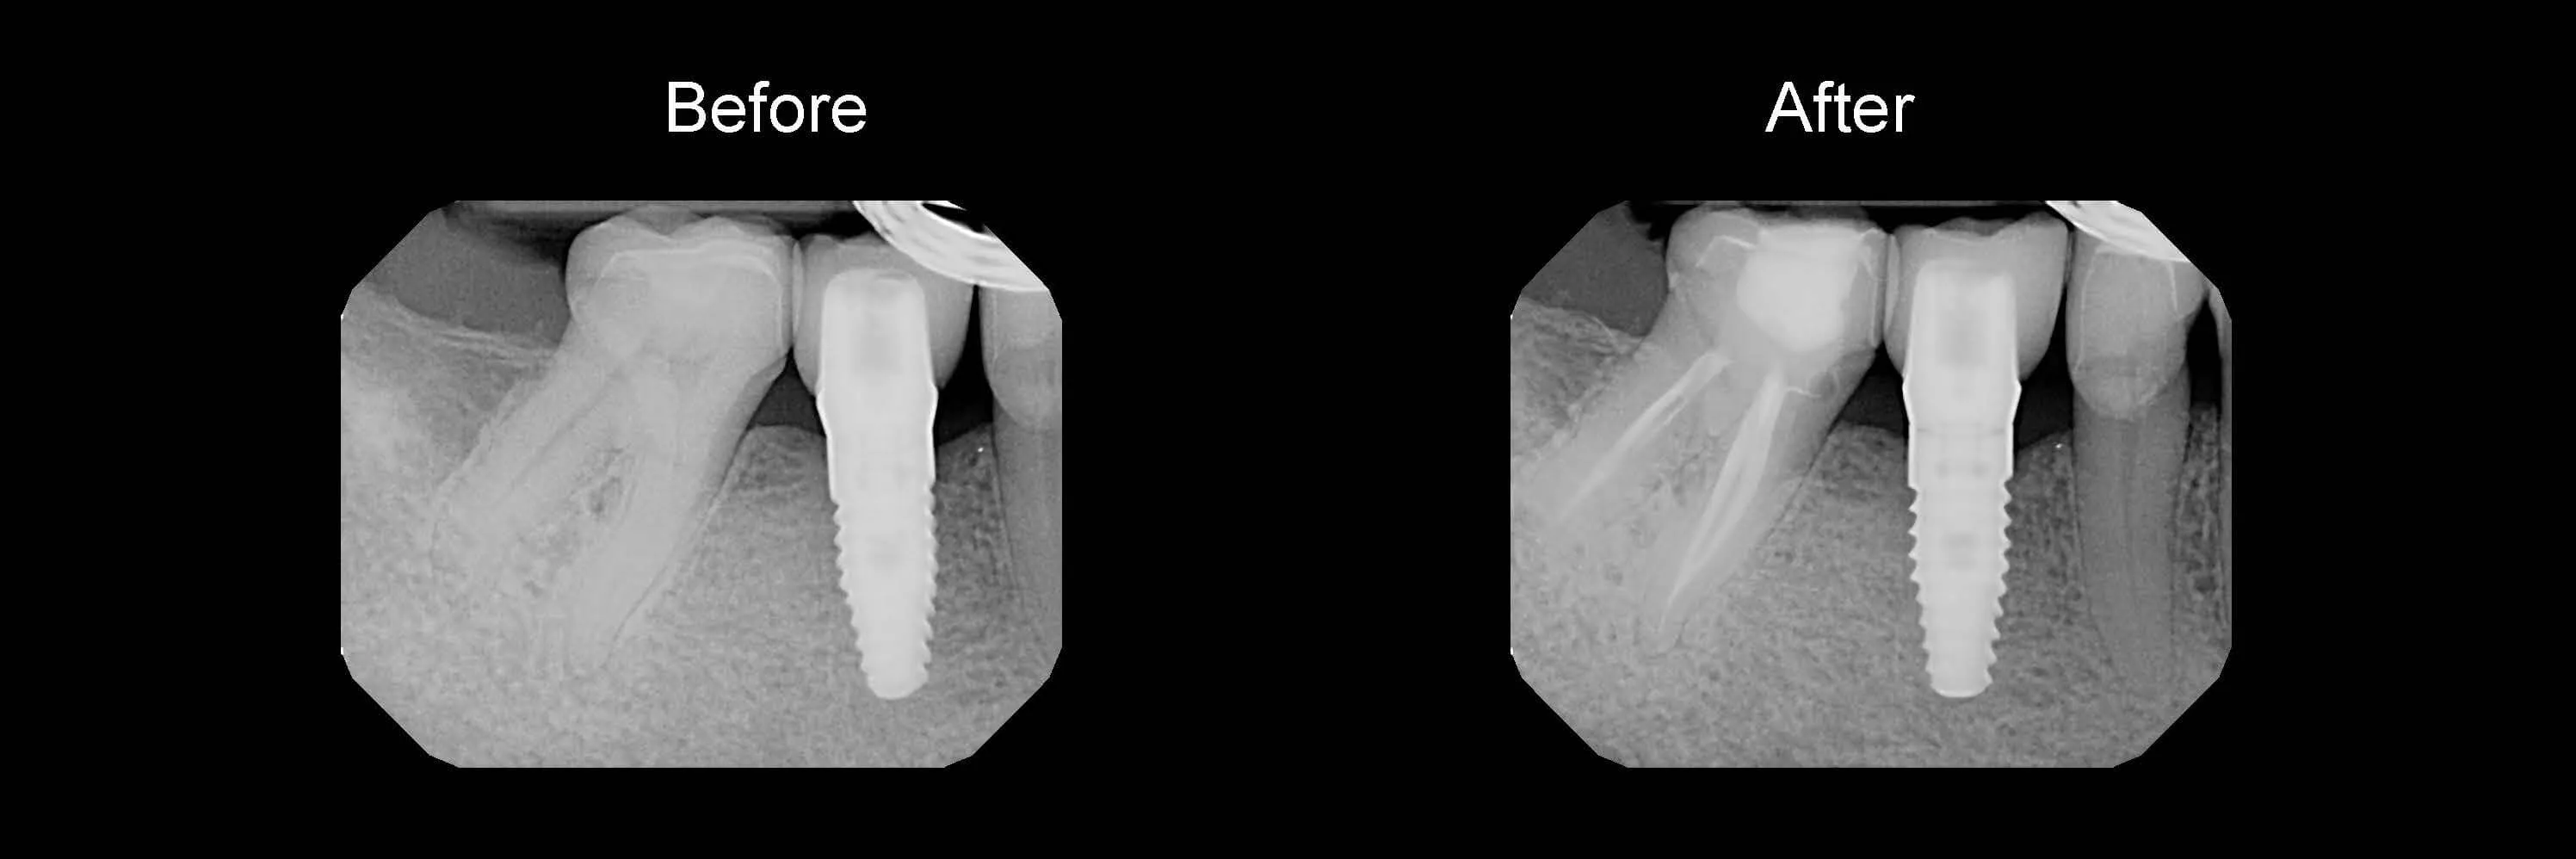
Single-Implant Restoration


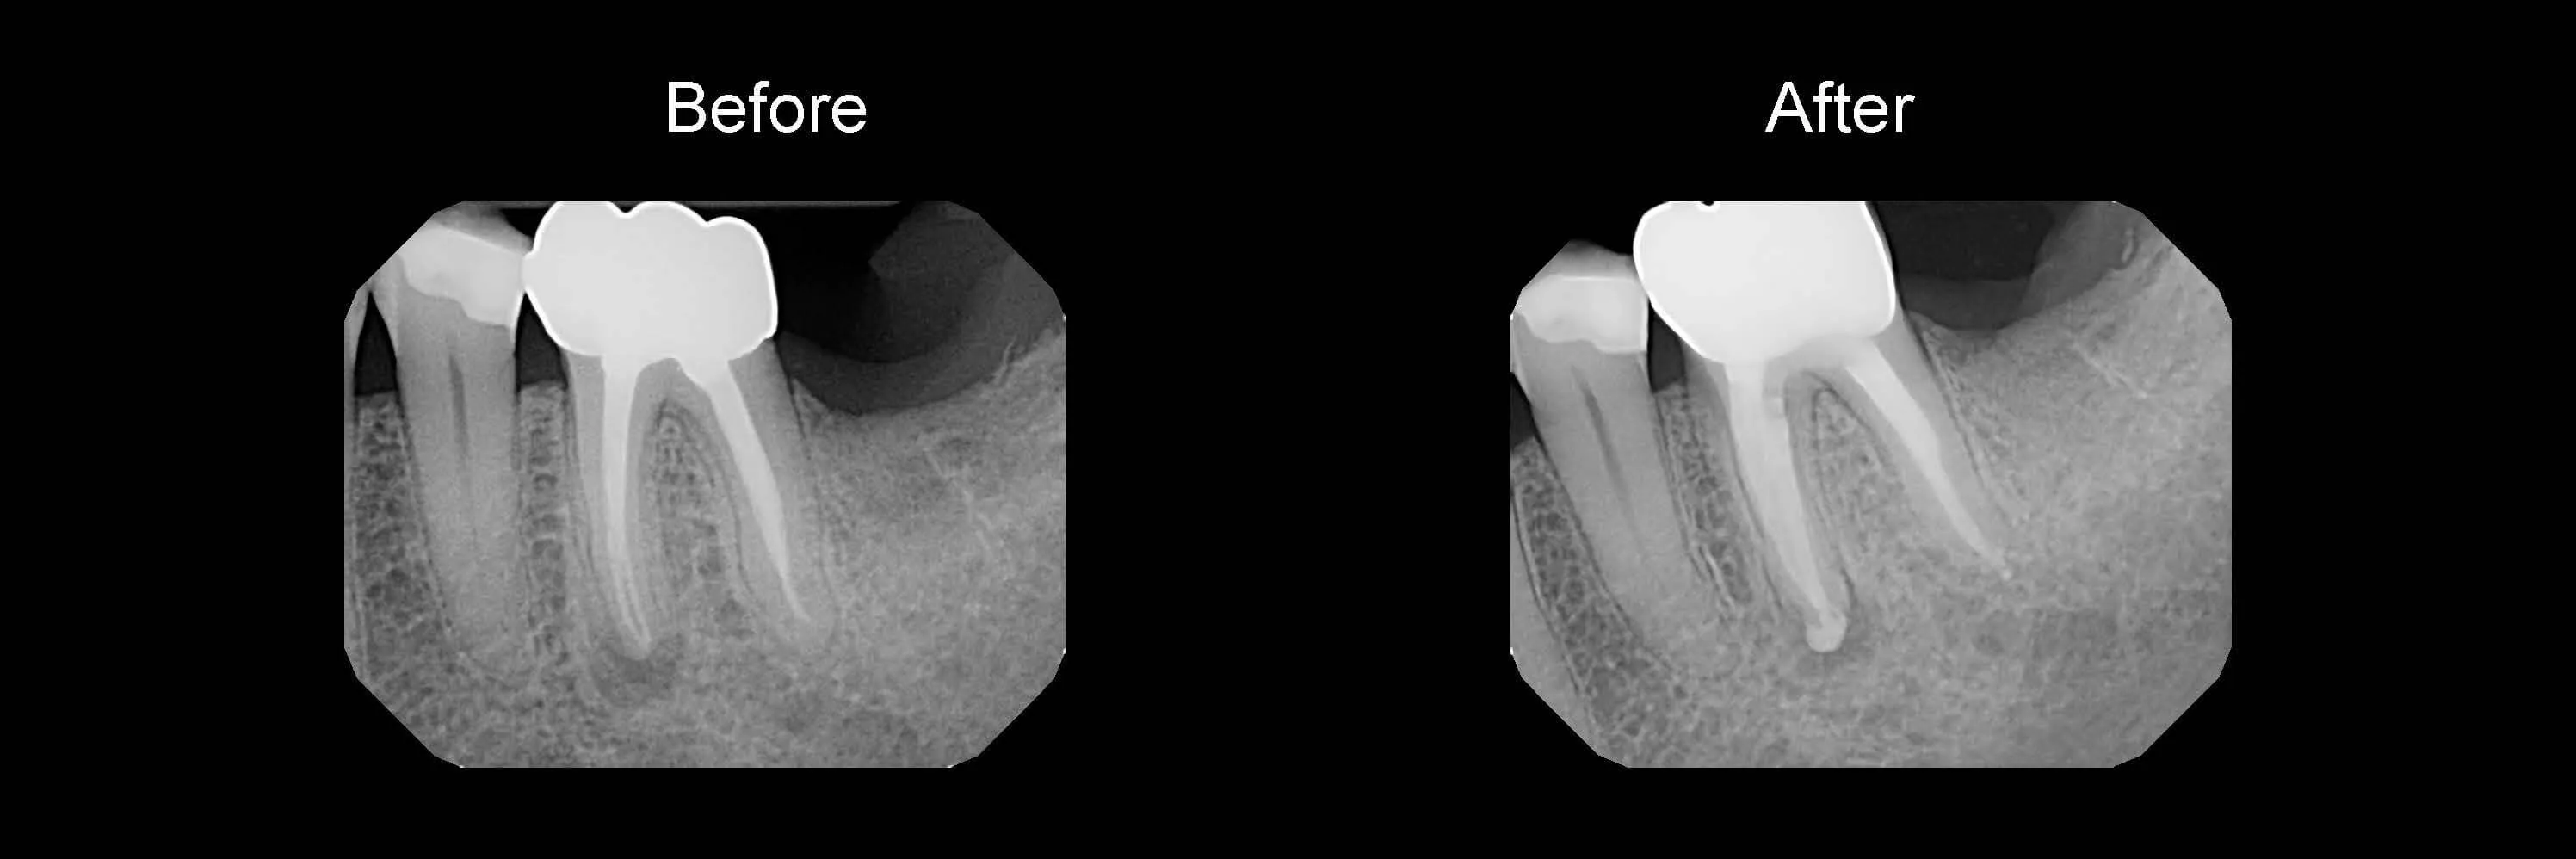
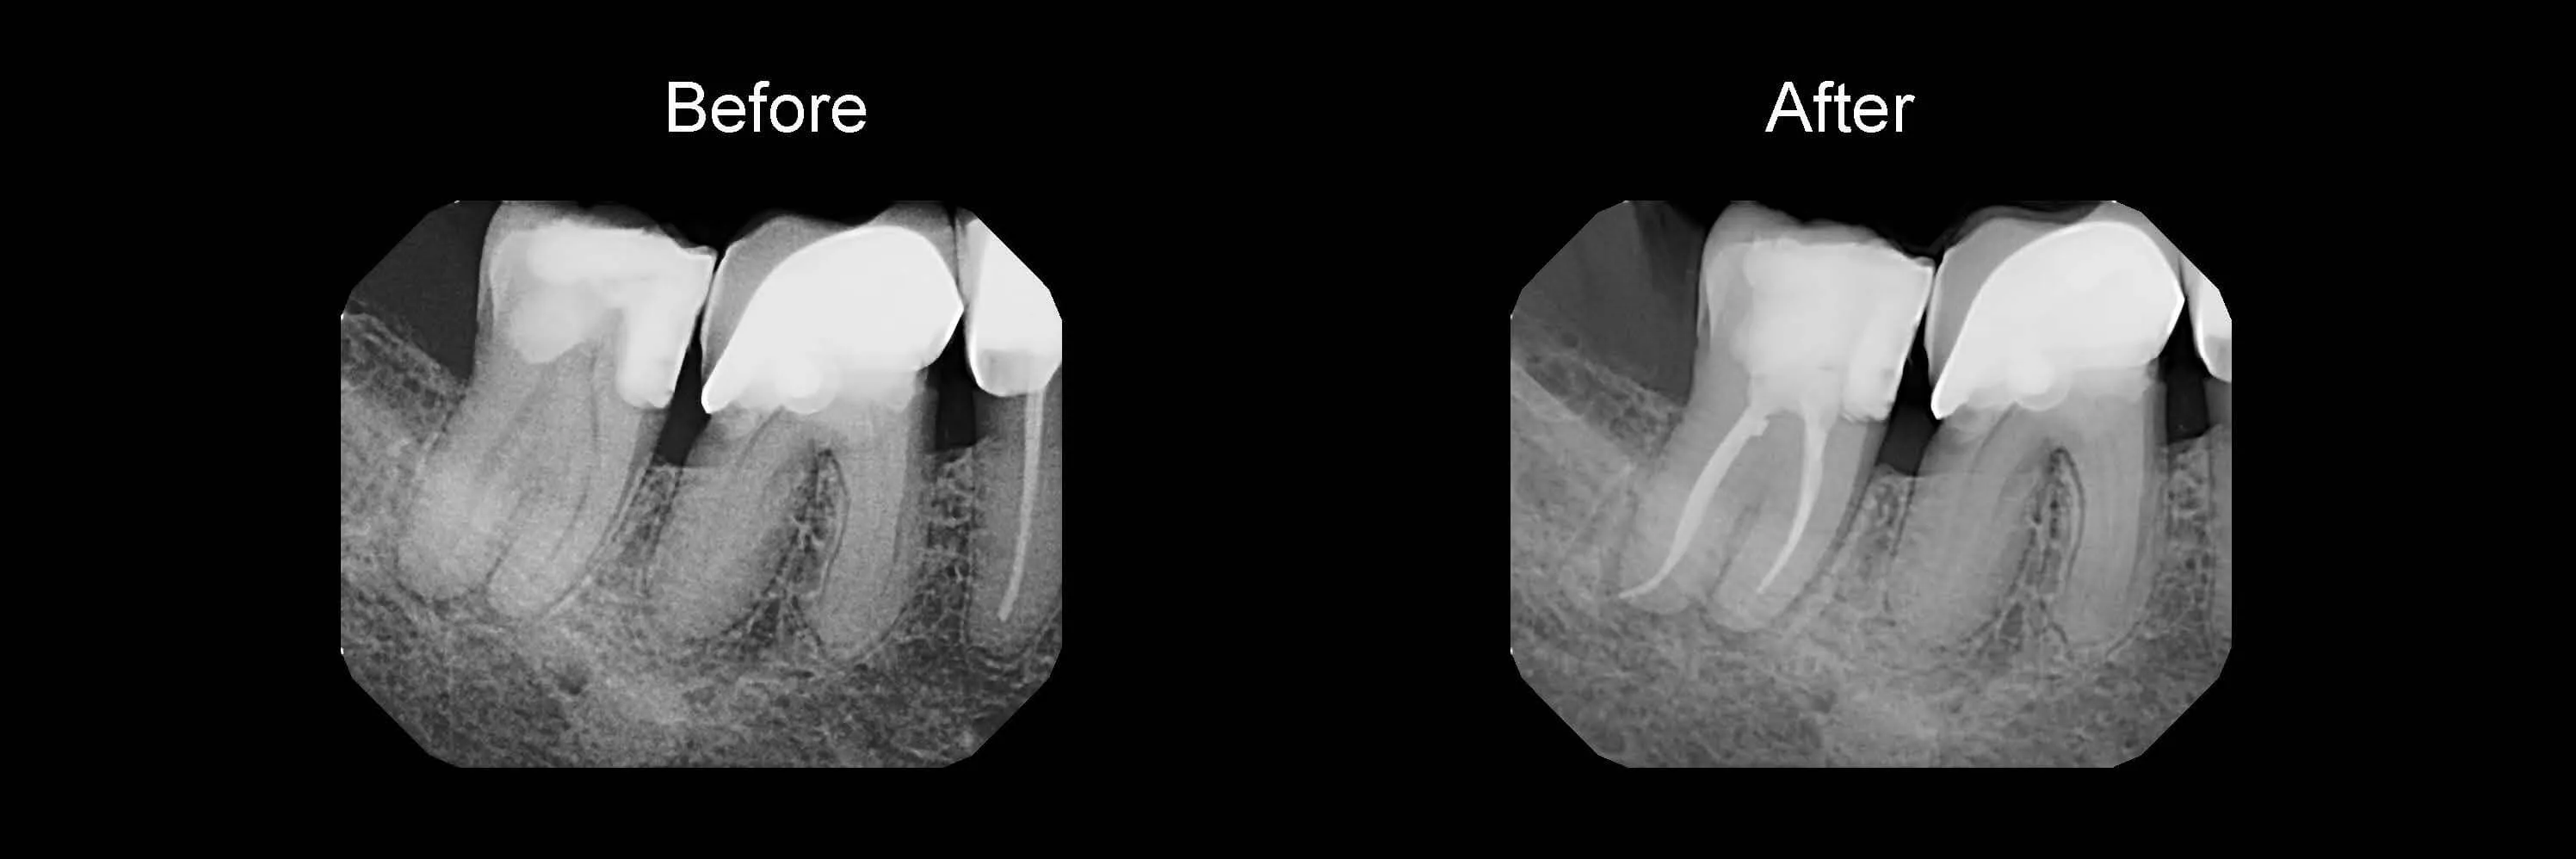
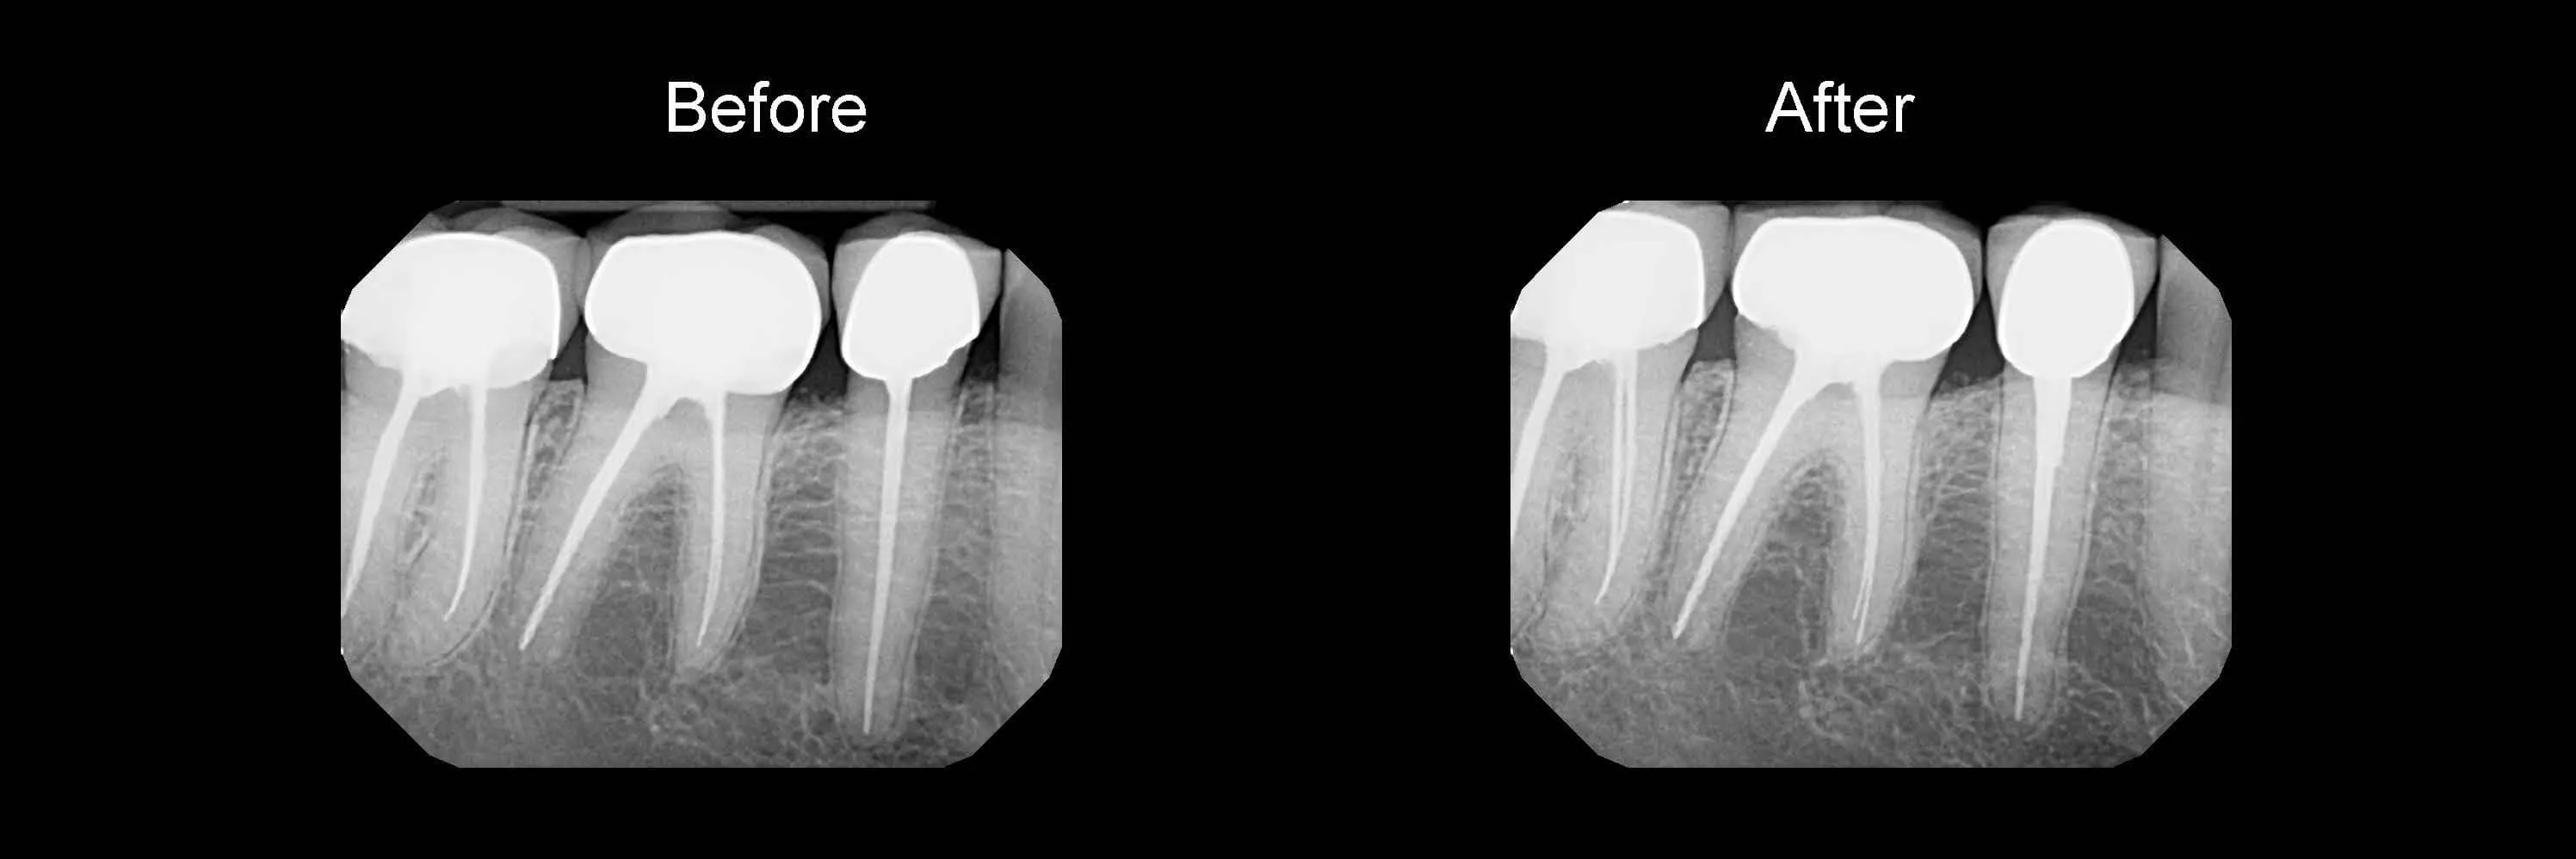
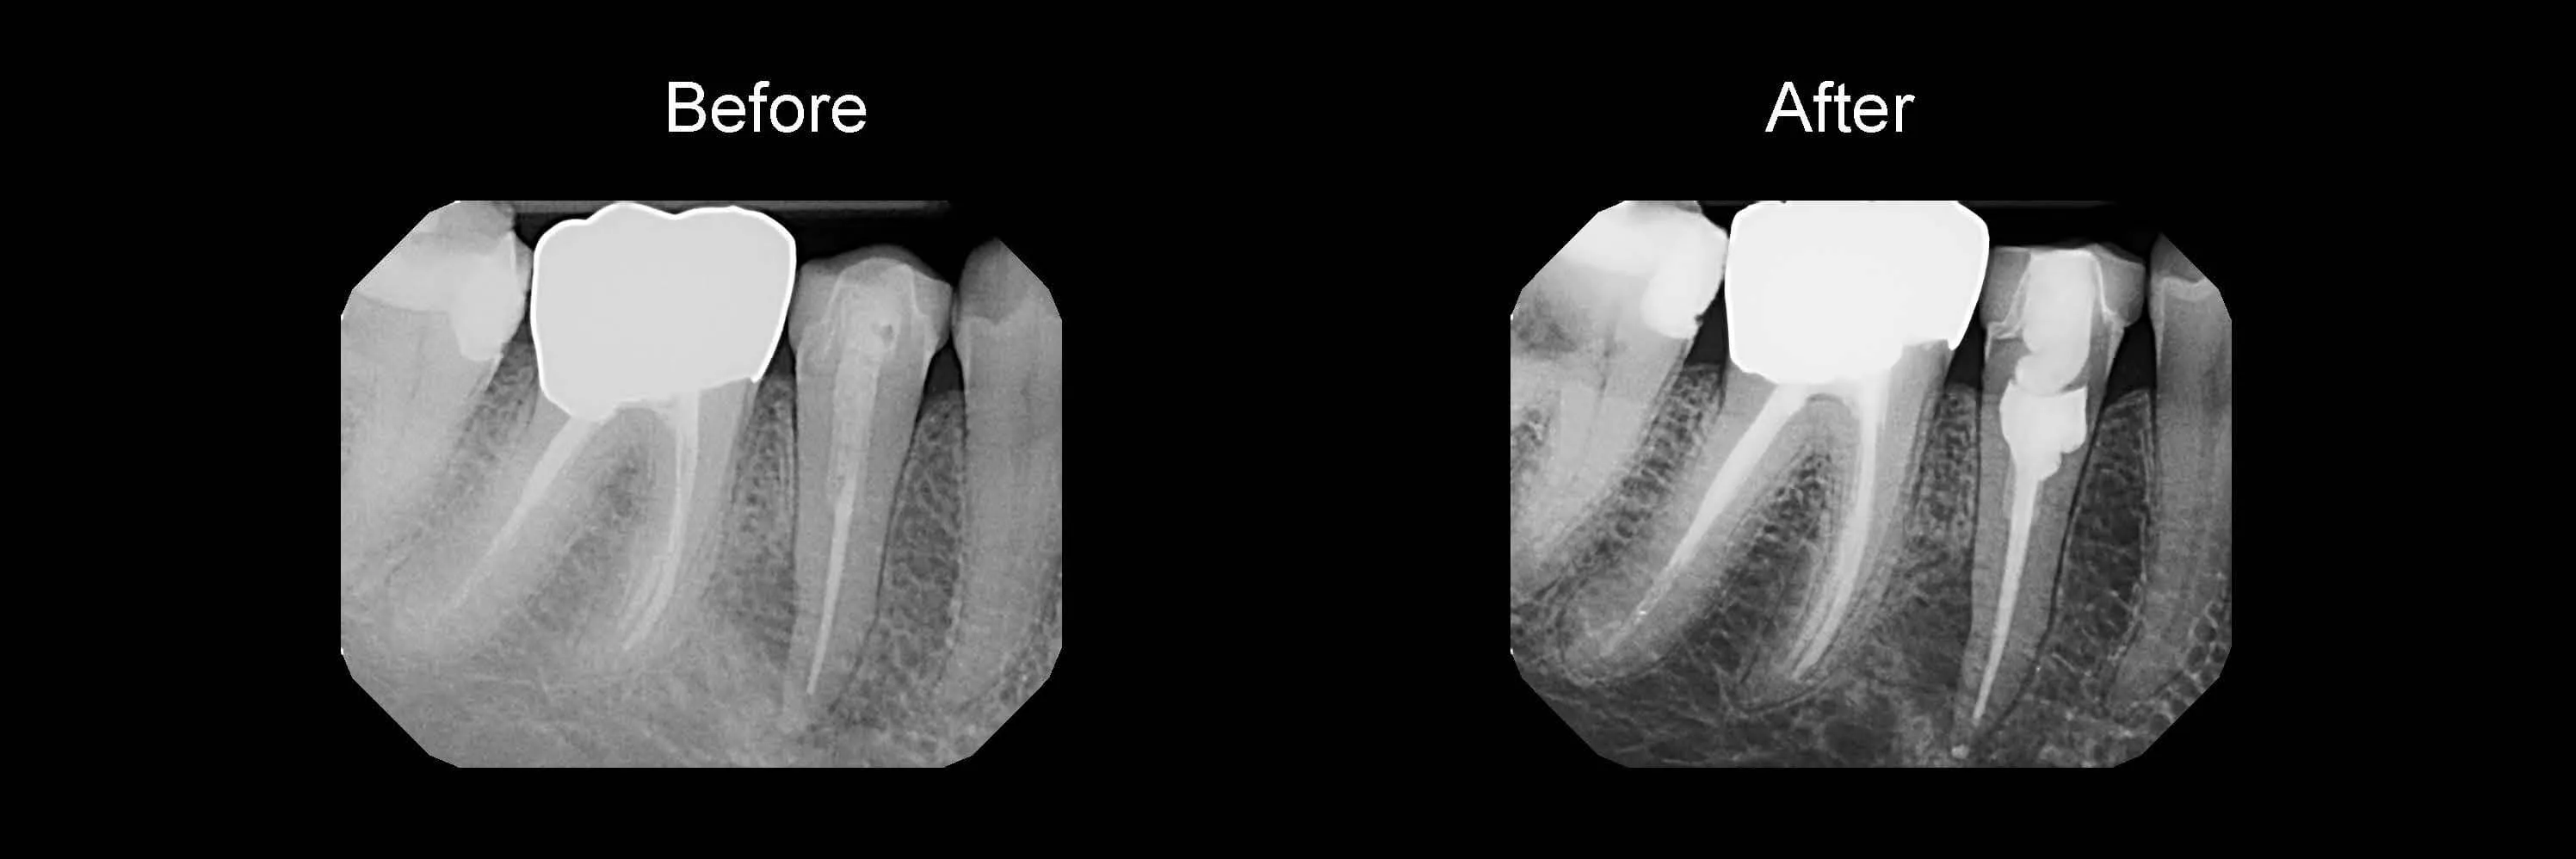
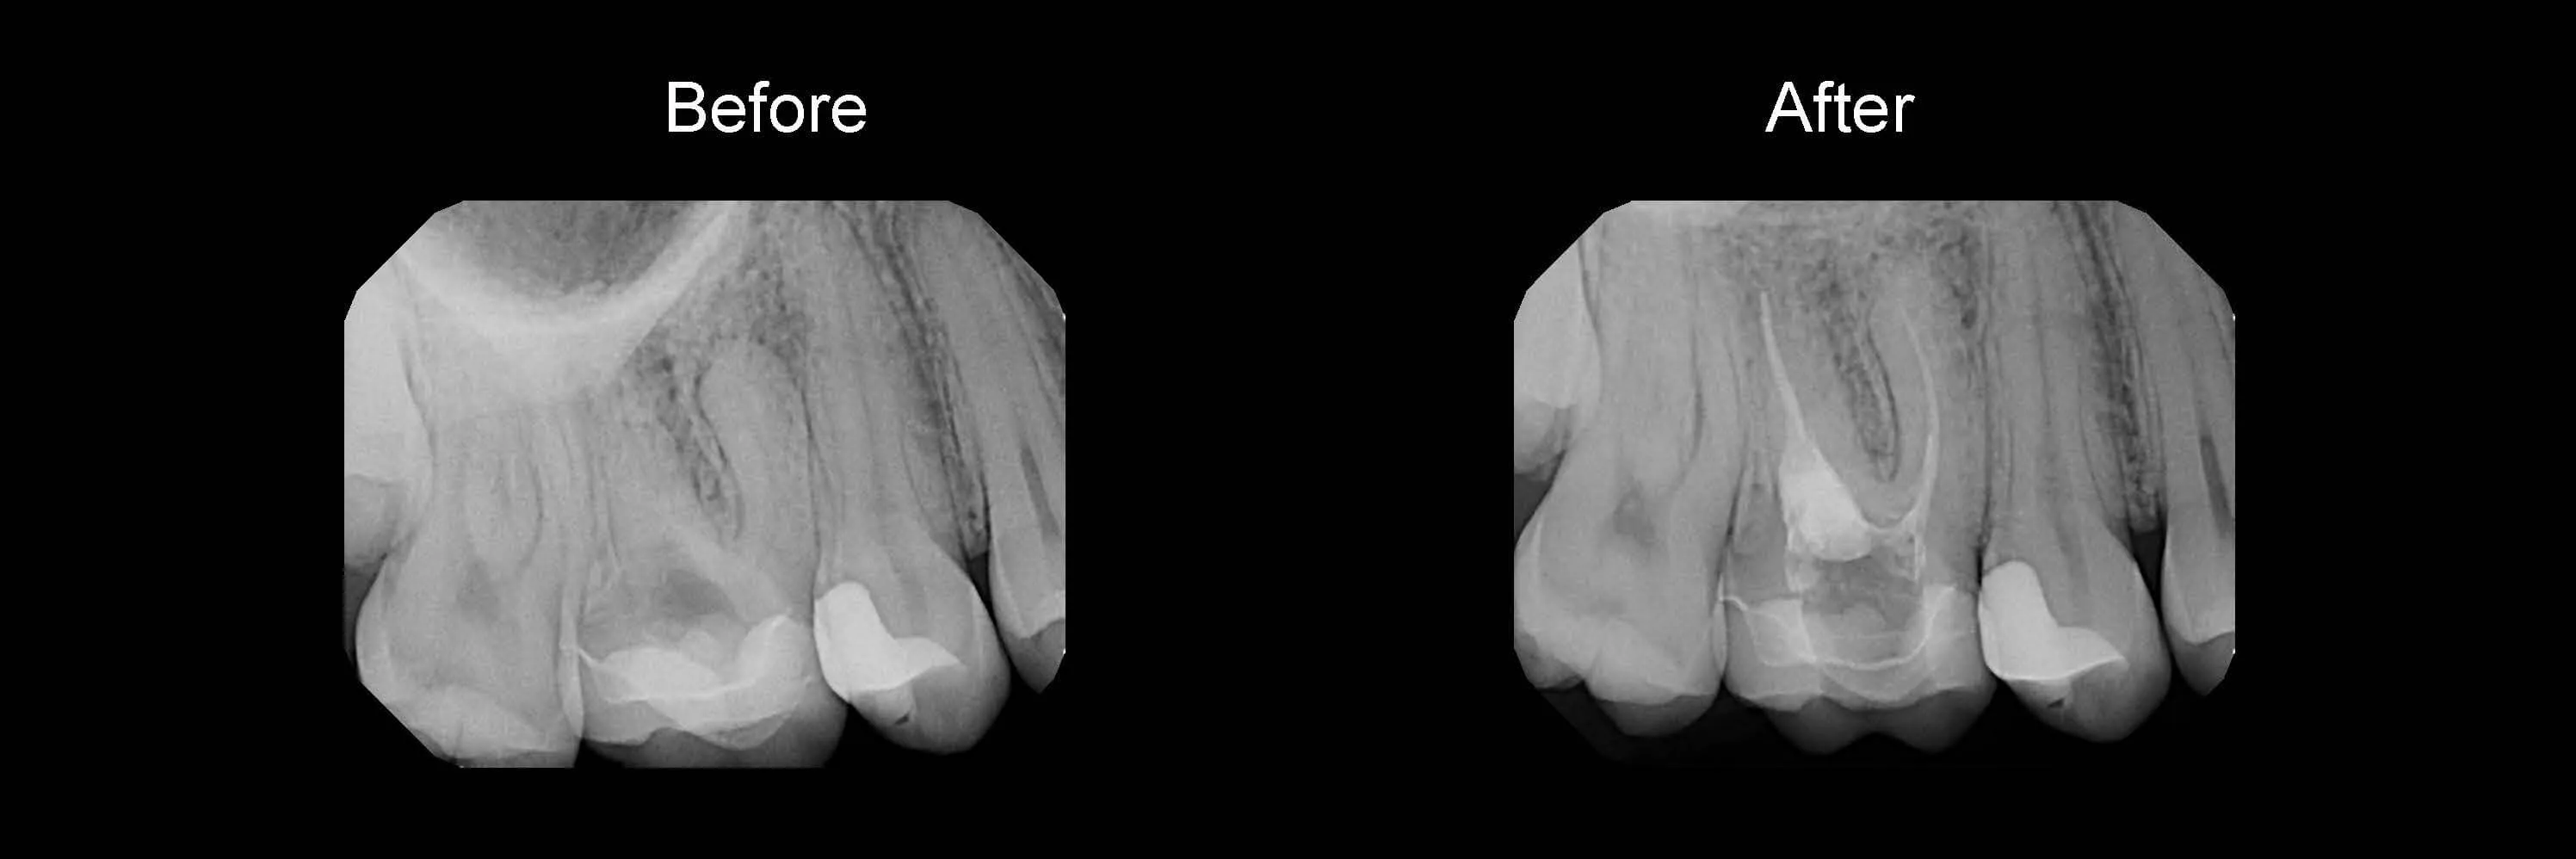
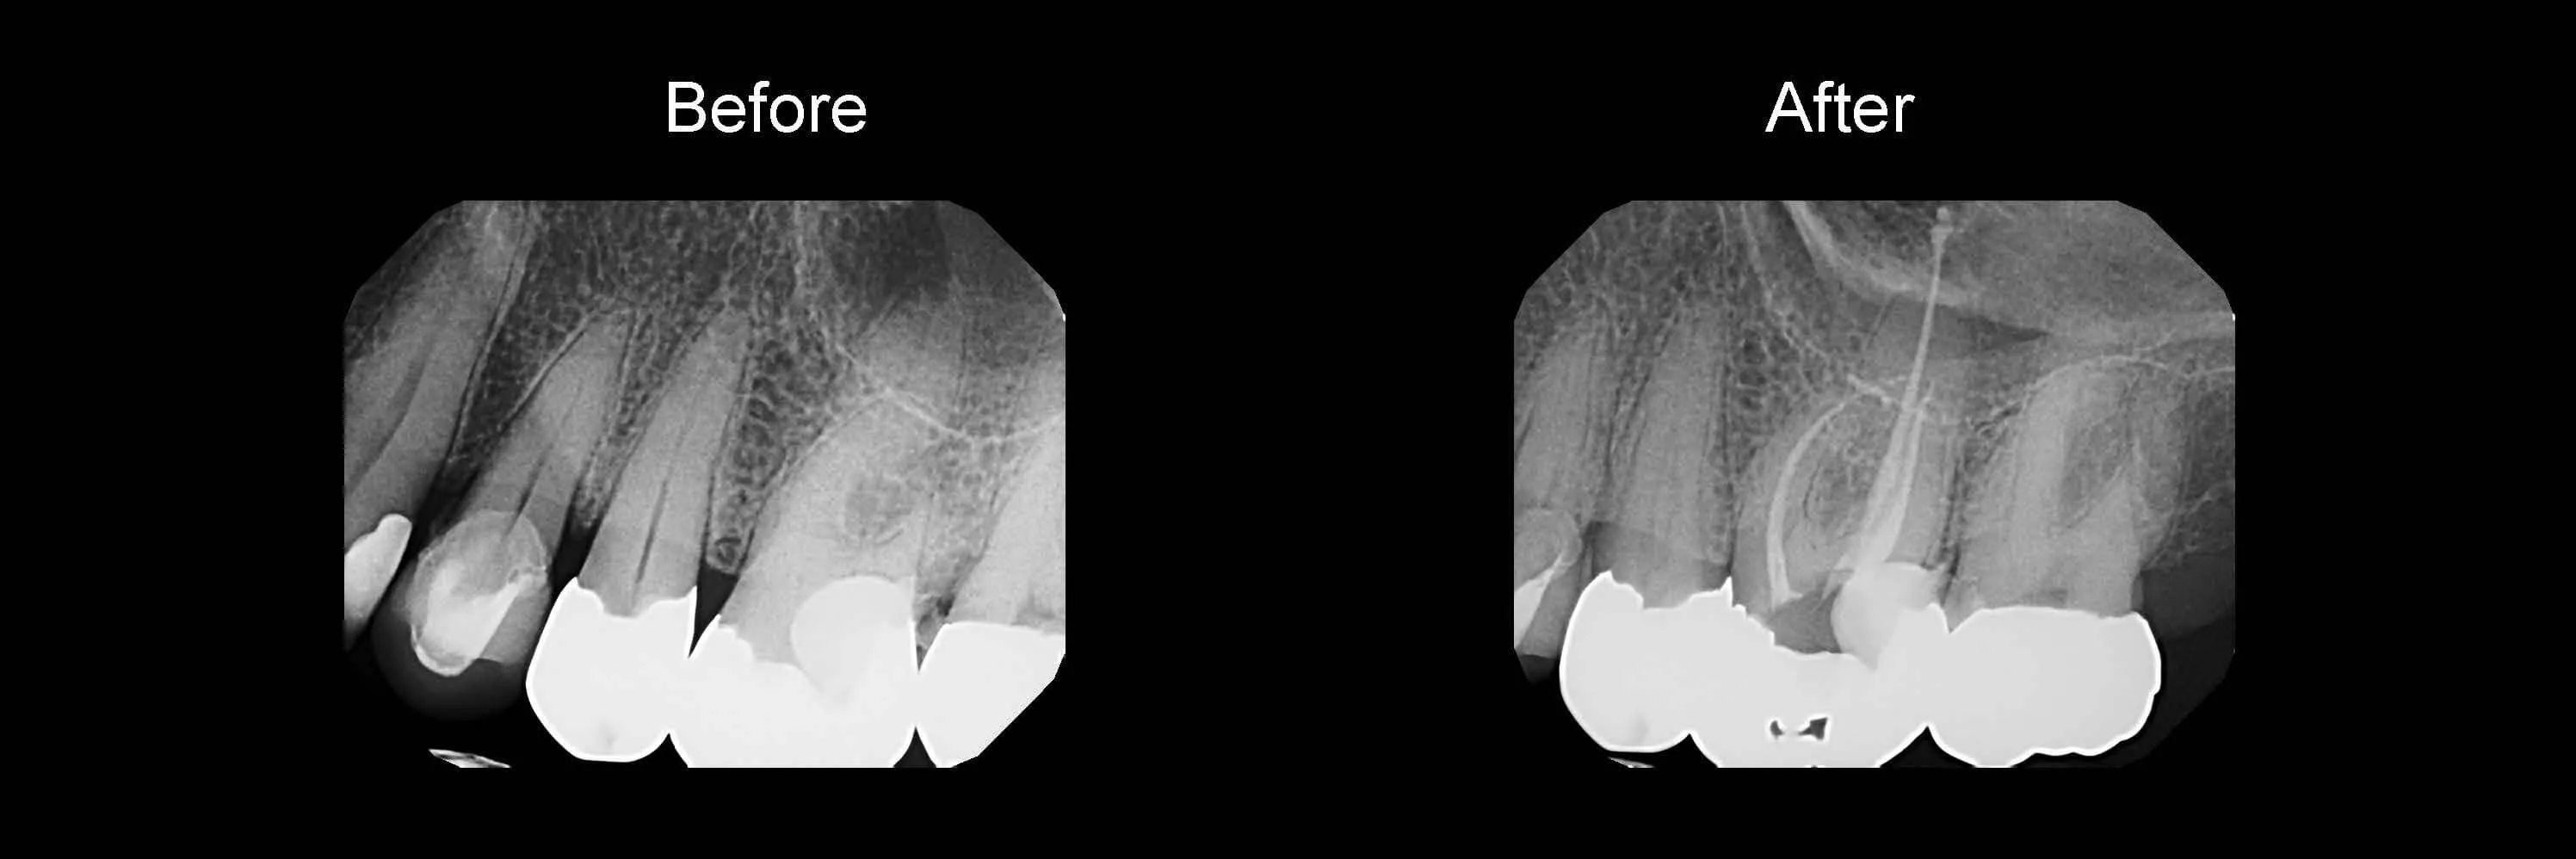
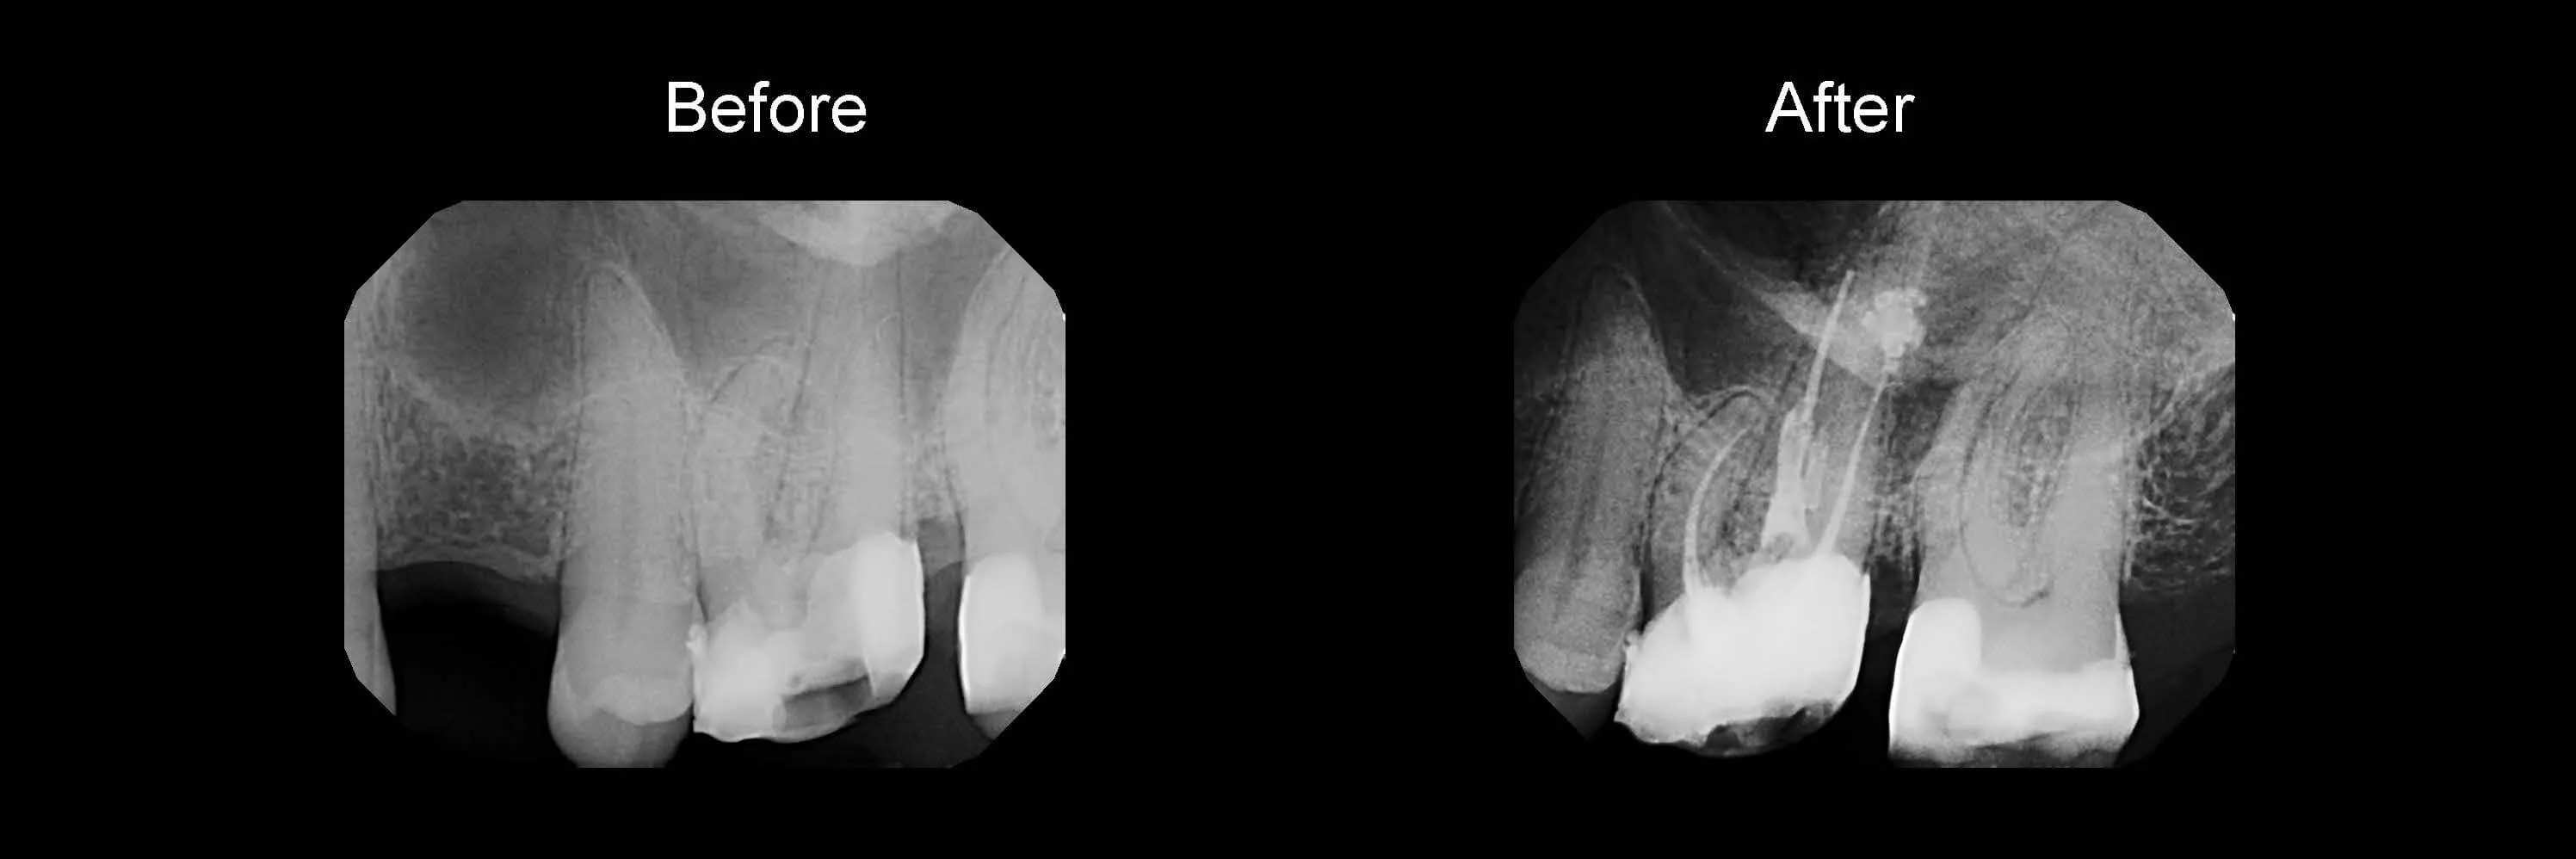
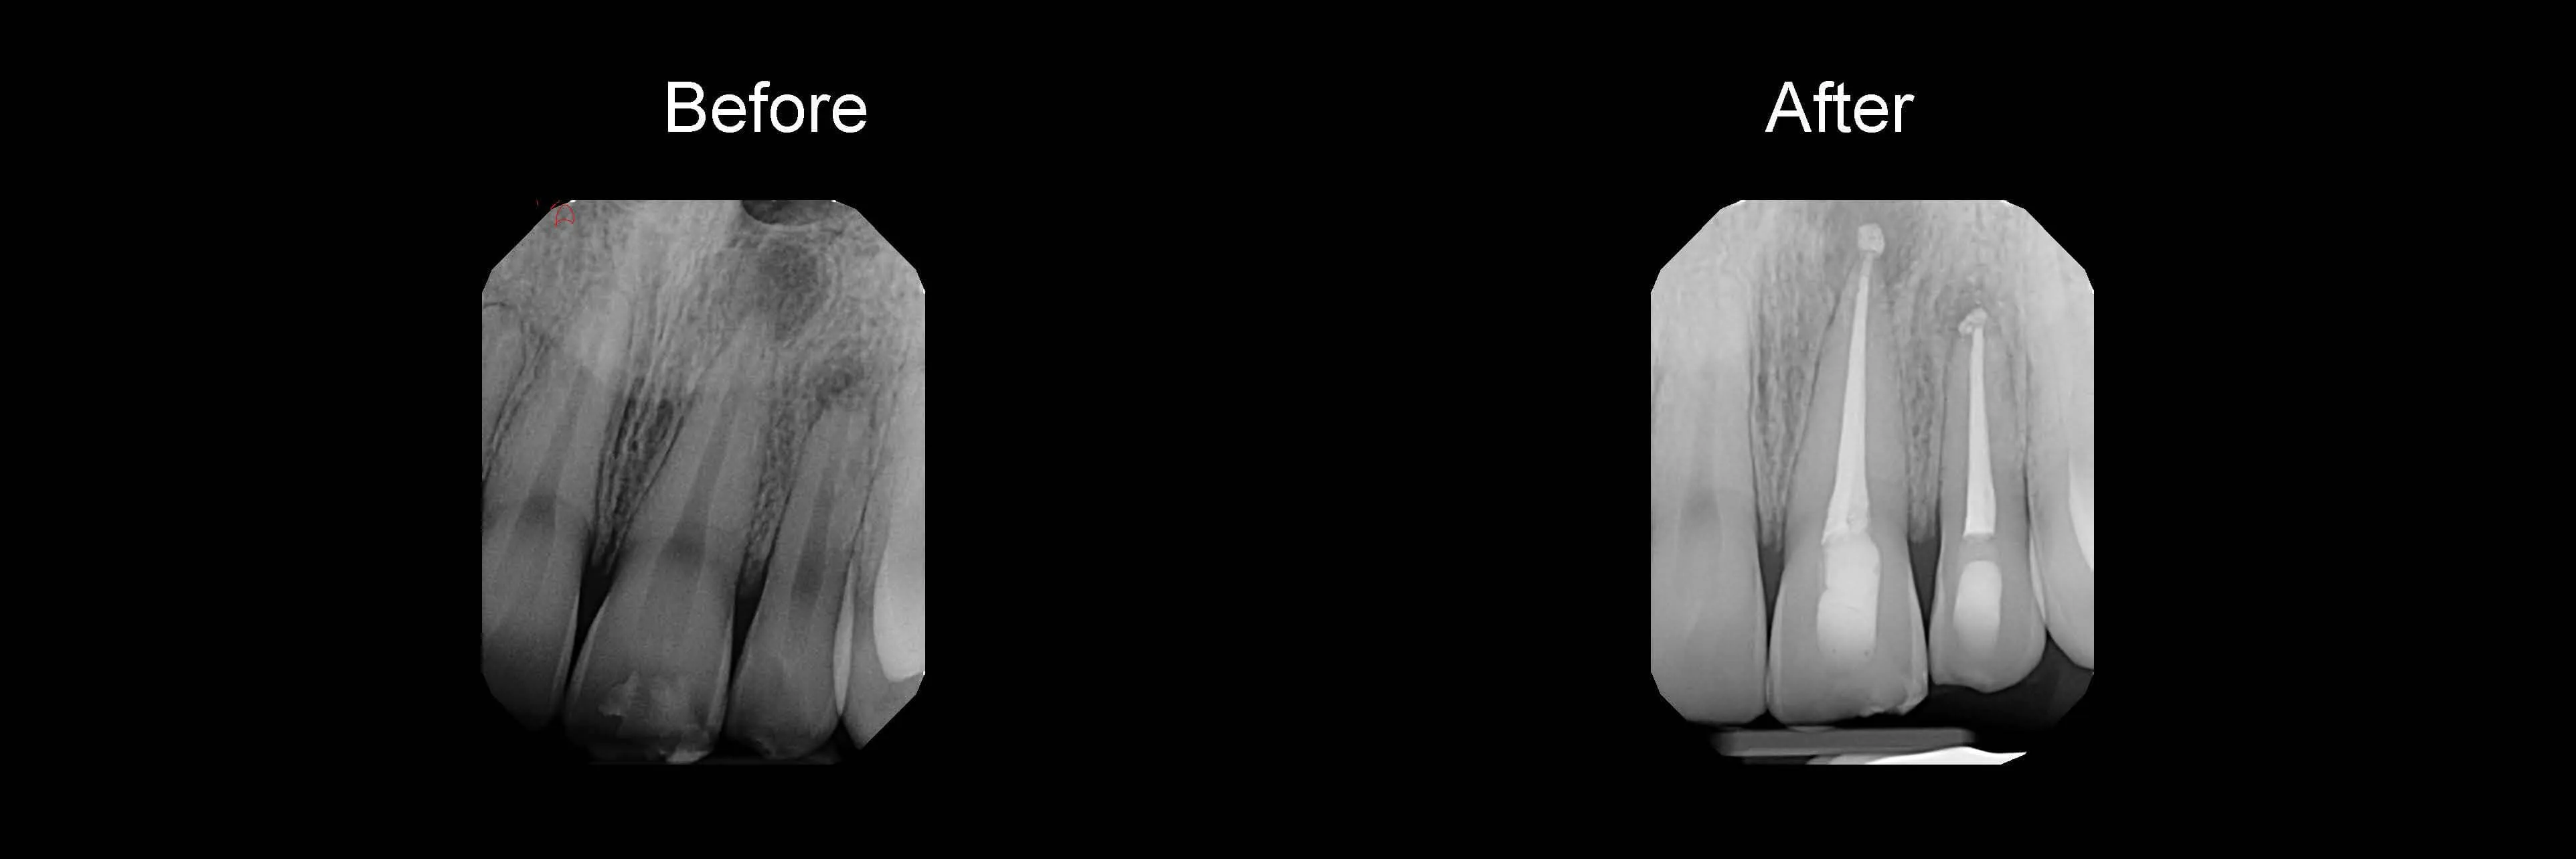
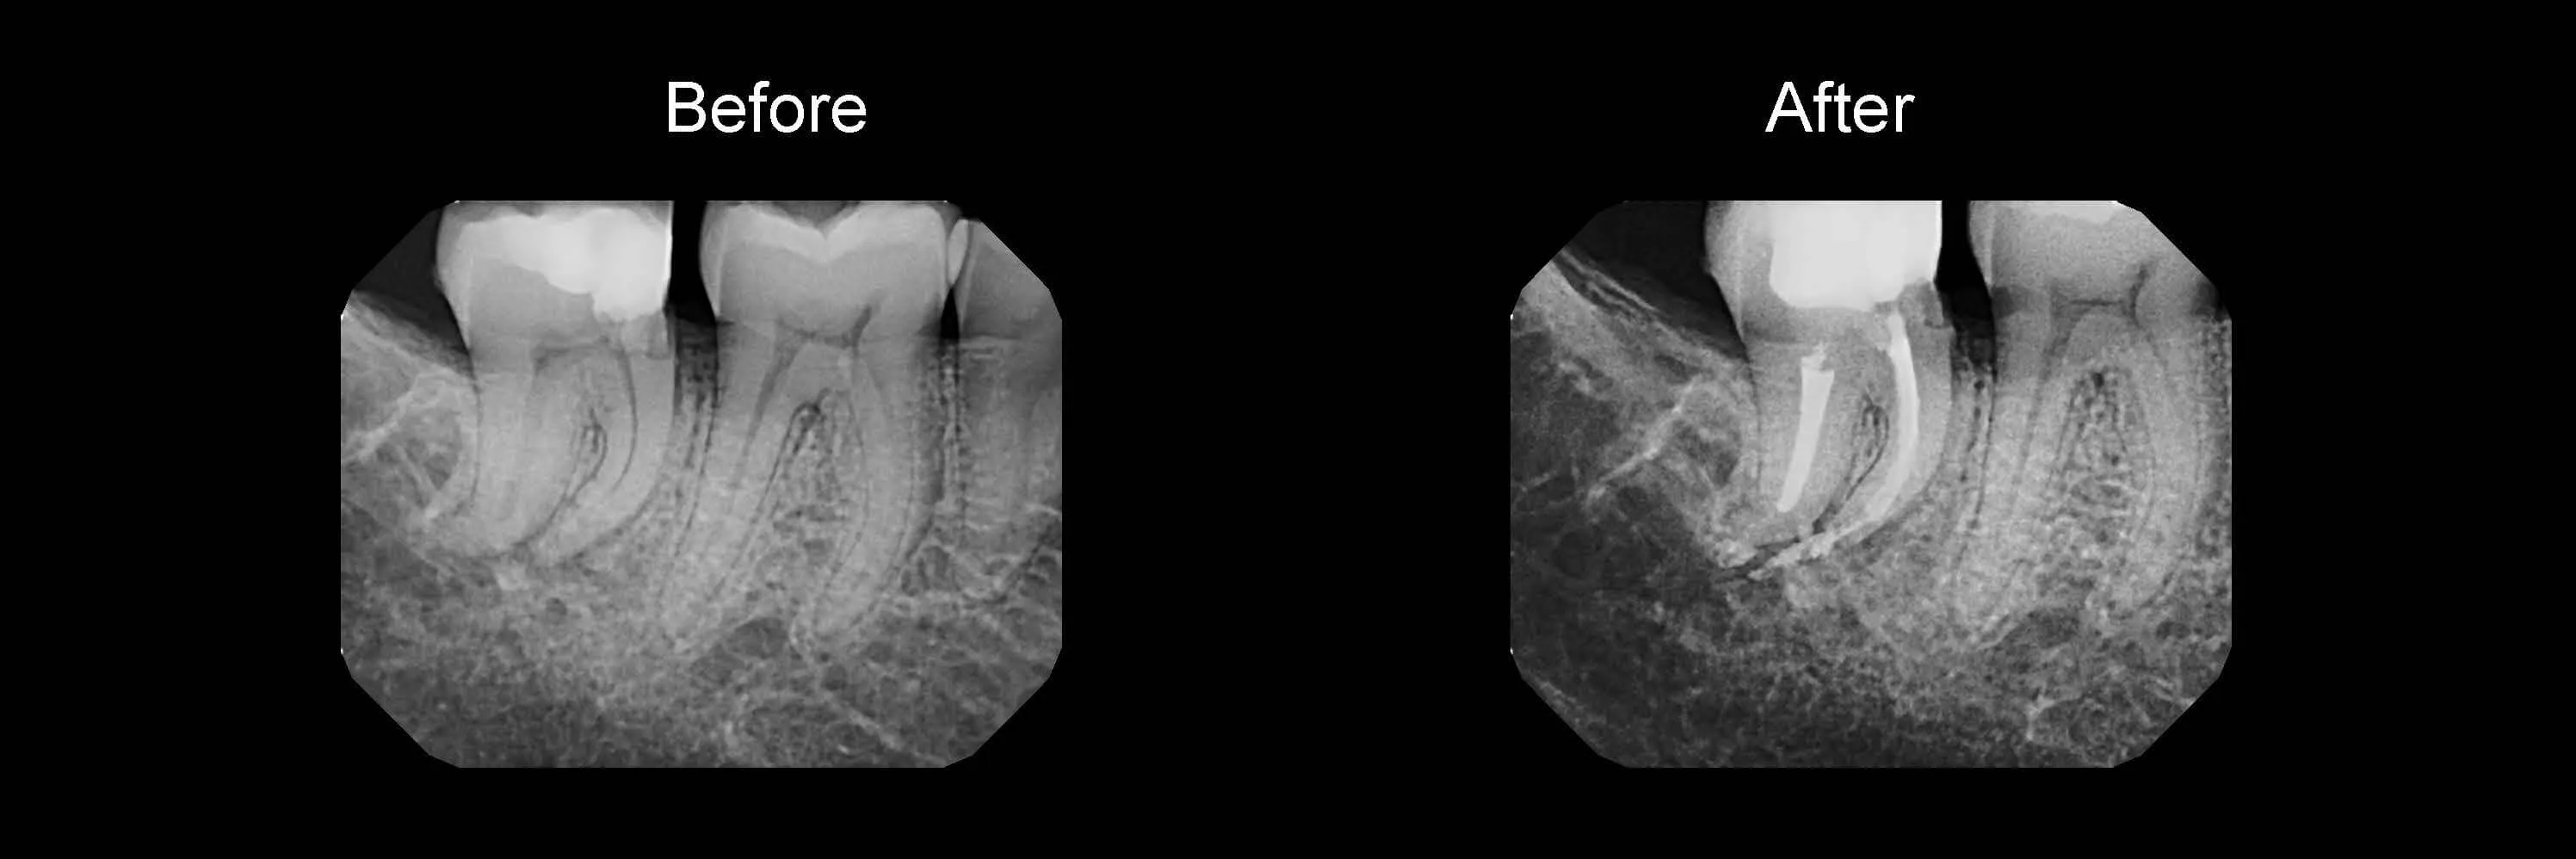
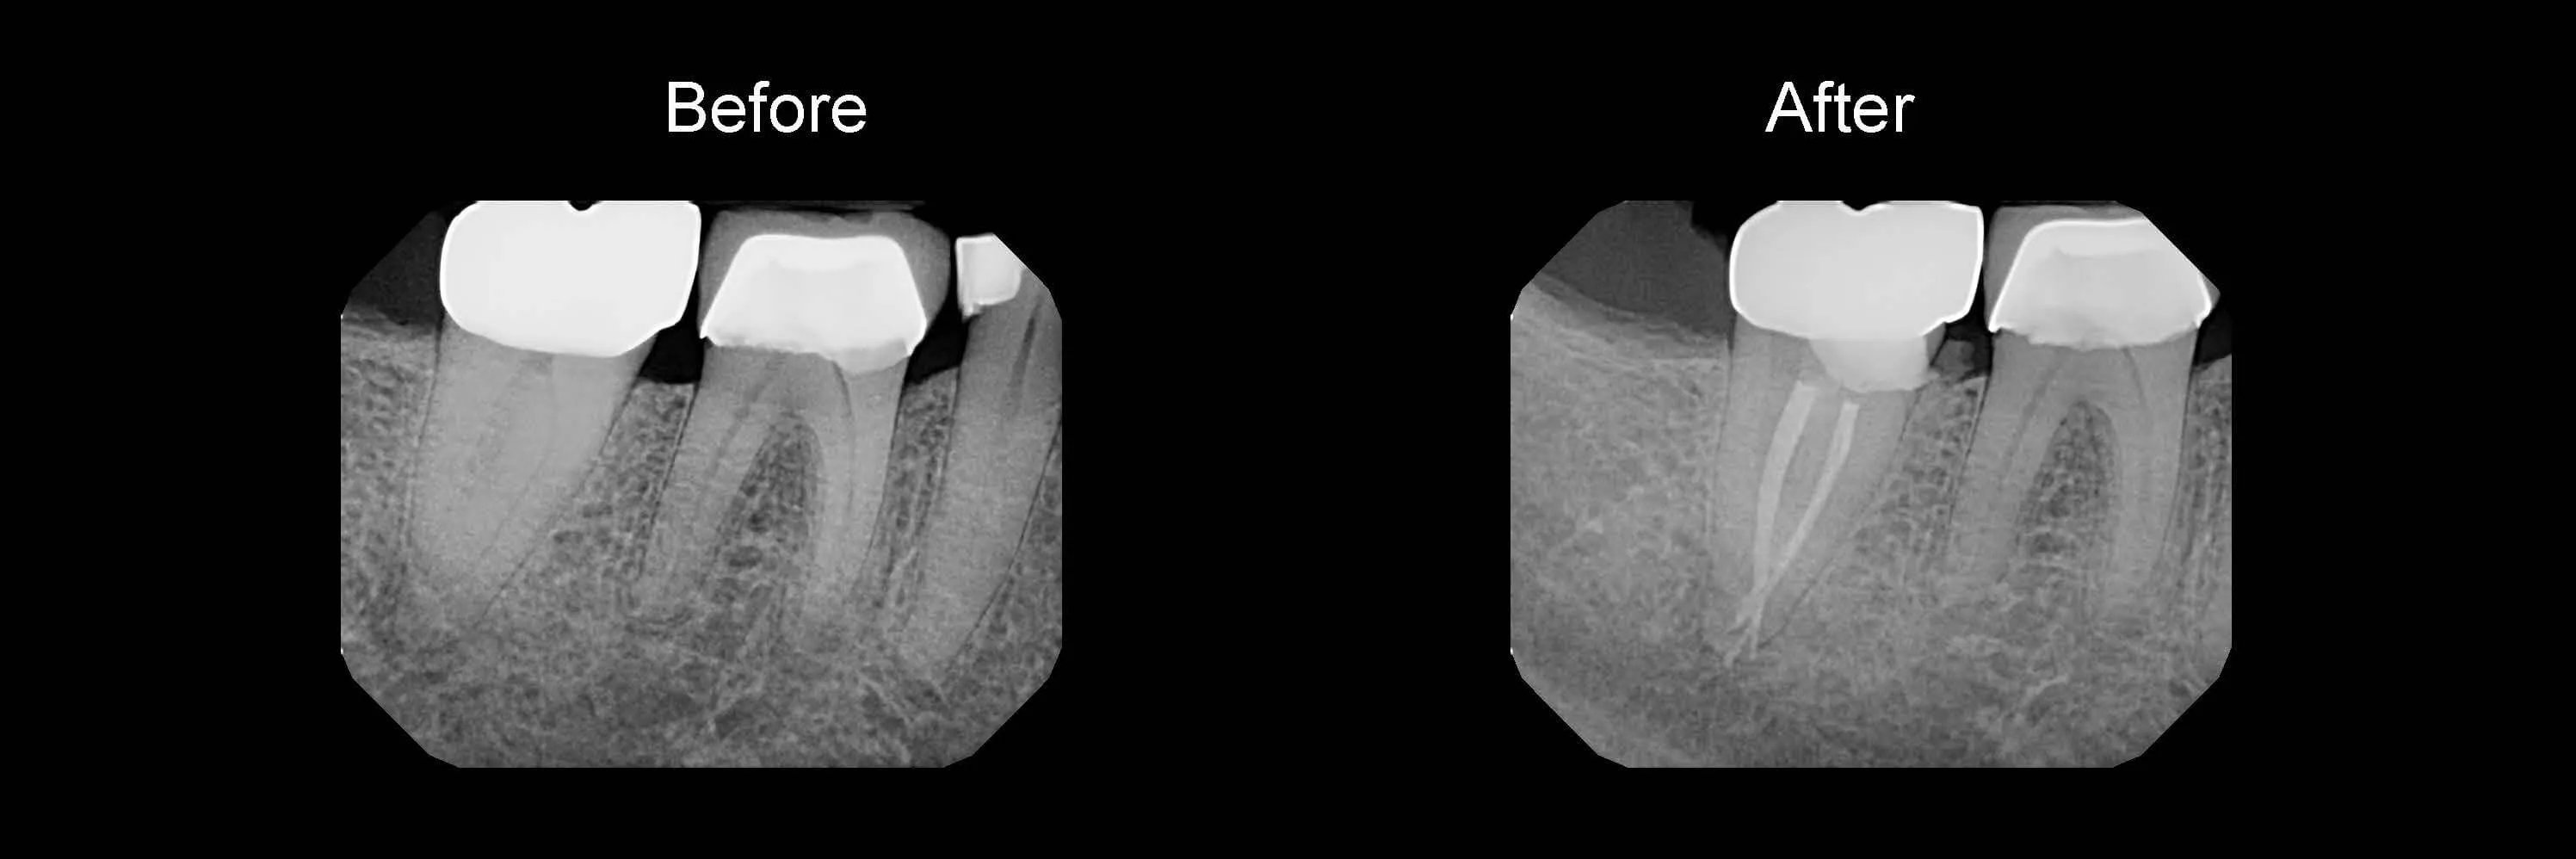
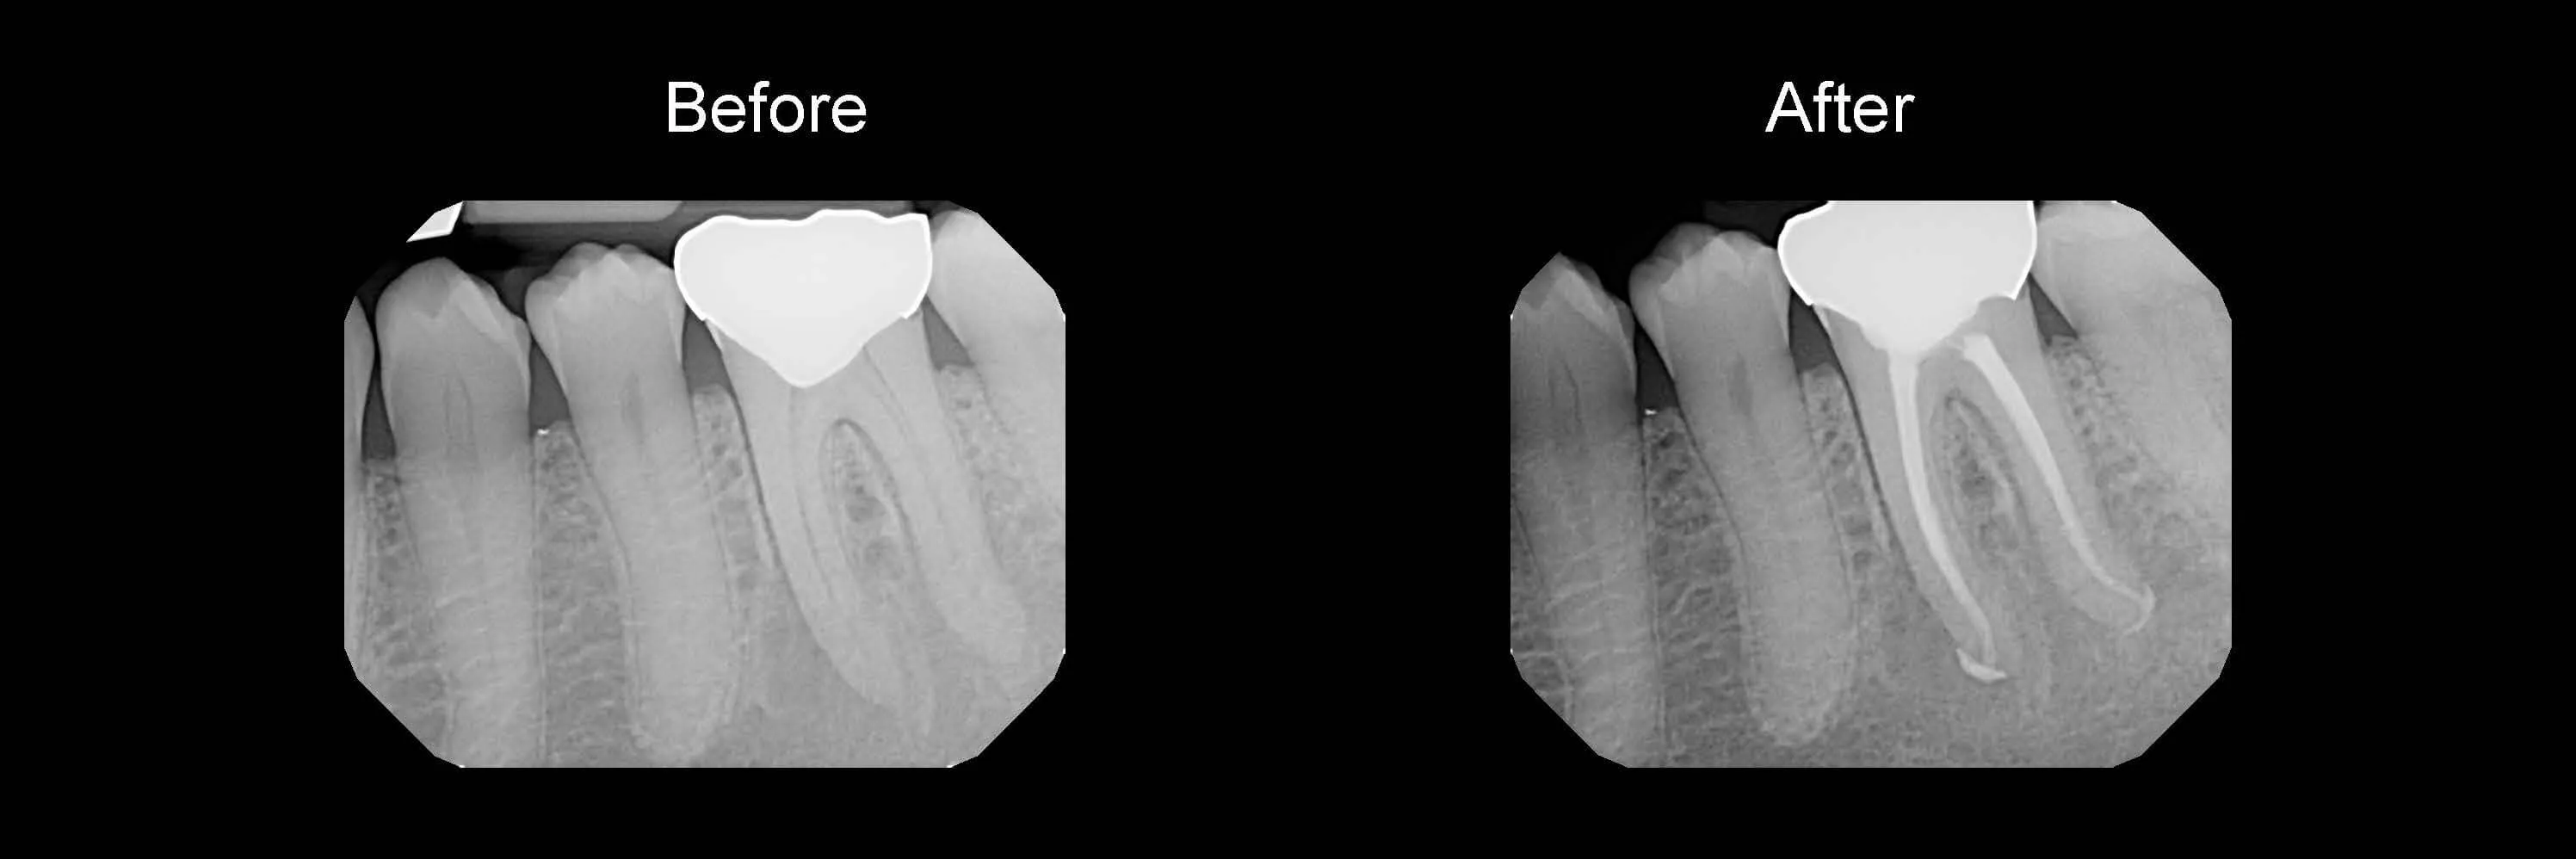
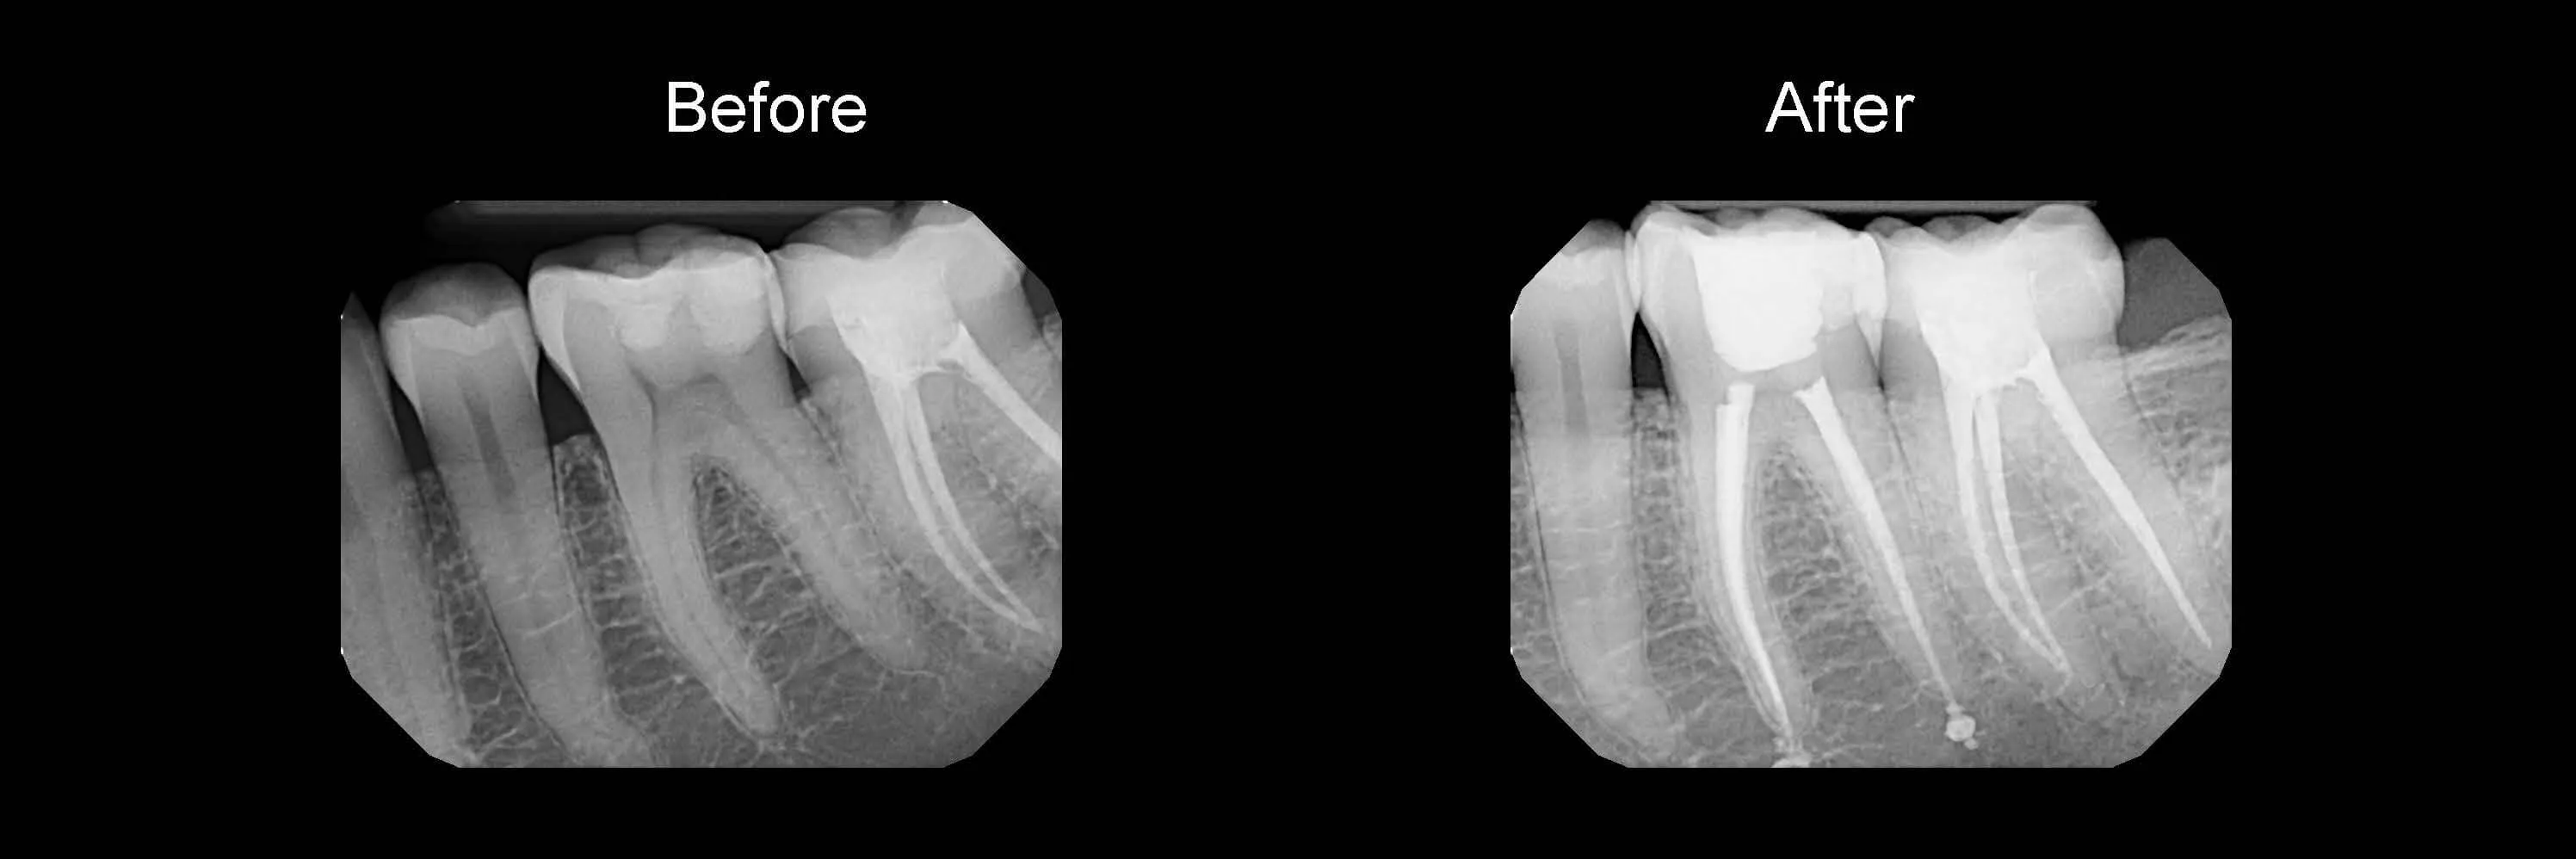
Safe Root Canals Using Sonendo

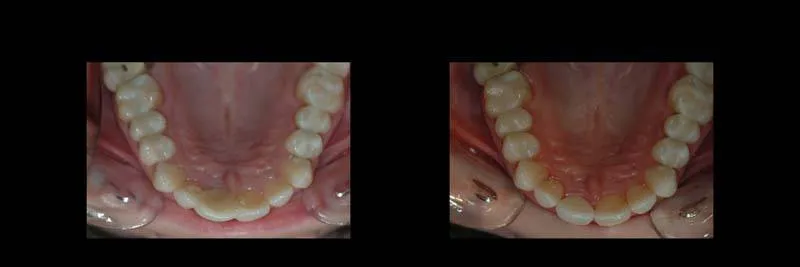
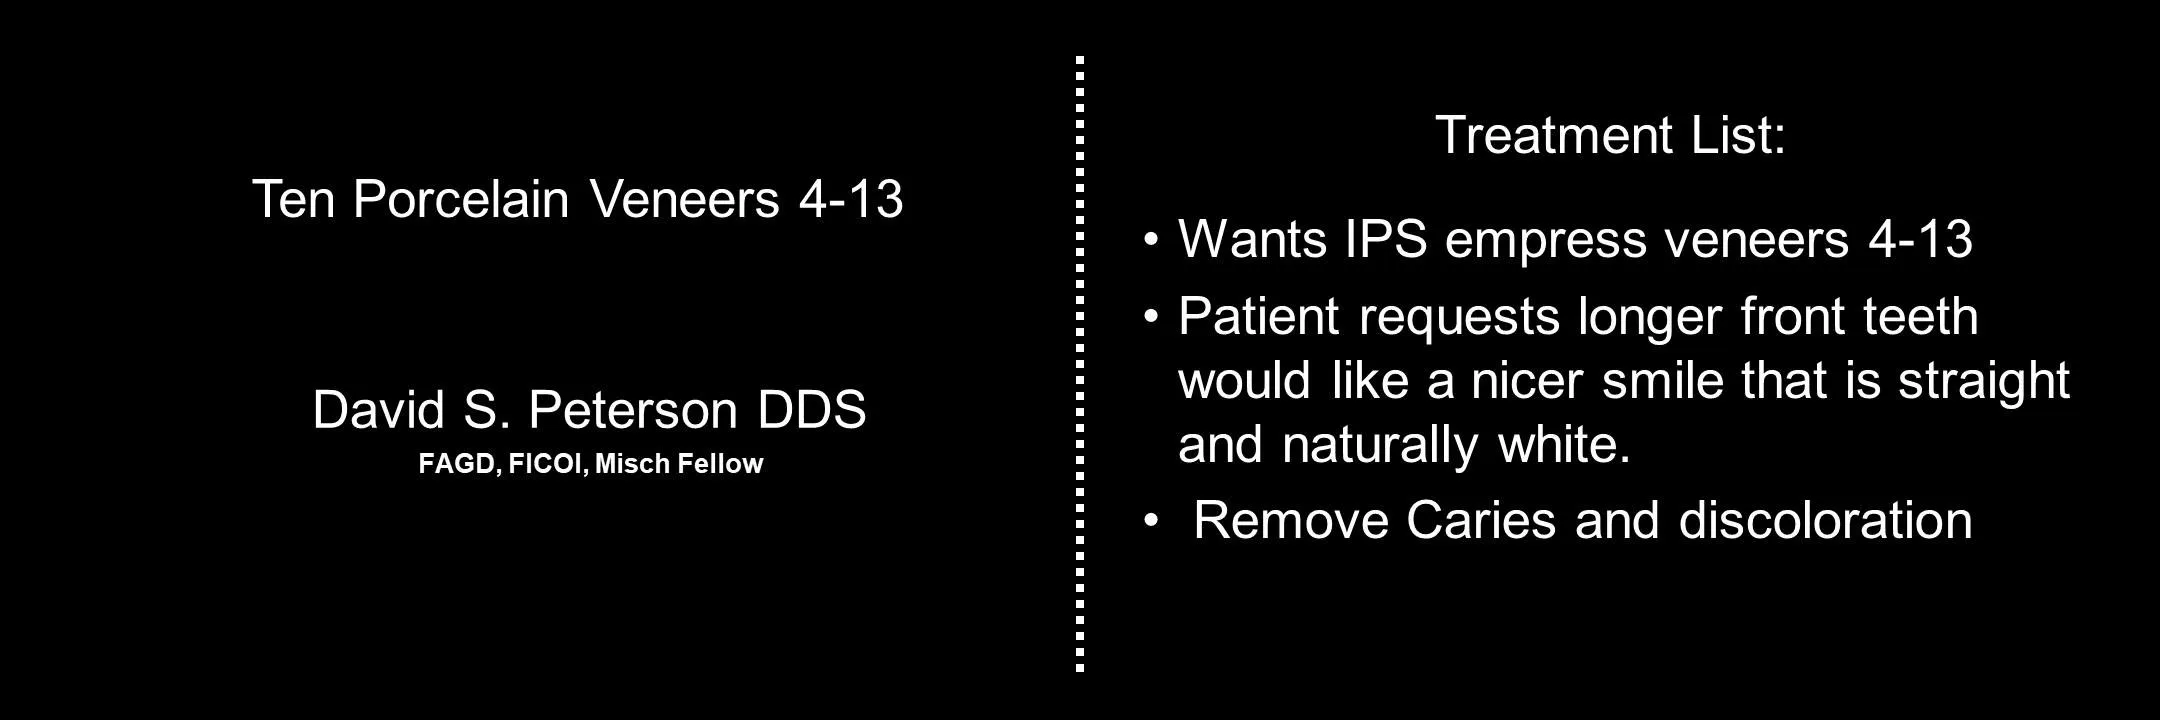
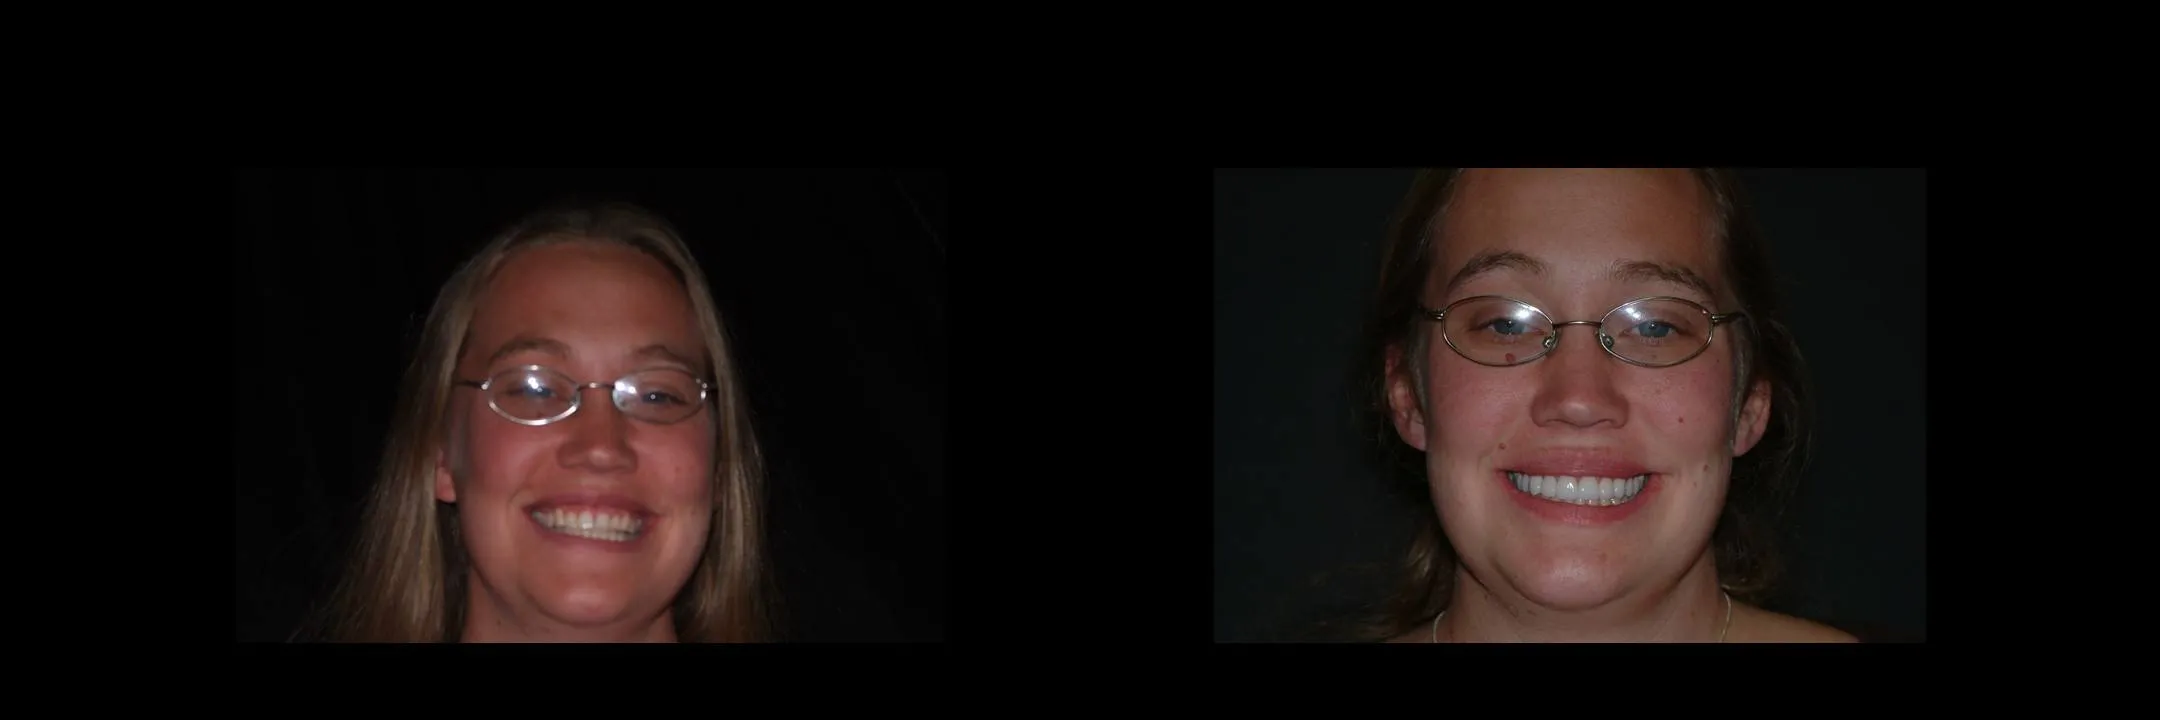
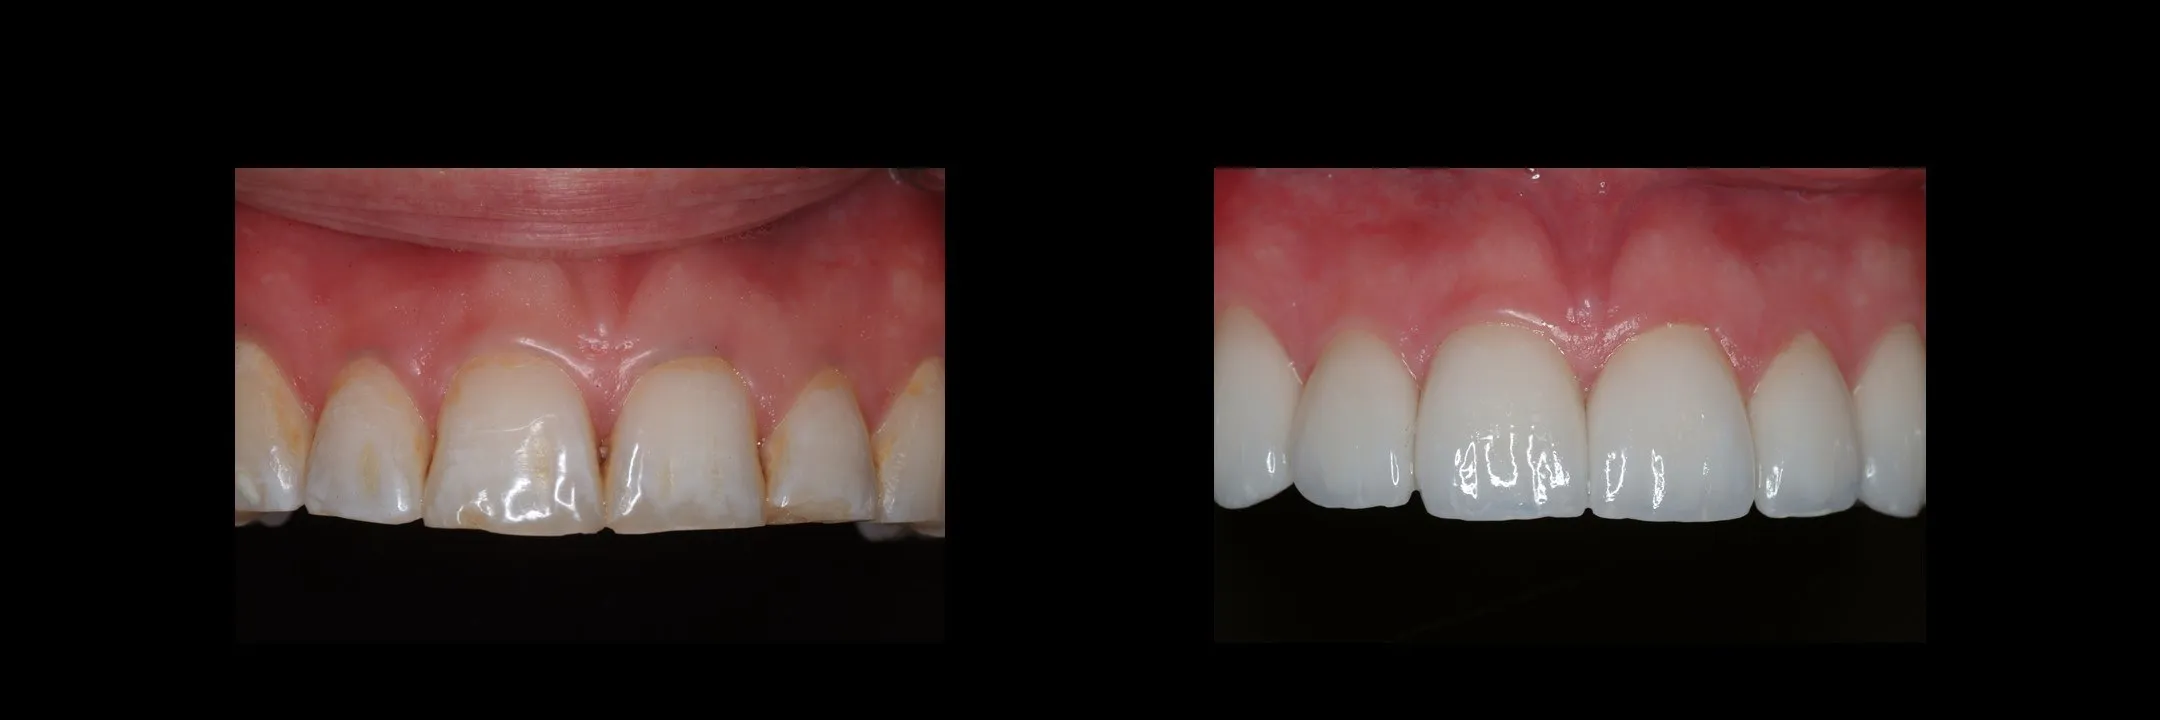
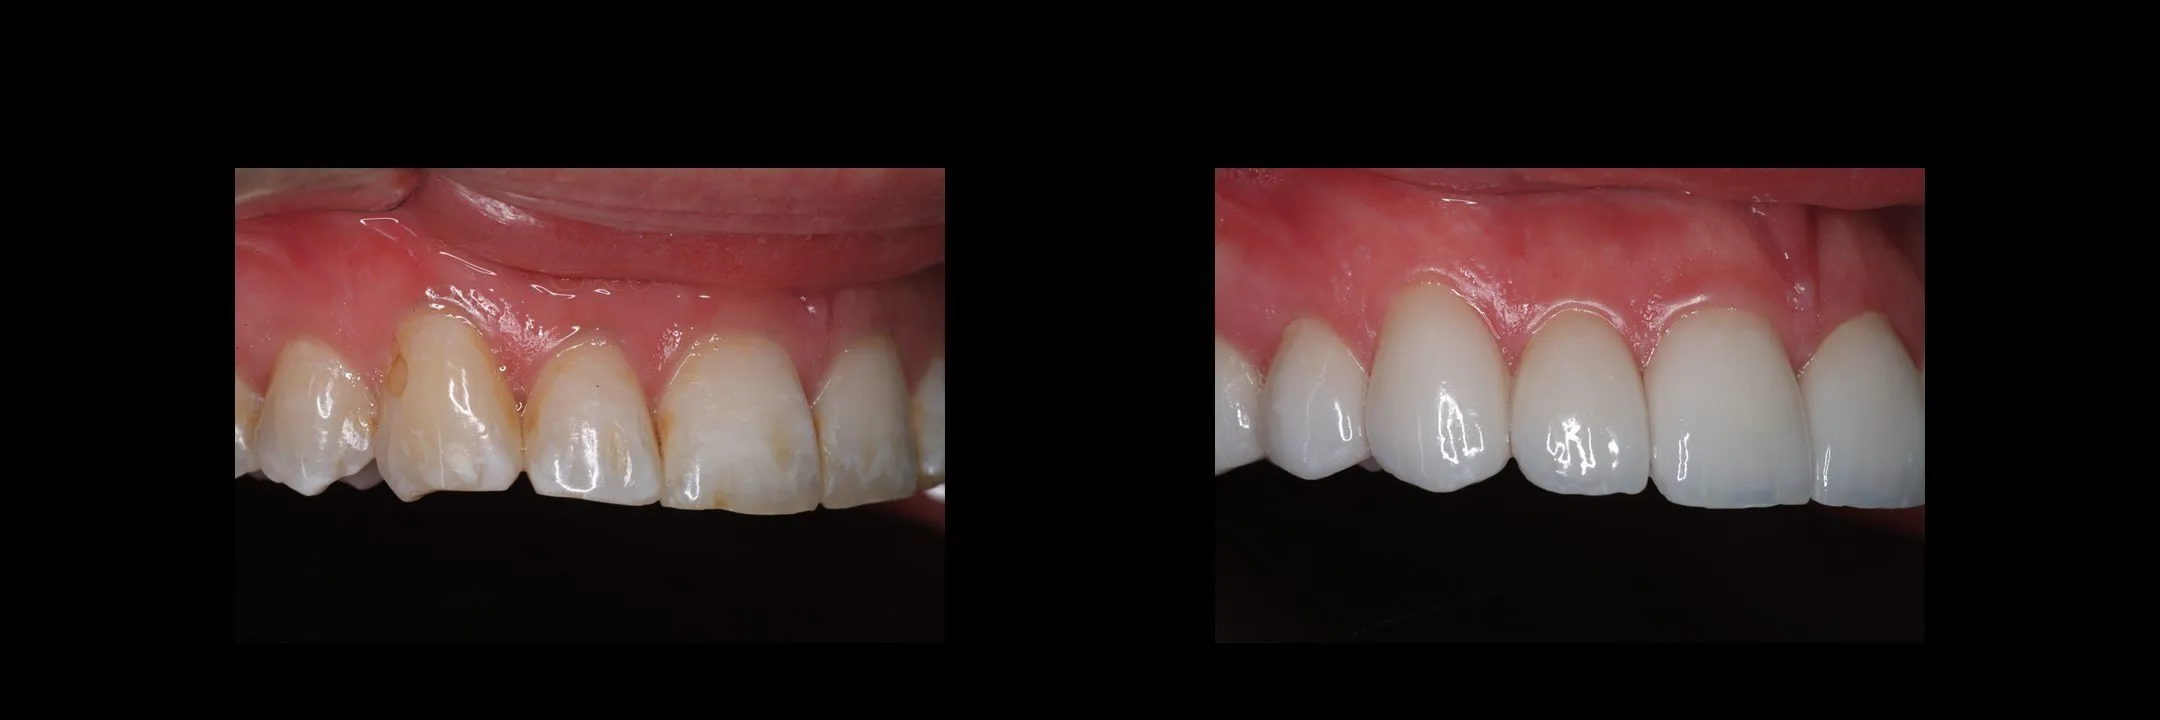
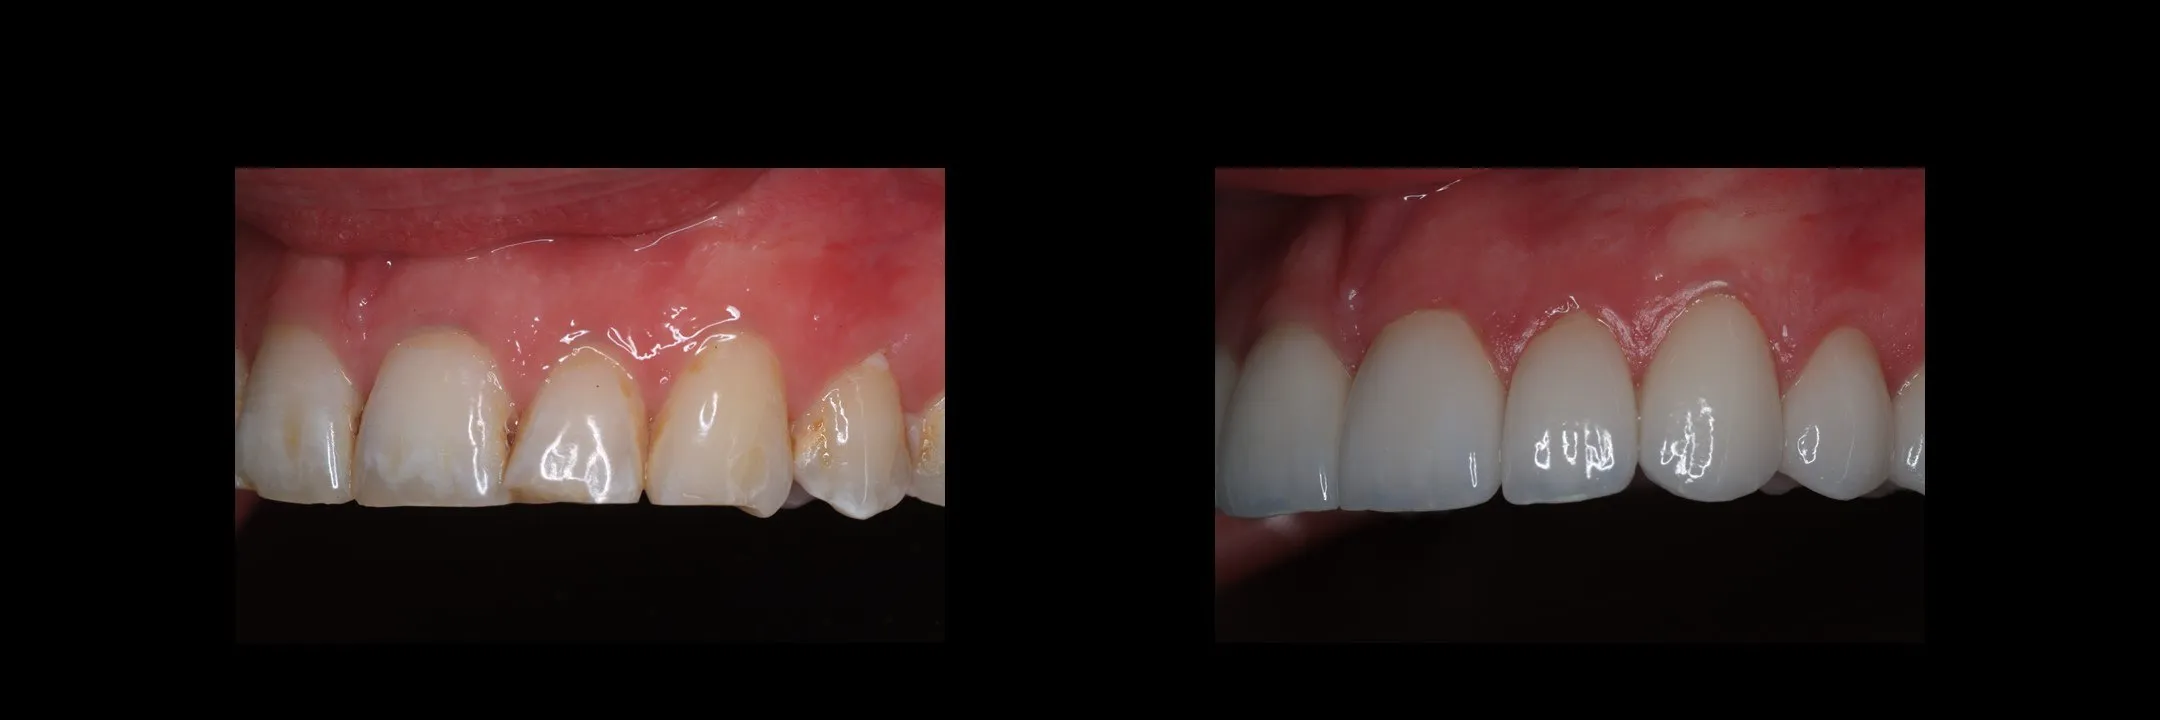
Porcelain Veneers


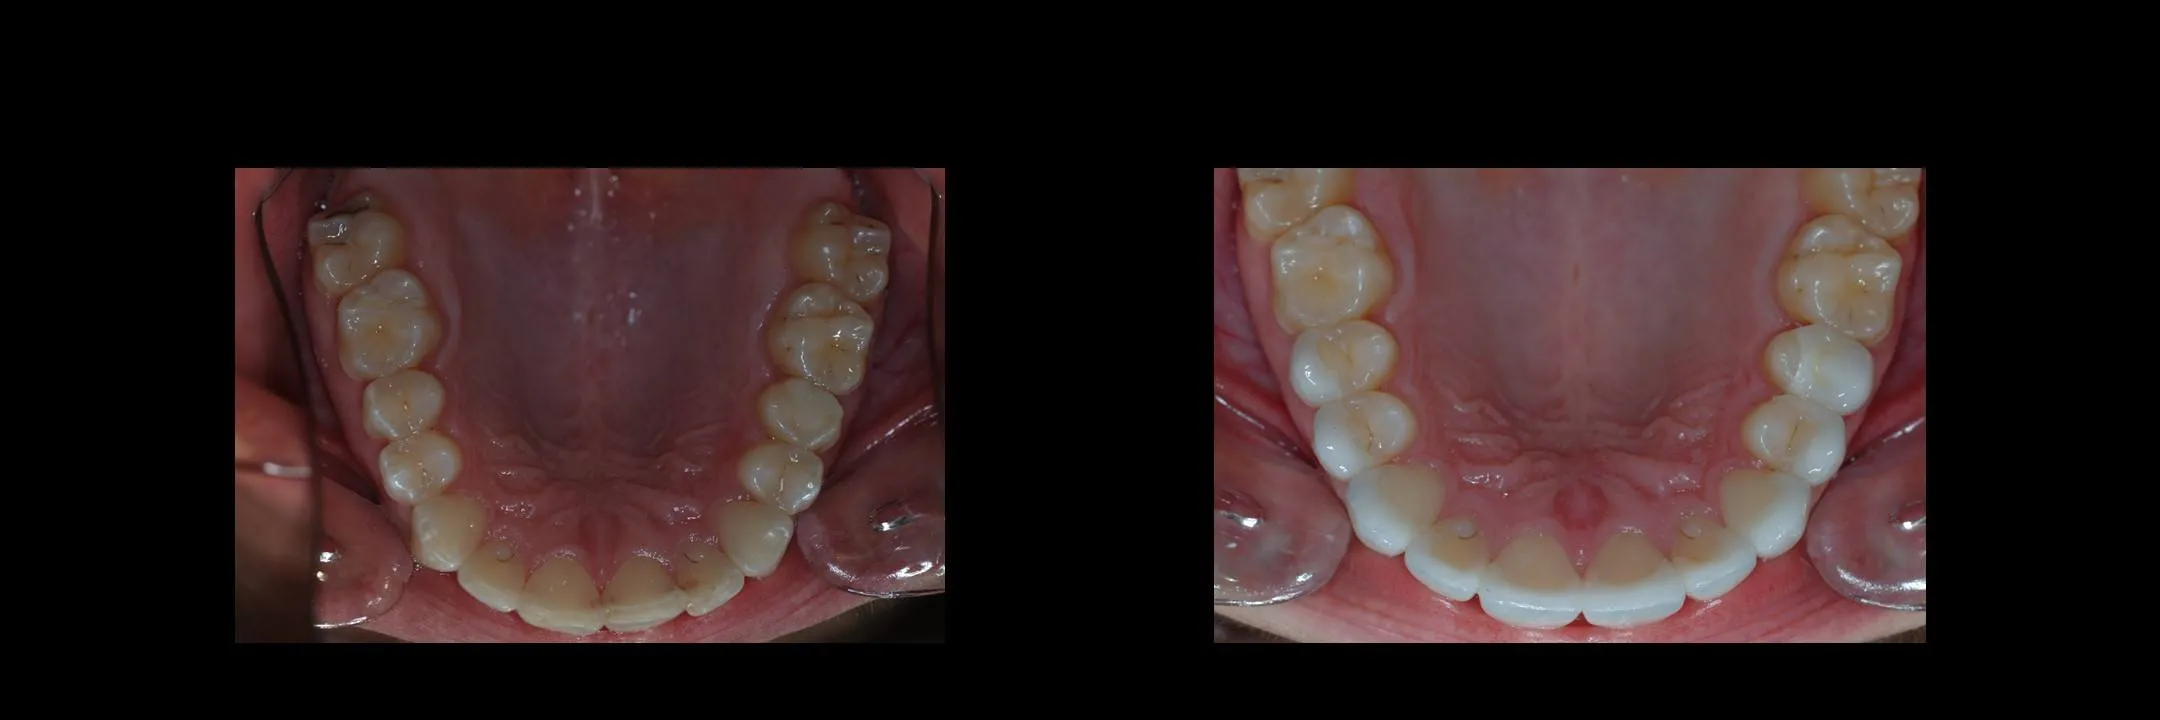
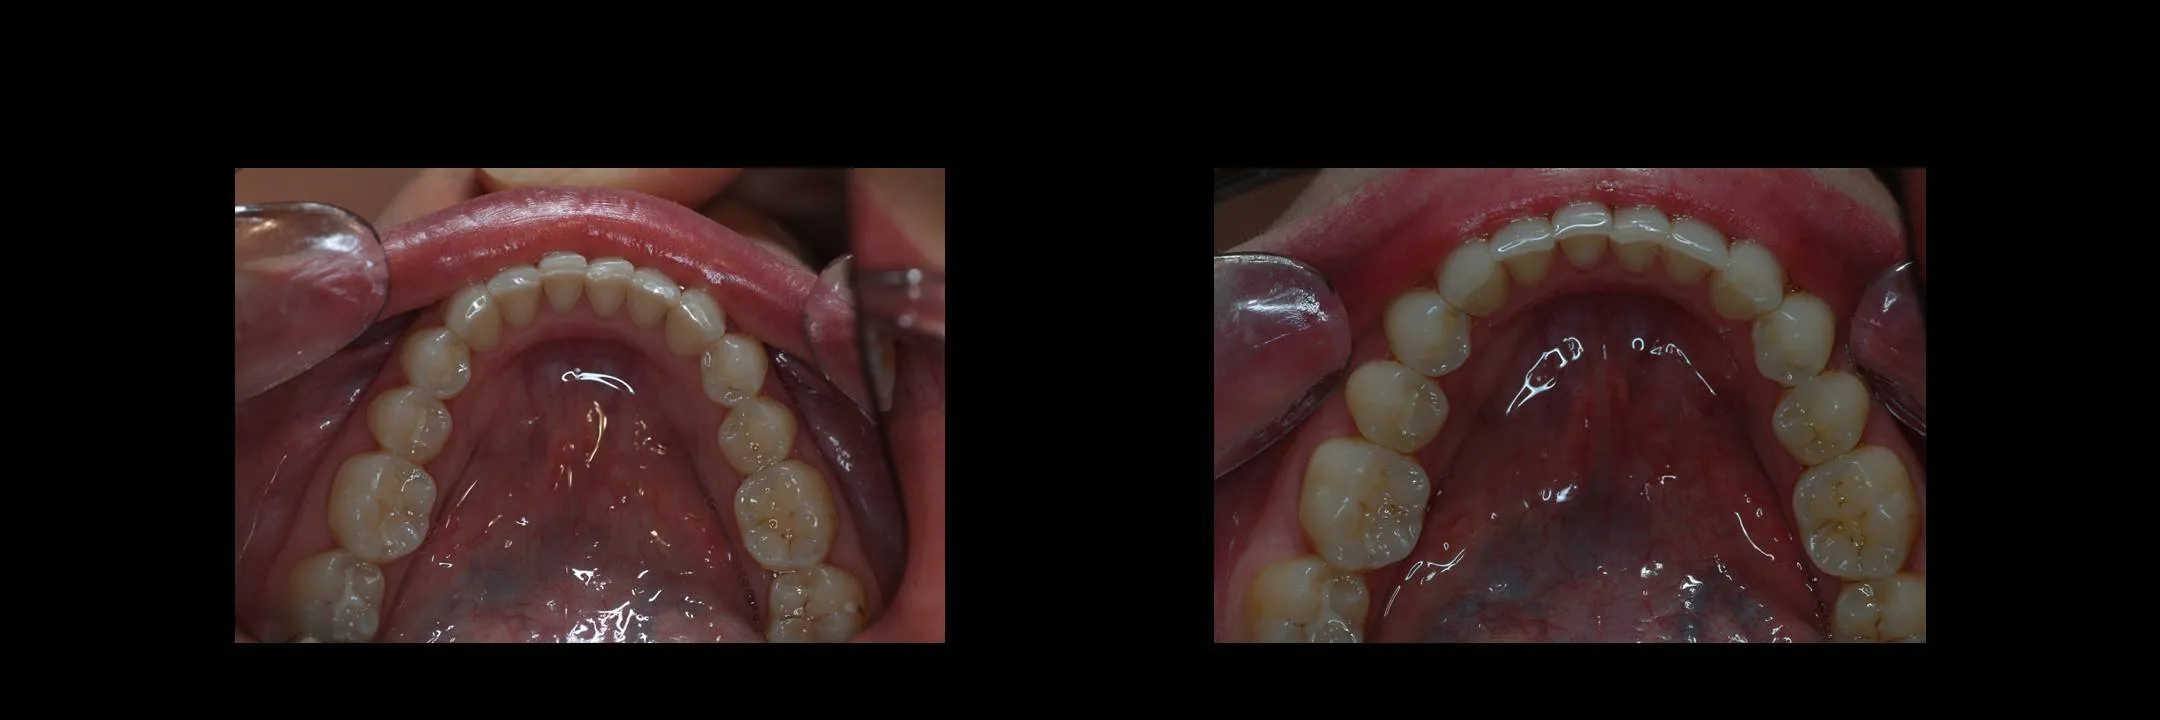
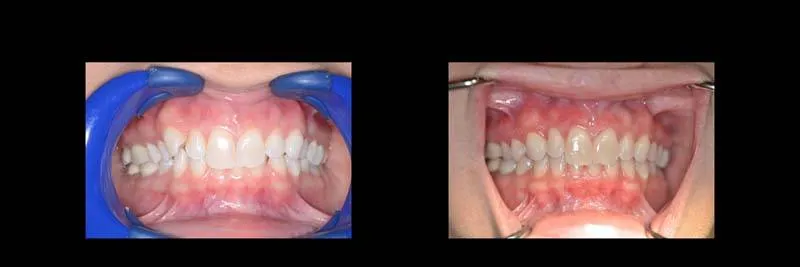
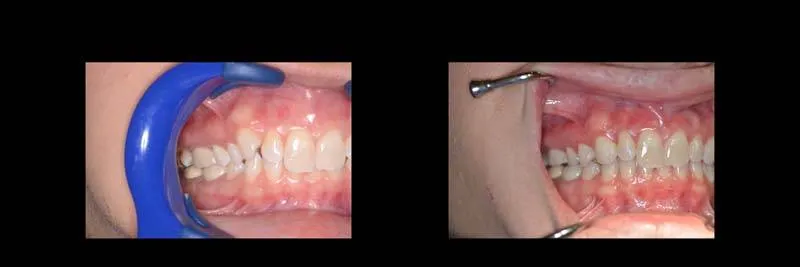
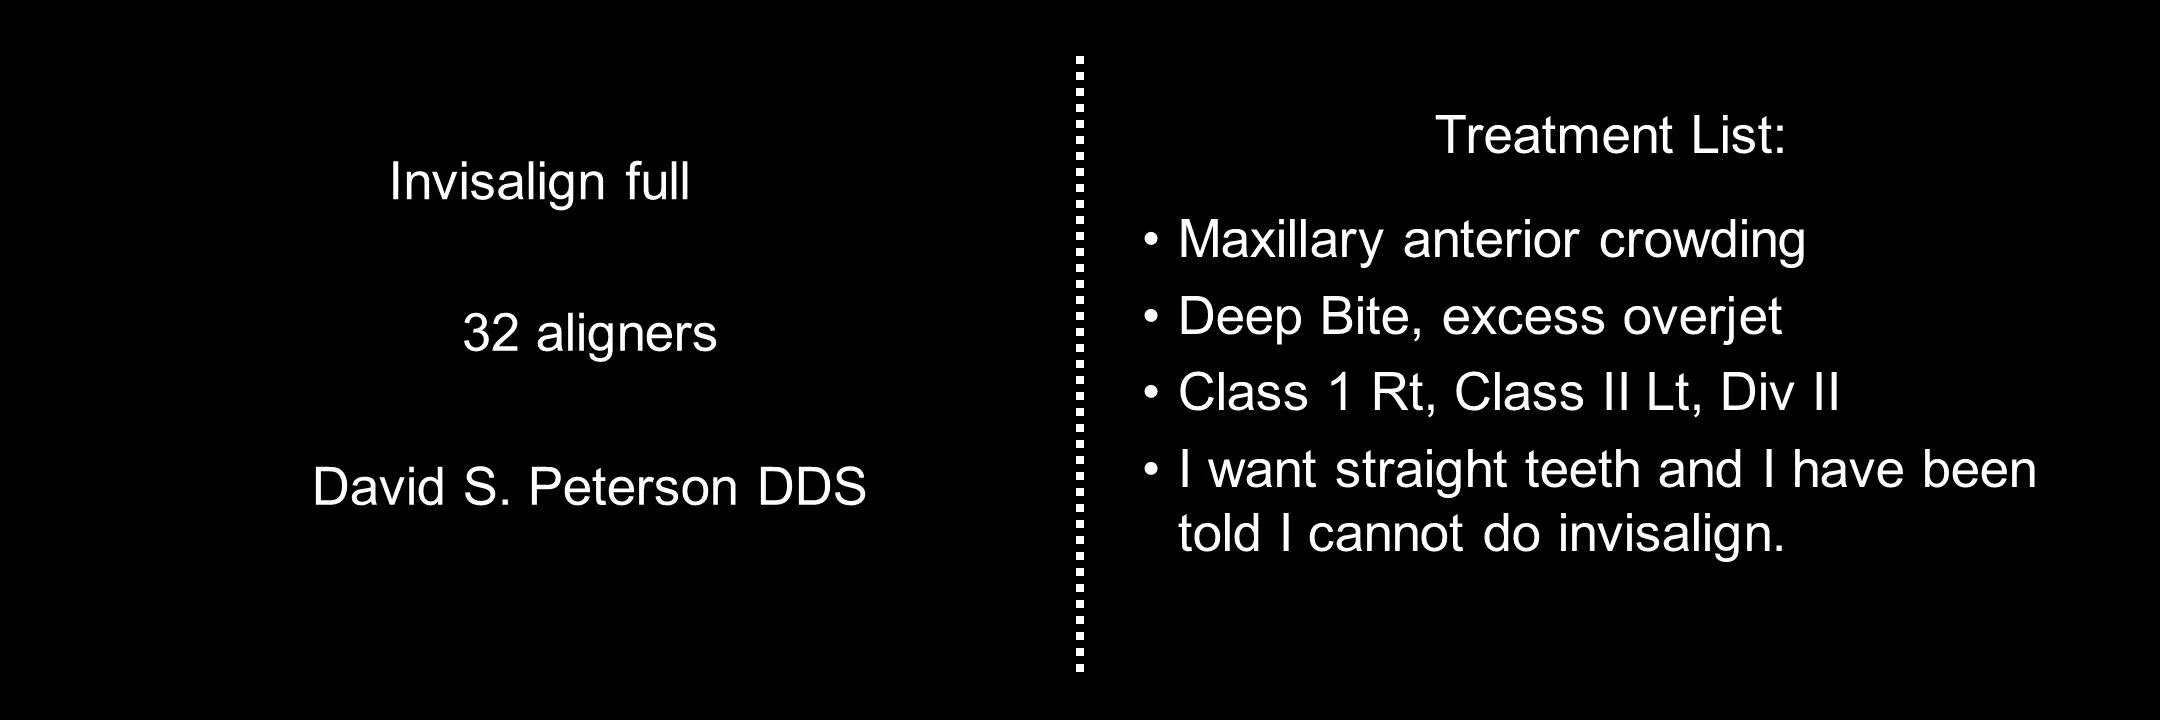
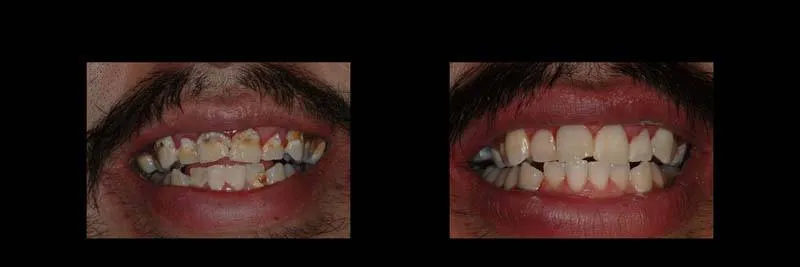
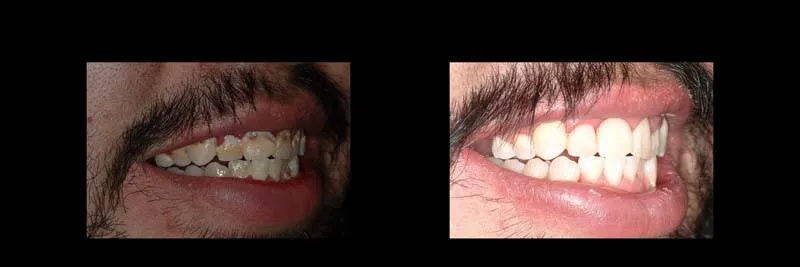
Invisalign® Aligners Full


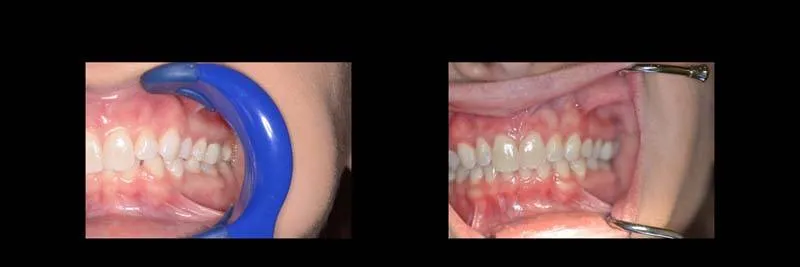
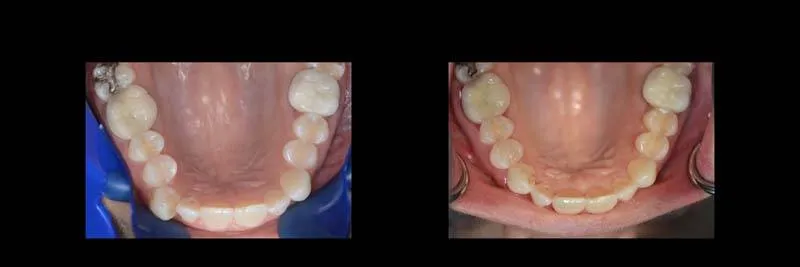
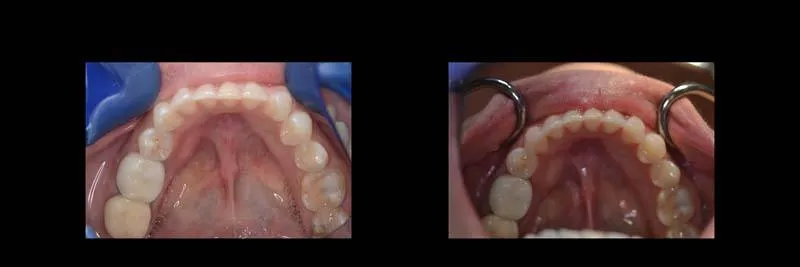
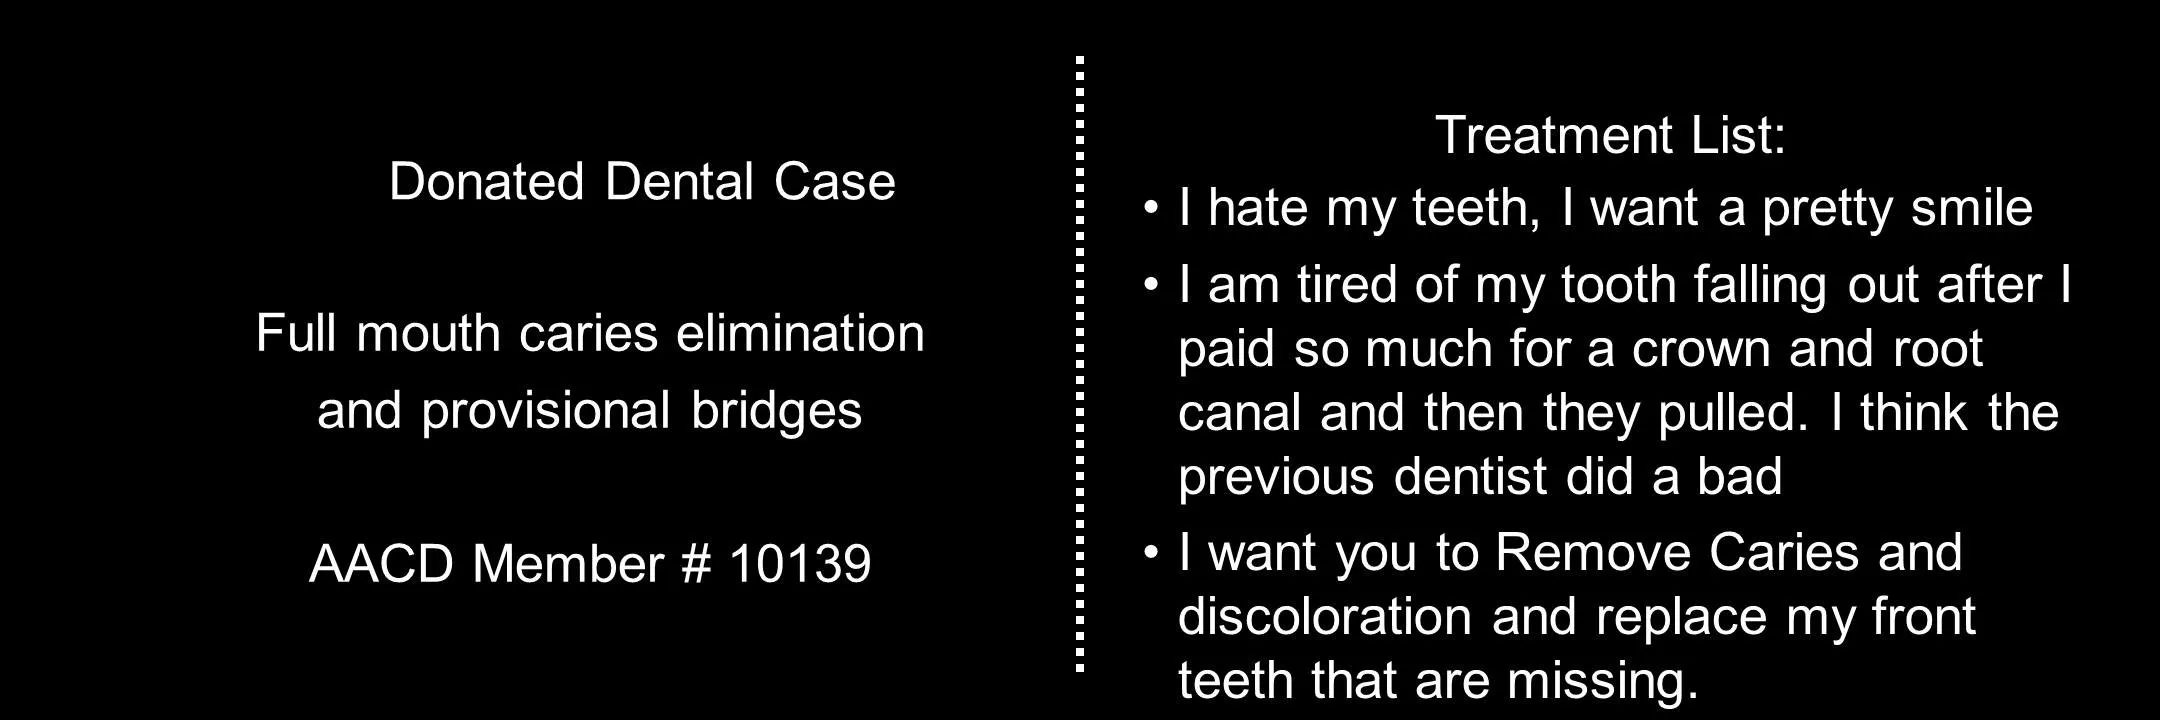
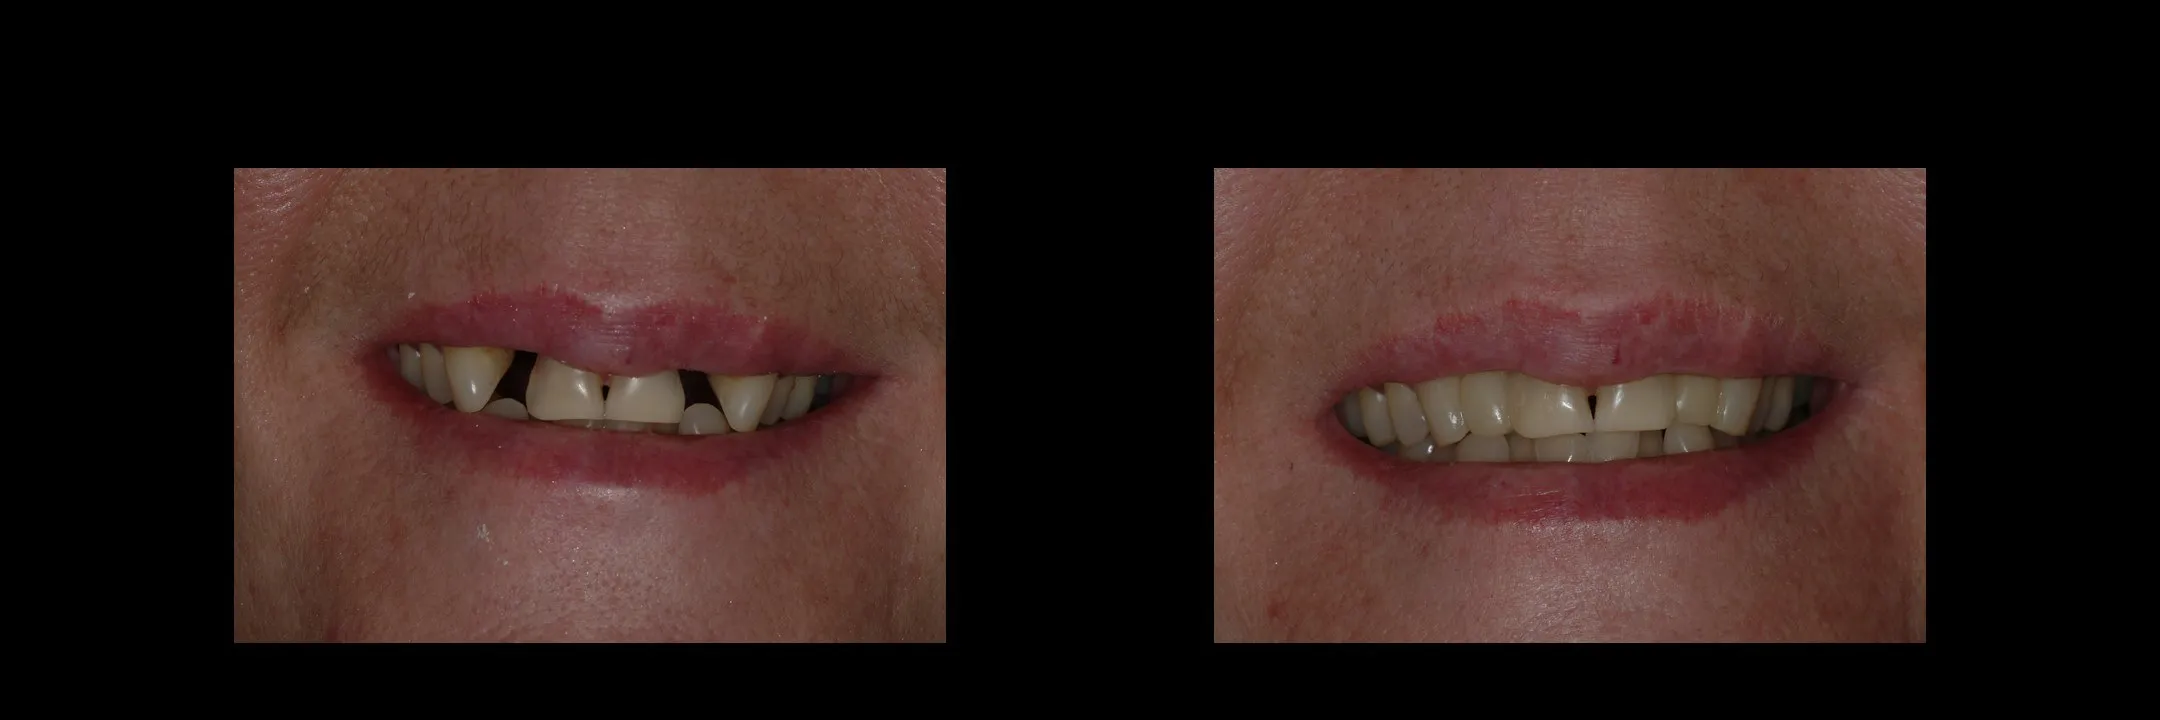
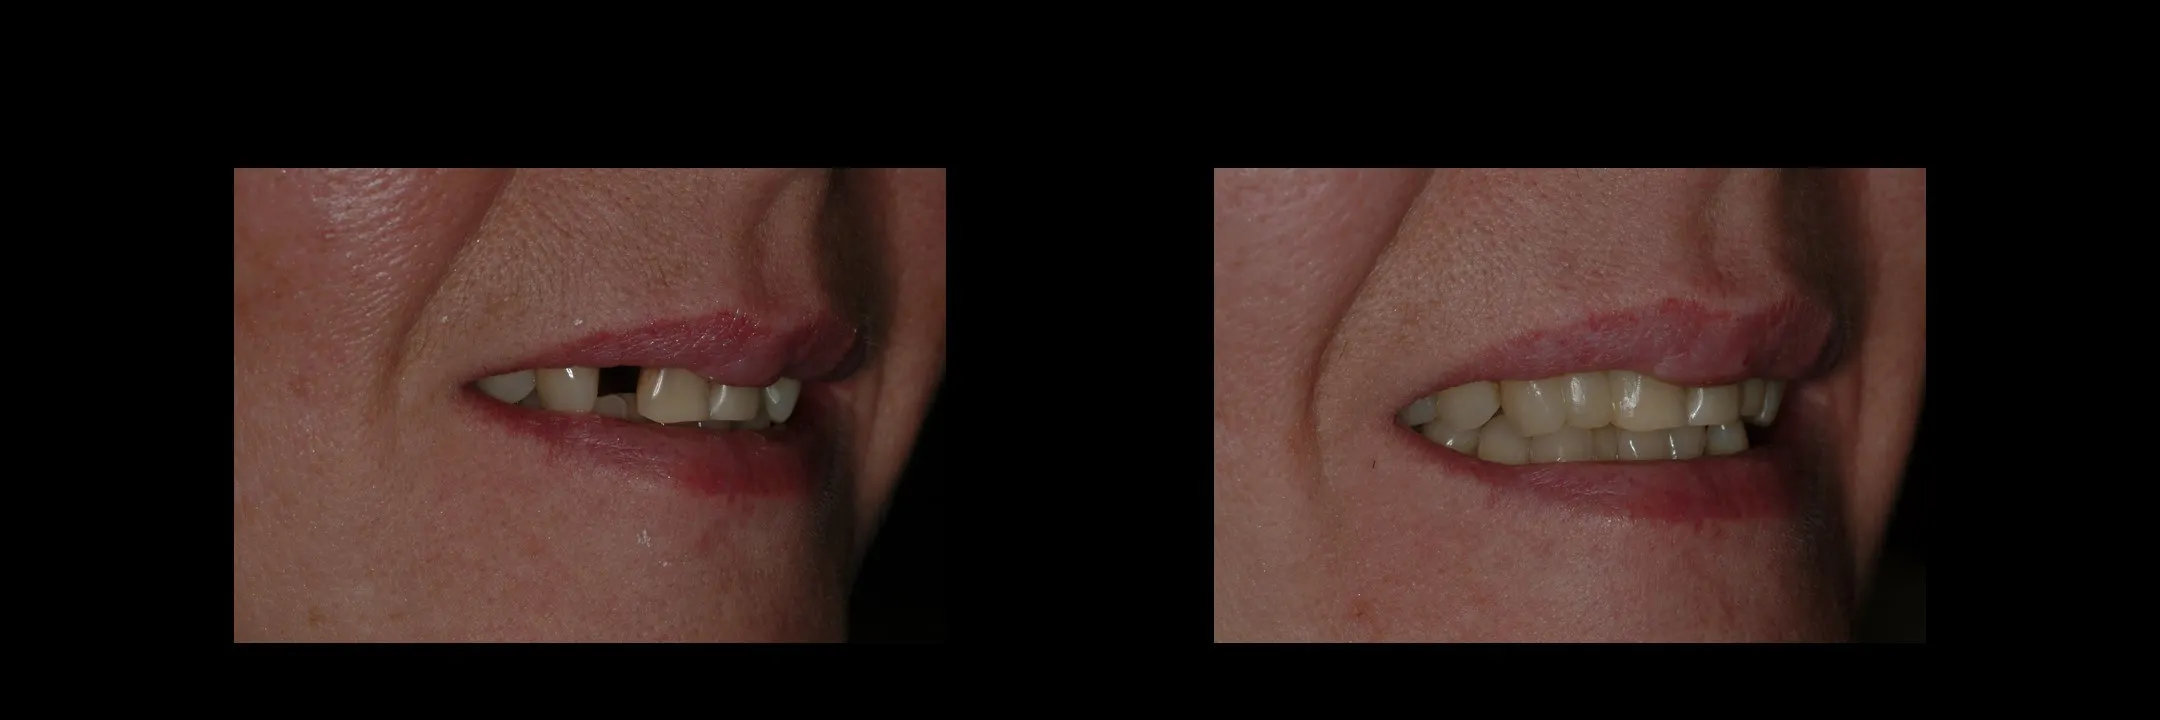
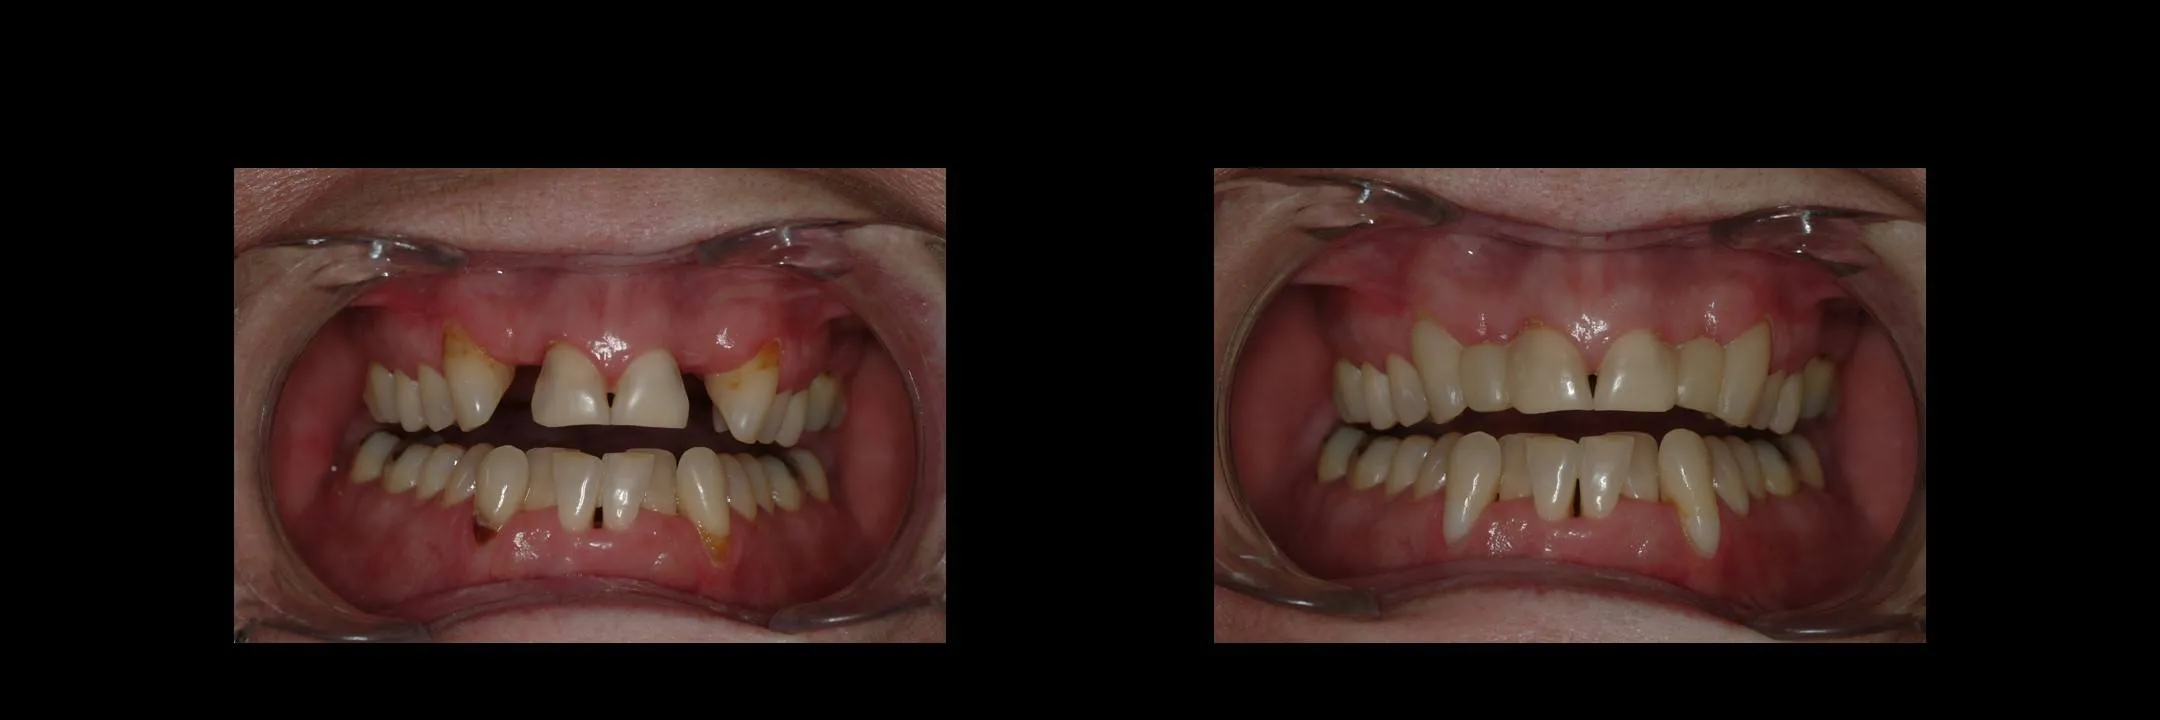
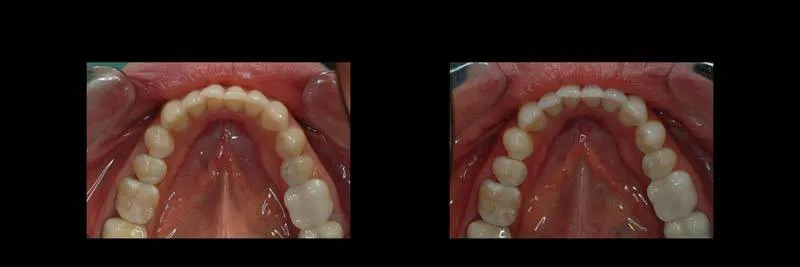
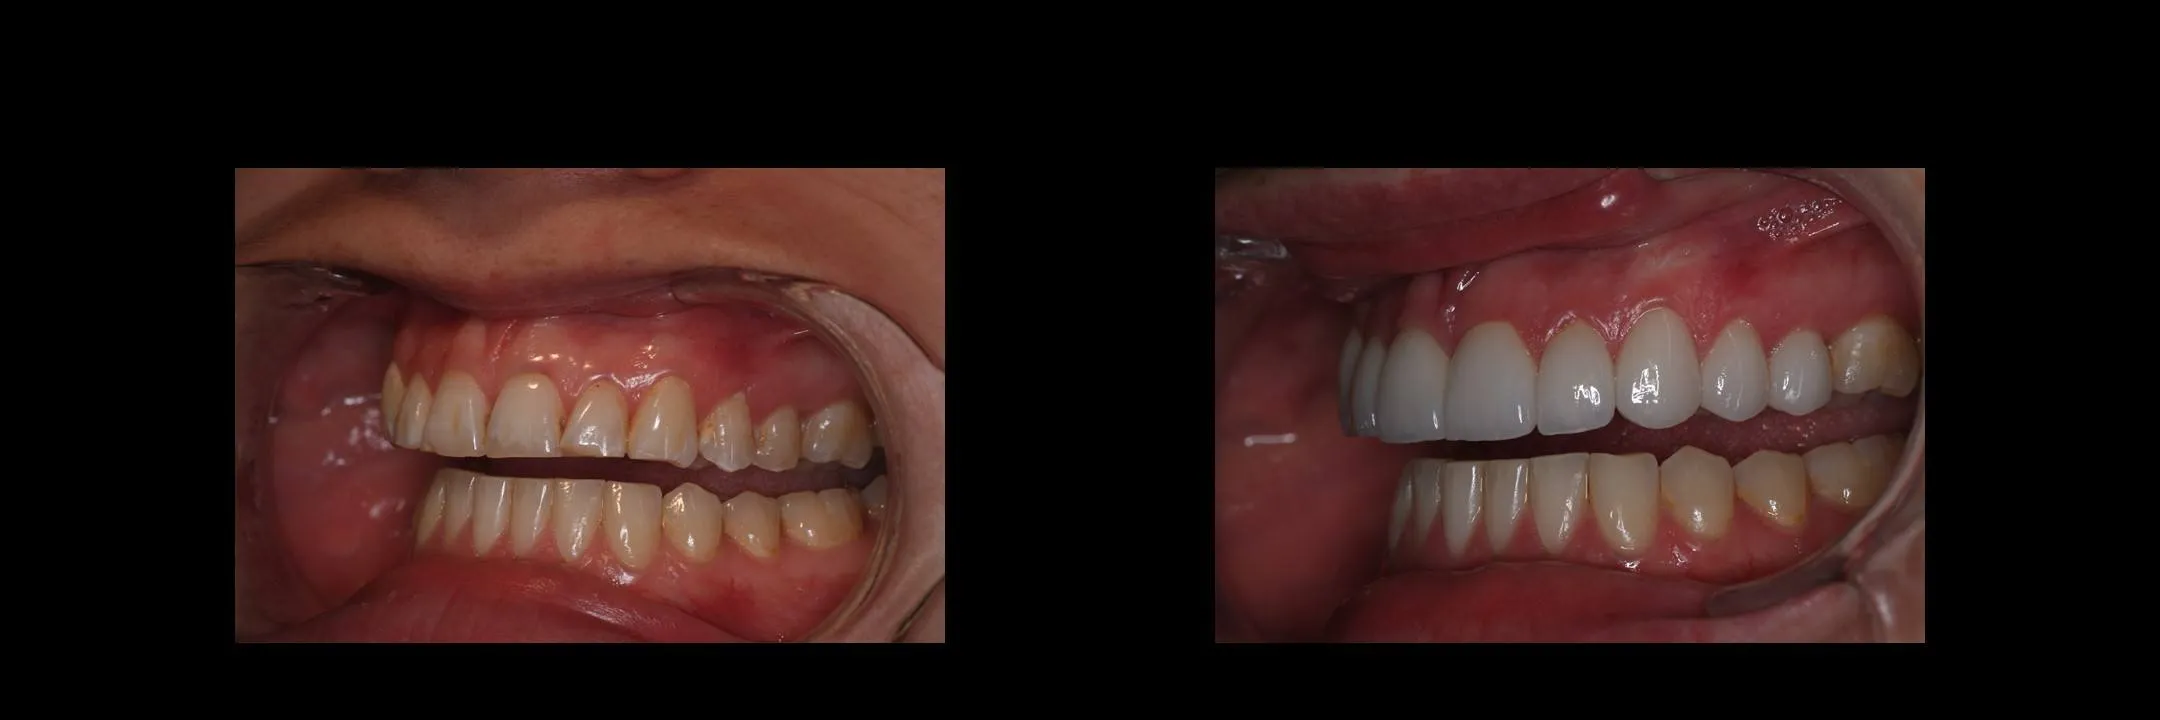
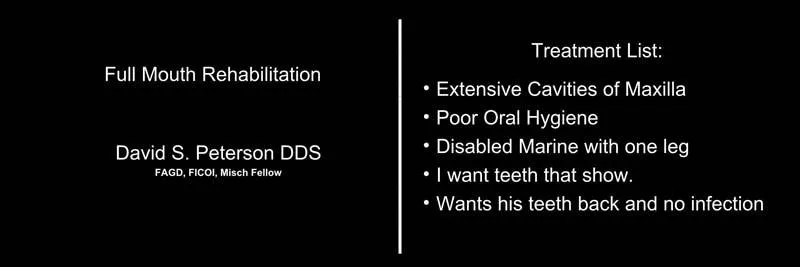
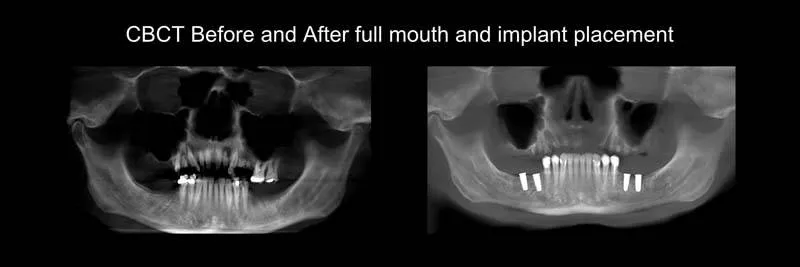
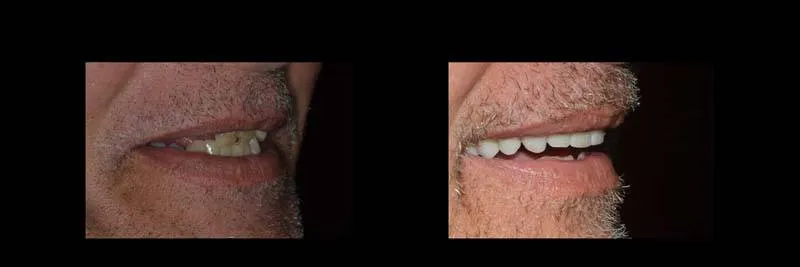
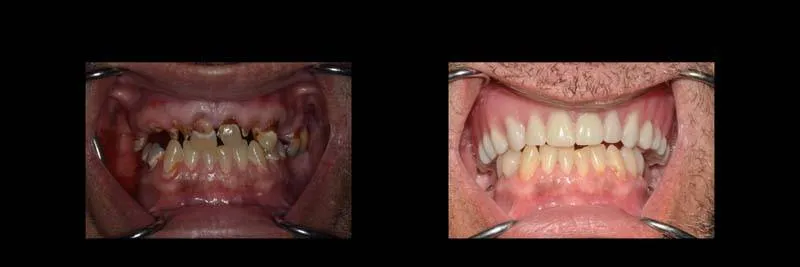
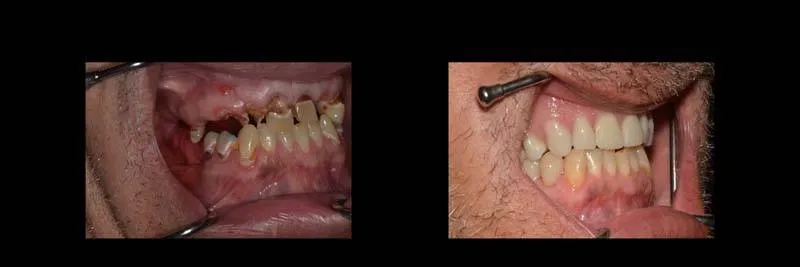
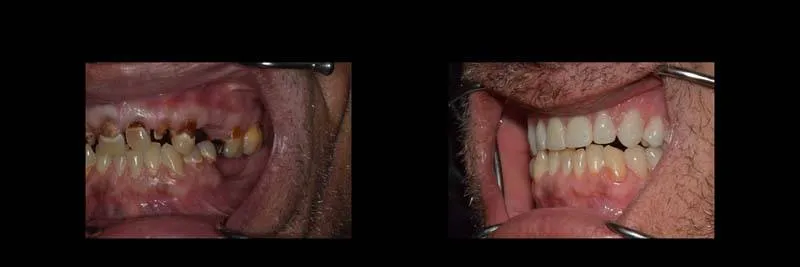
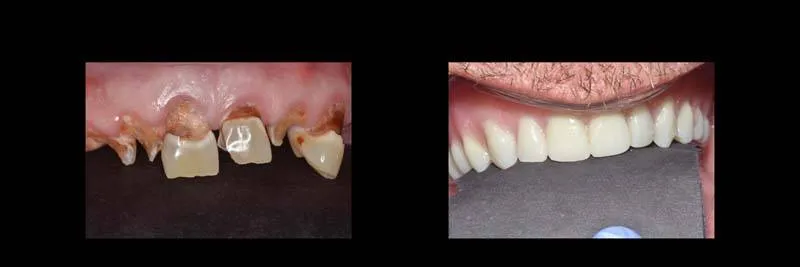
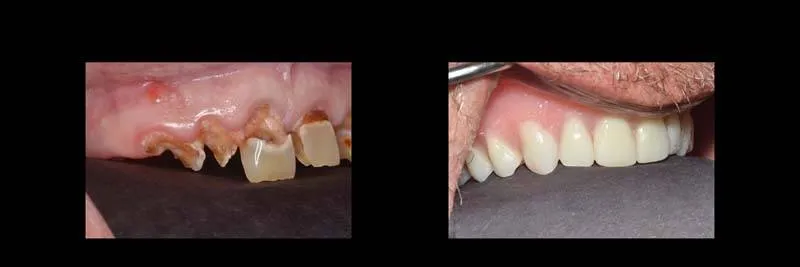
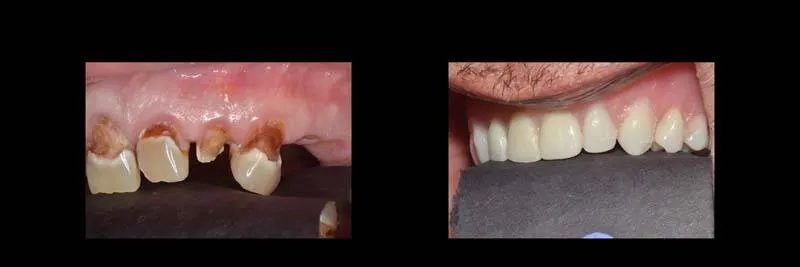
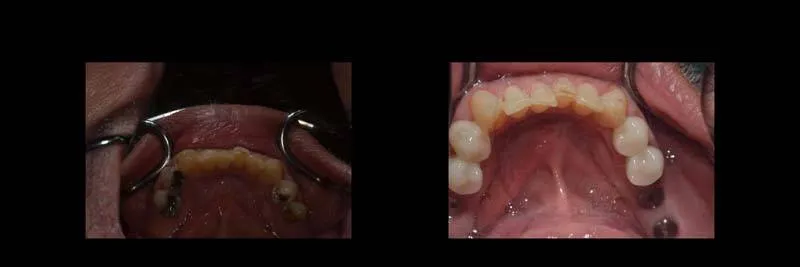
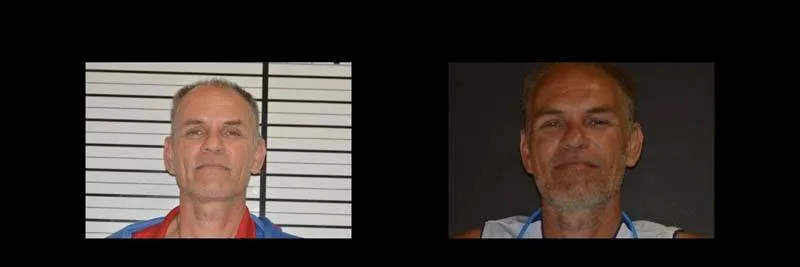
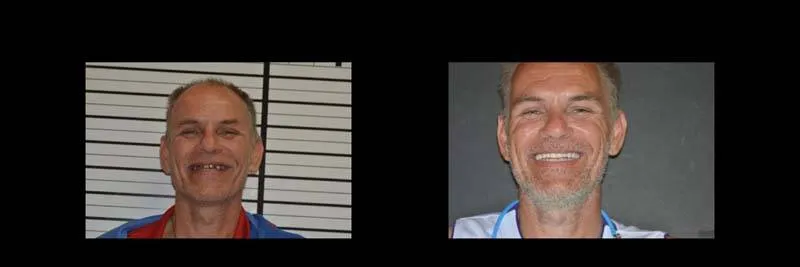
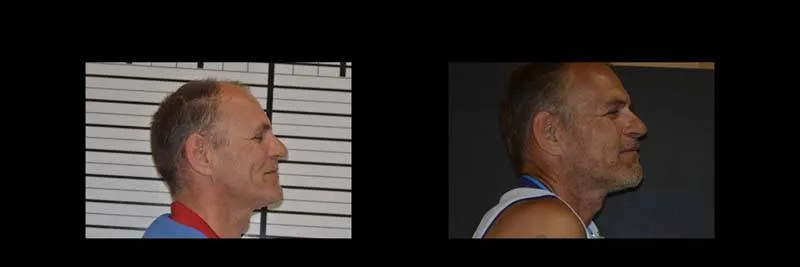
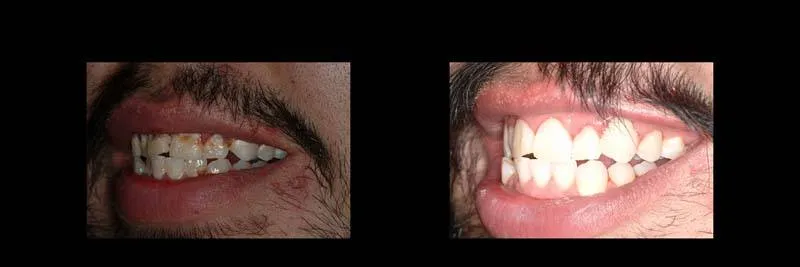
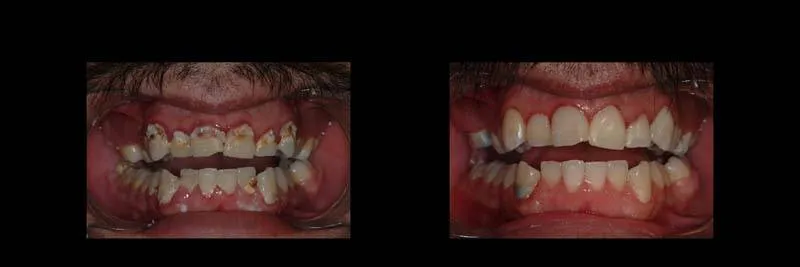
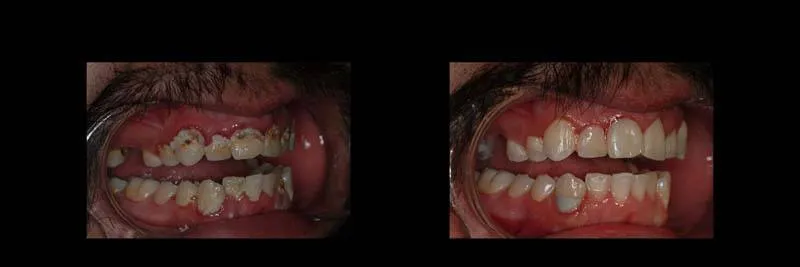
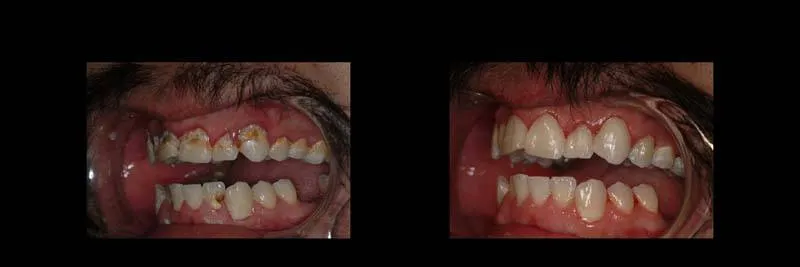
Full-Mouth Rehabilitation


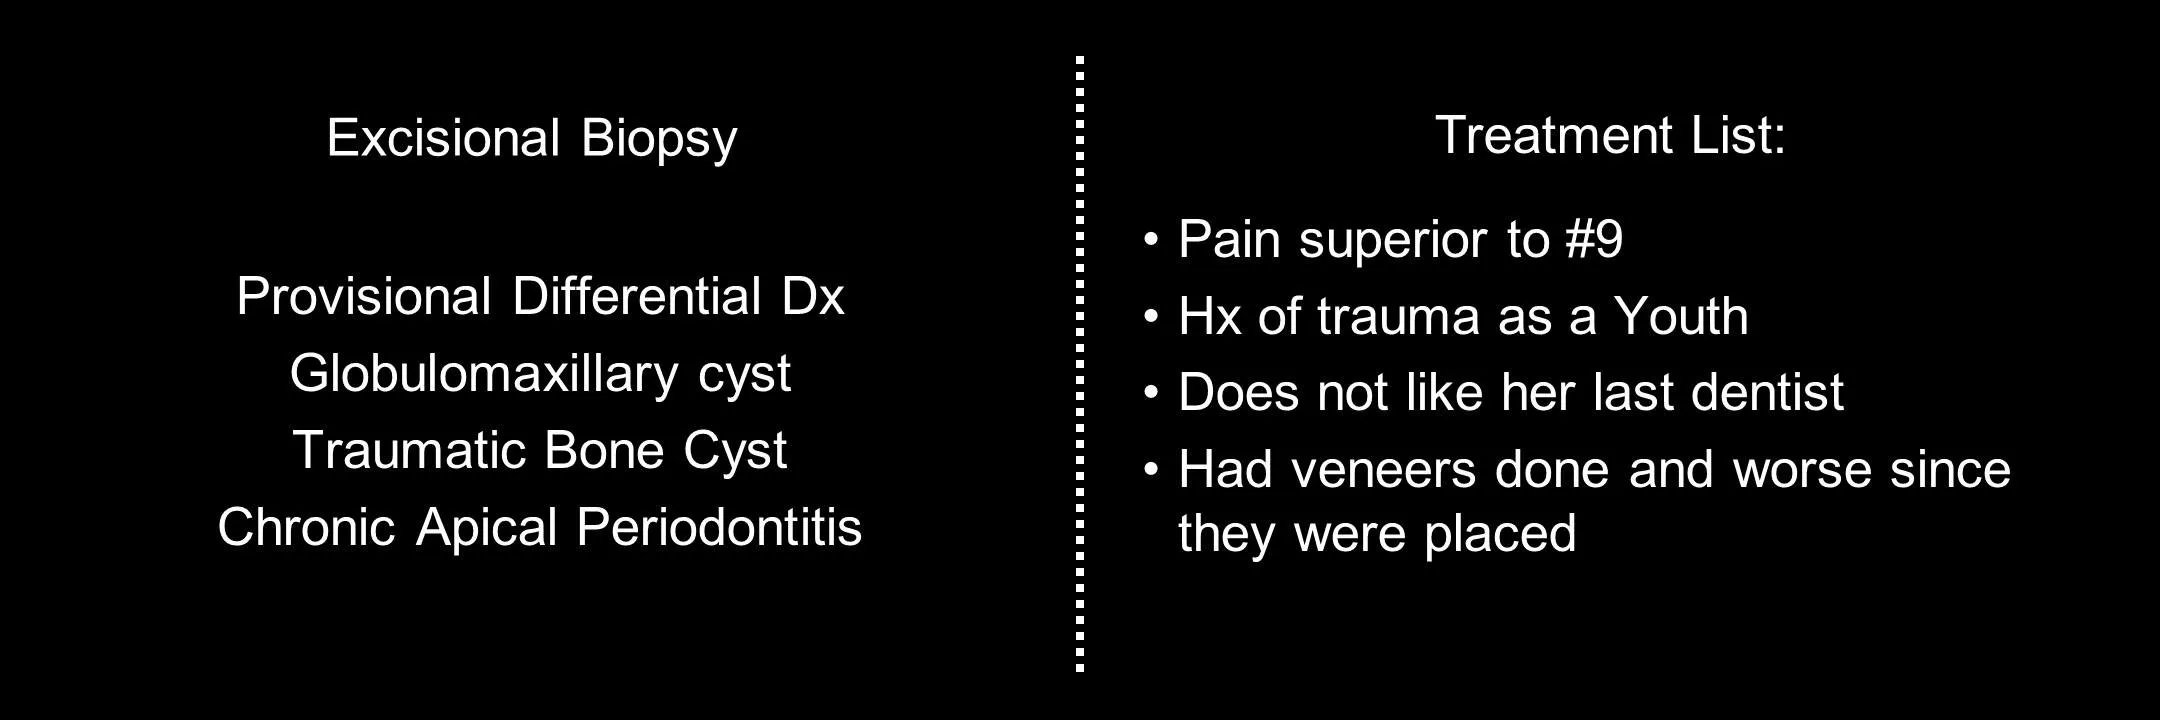
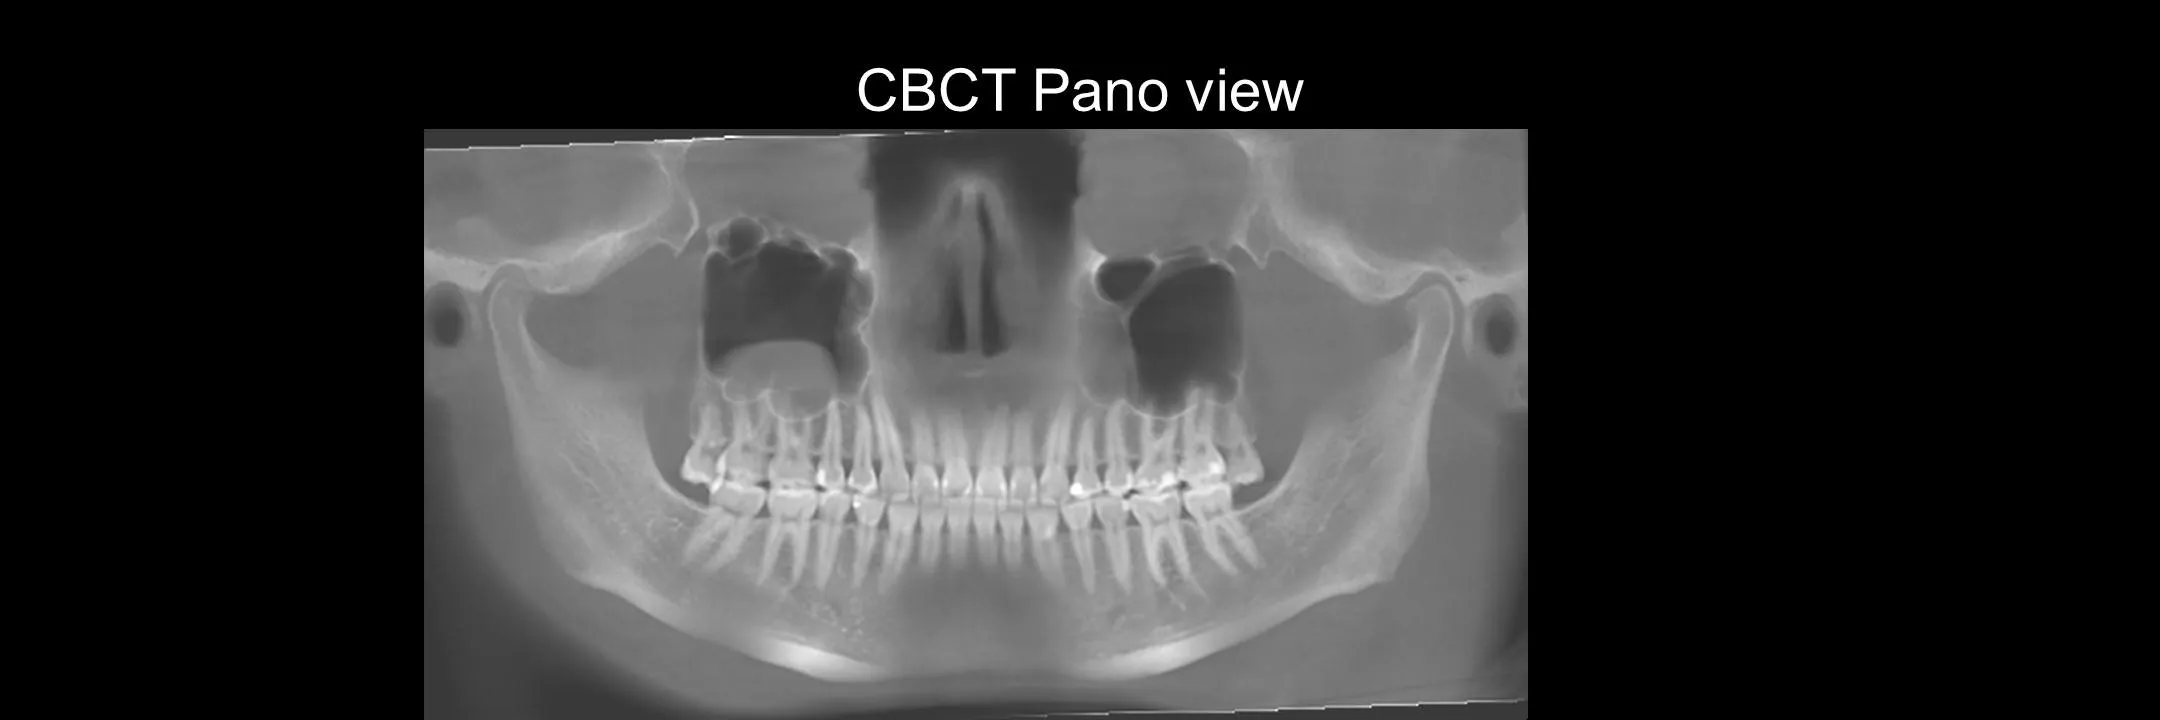
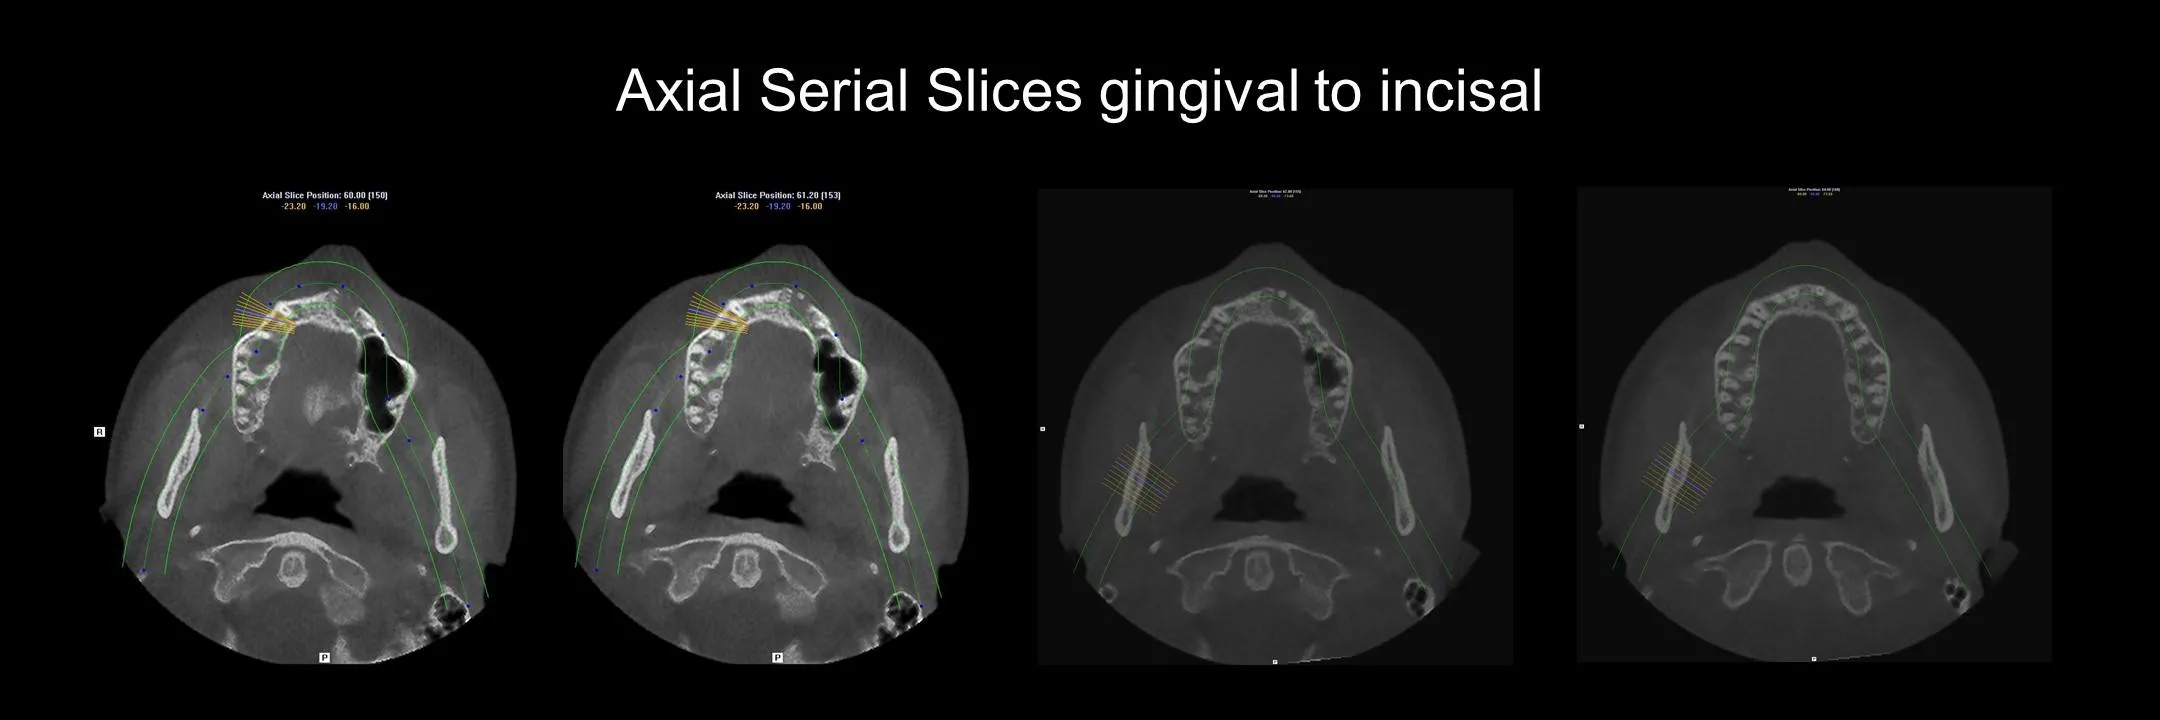
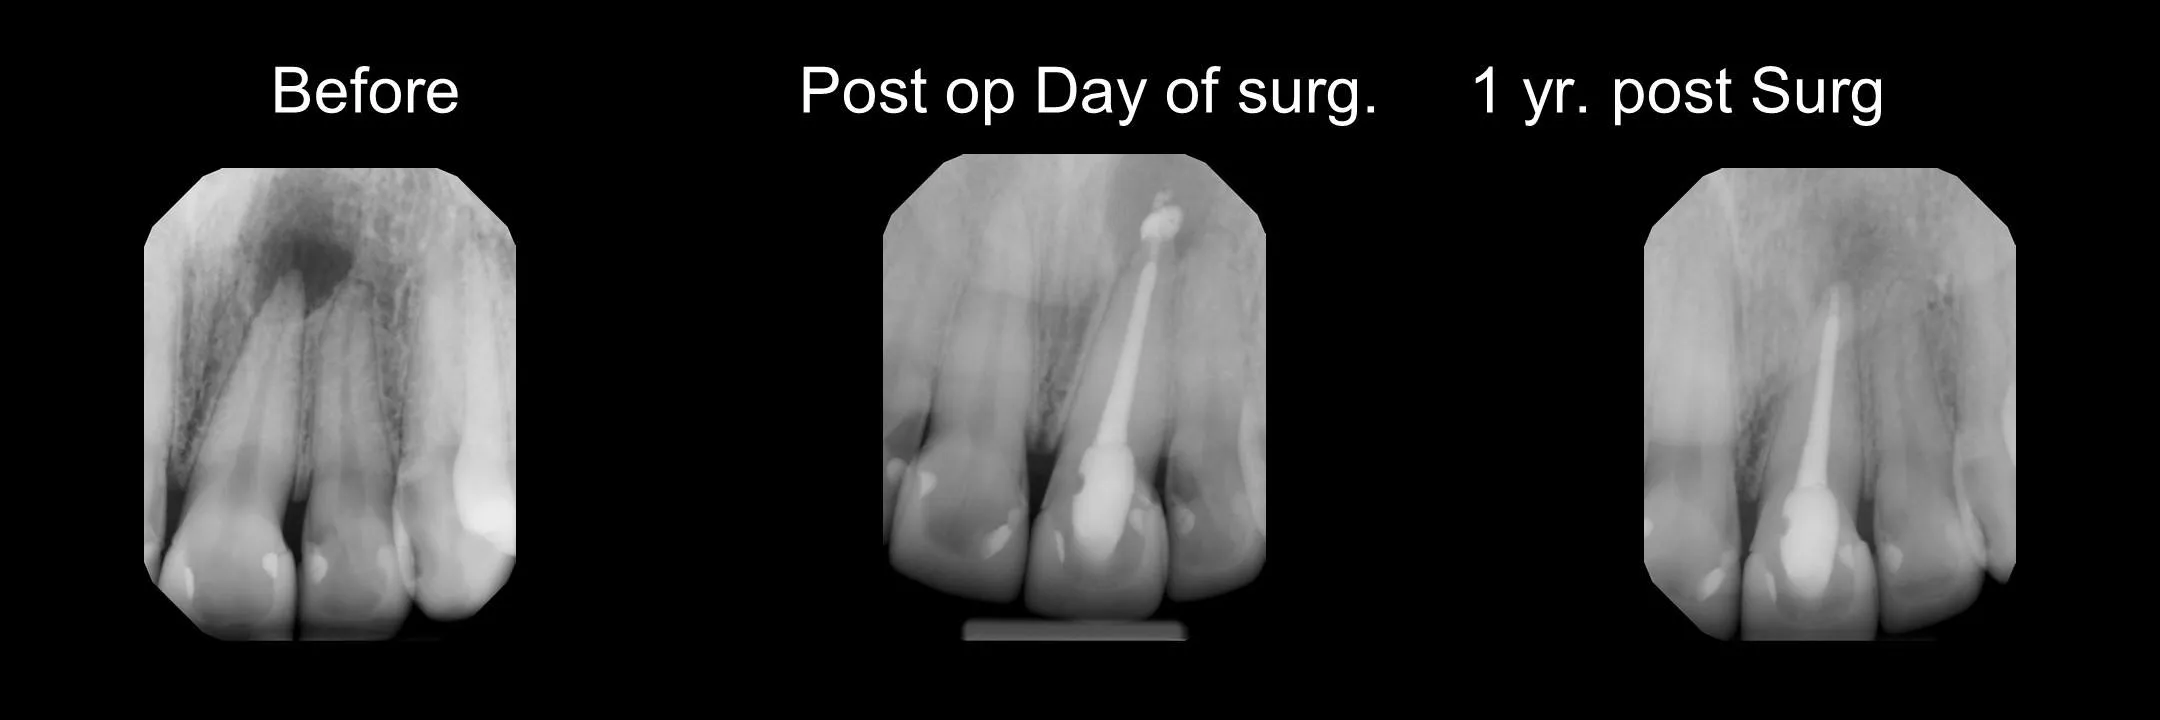
Excisional Biopsy

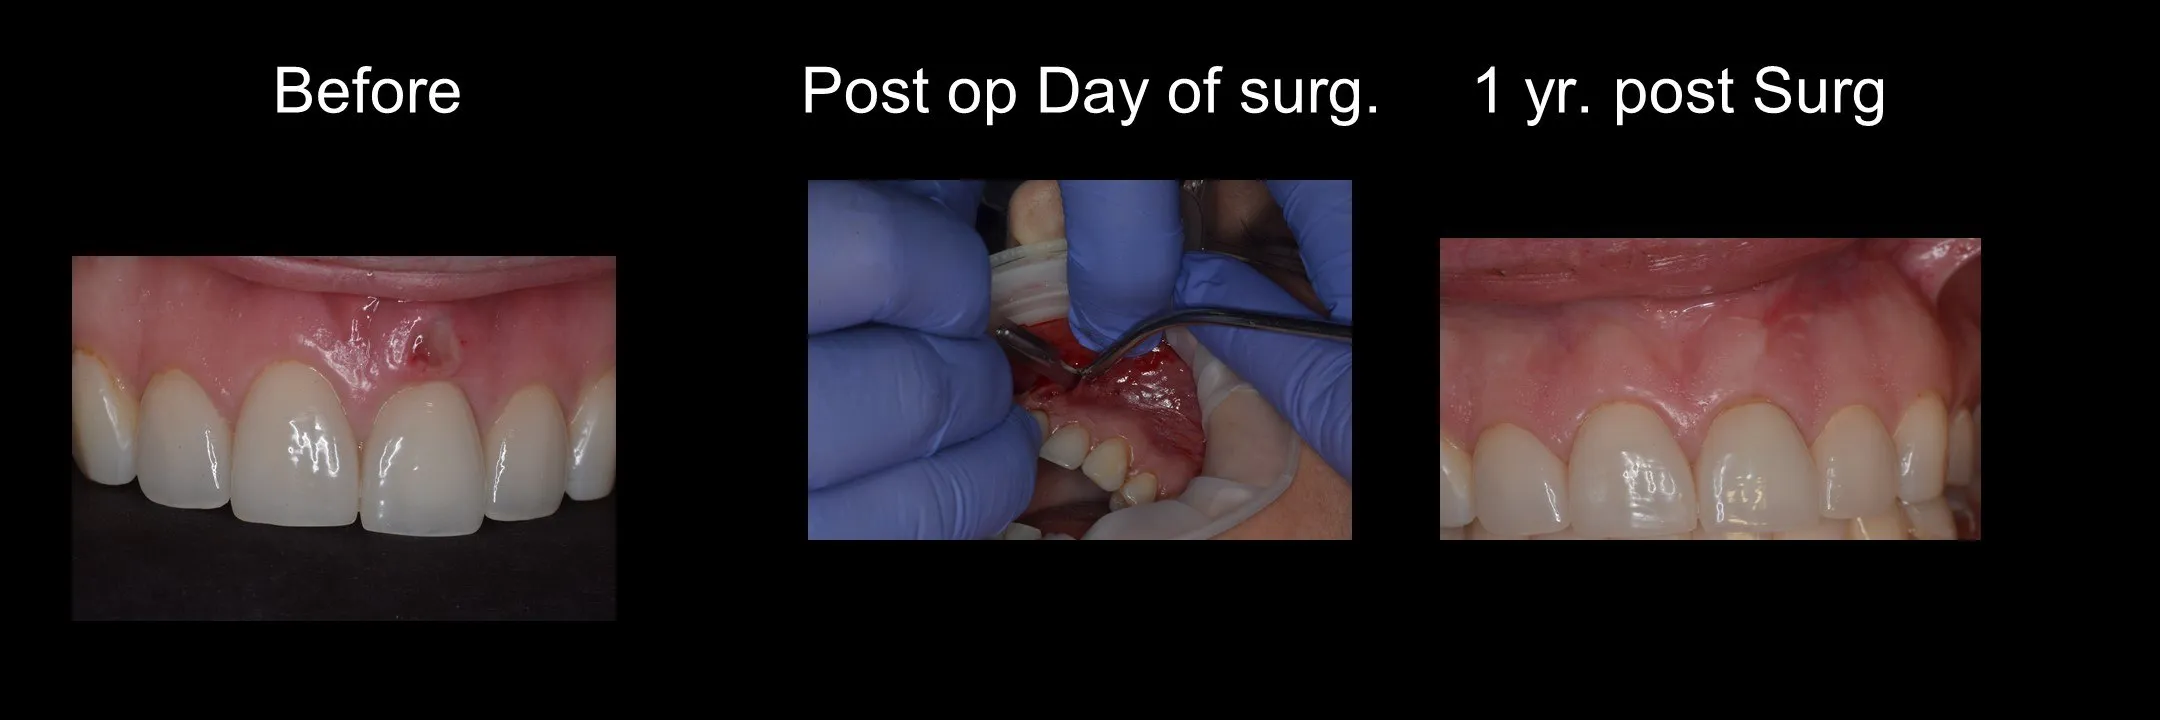
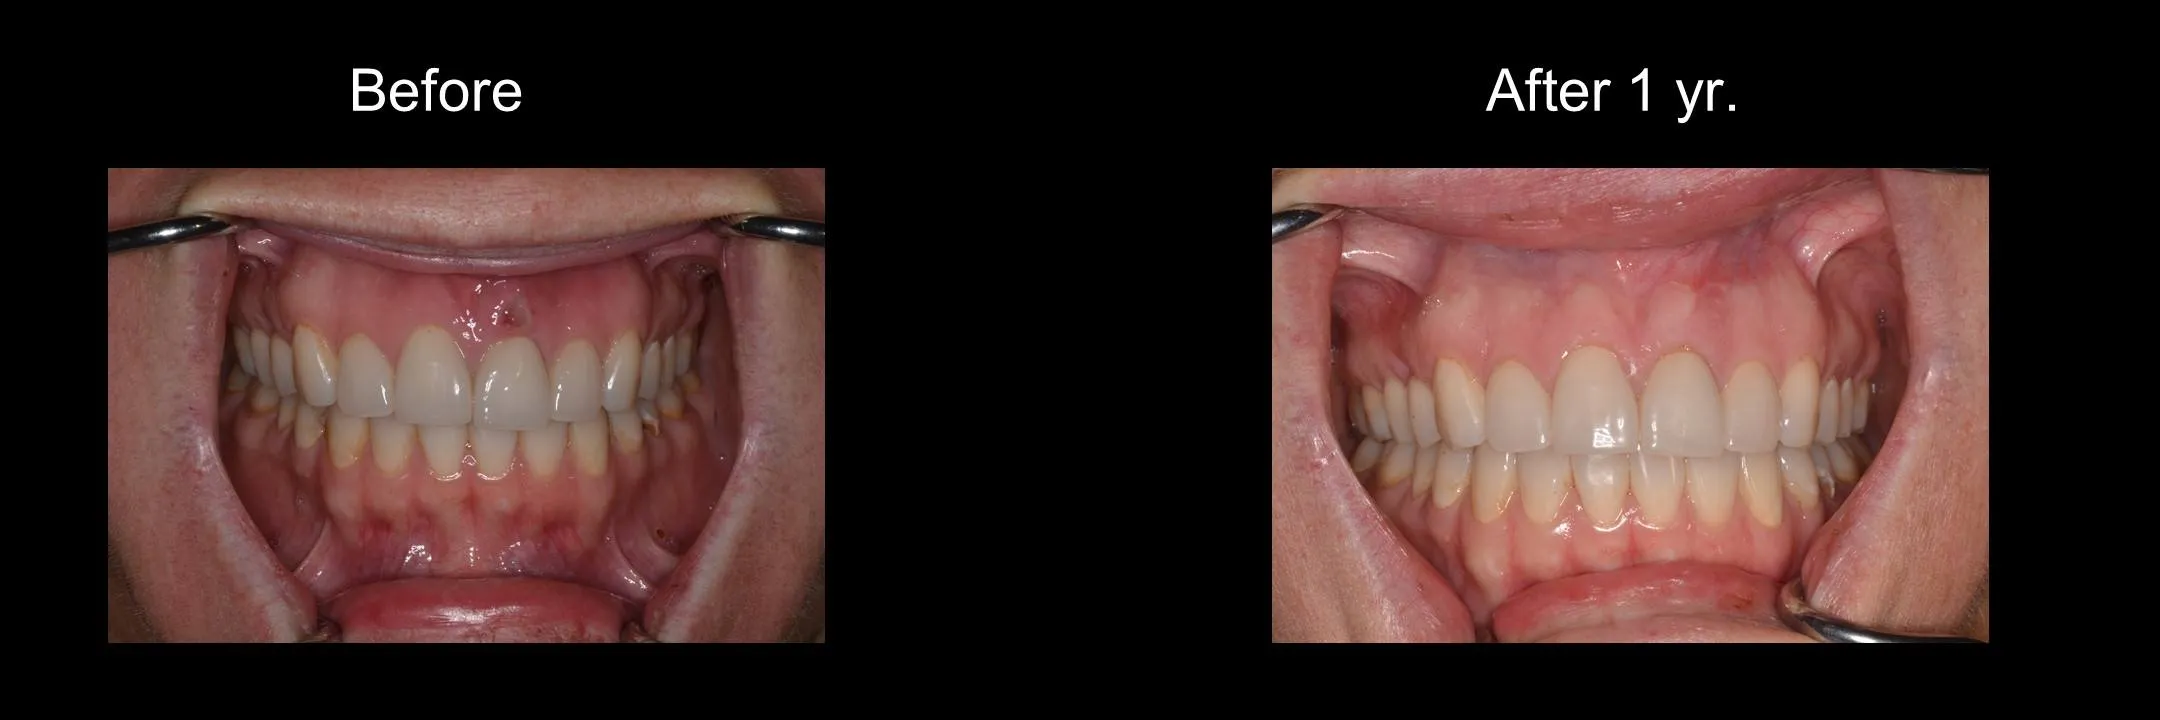
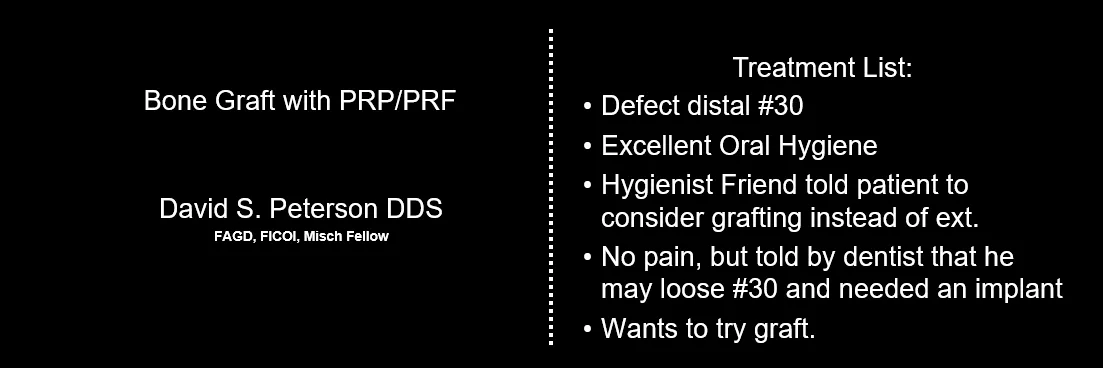
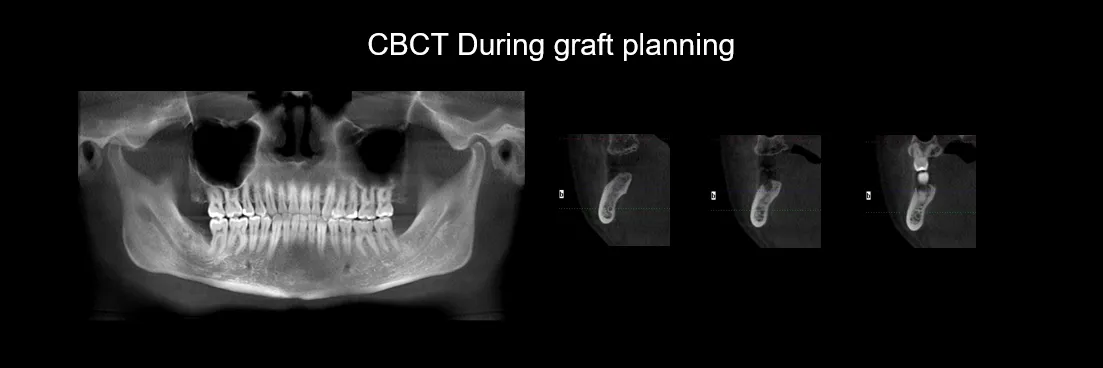
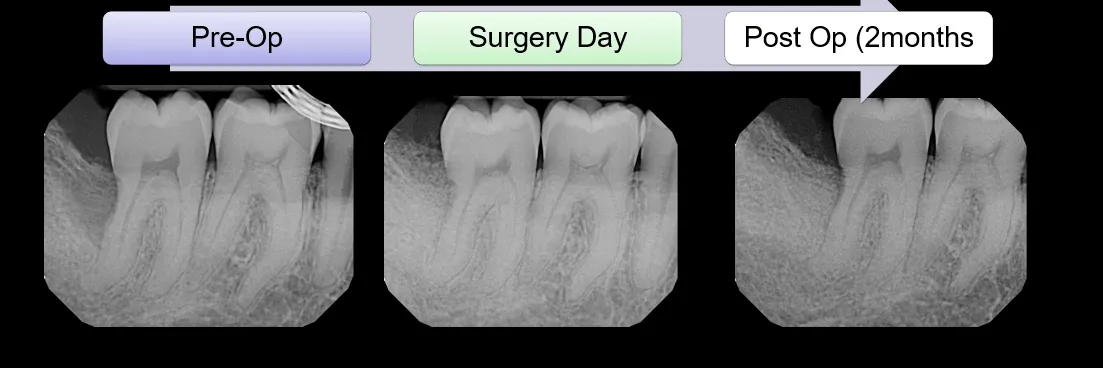
Bone Graft
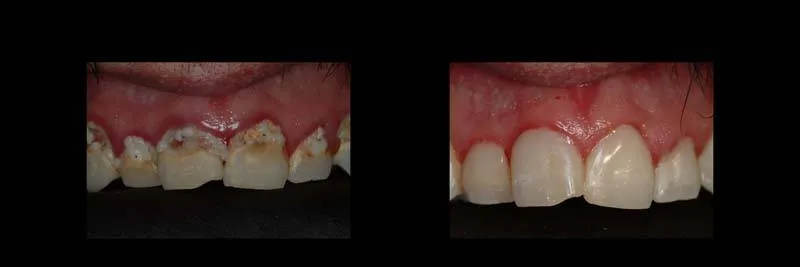
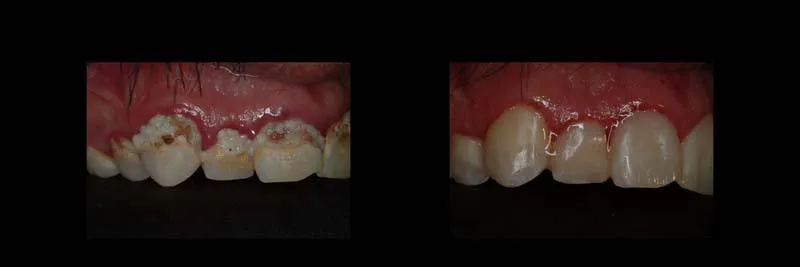
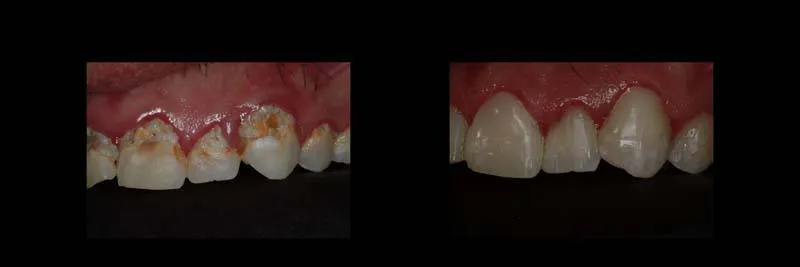
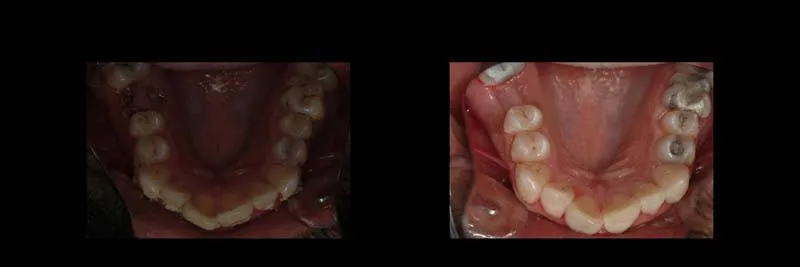
Composite Restoration & Hygiene Coaching
Provisional/Temporary Bridges